The AI Comic: Z.A.I.N – Issue #2: Facial Recognition using Computer Vision
Introduction
First – a HUGE thank you to our community for the wonderful response to the first issue of our exclusive AI comic – Z.A.I.N! Our aim of helping millions of kids and AI enthusiasts understand the wonderful world of AI and machine learning is off to a dream start – I am truly overwhelmed by the positive feedback.
So, I am delighted to announce that we will continue to create, design and publish new issues of our AI comic on a regular basis! This week’s issue is all about the wide and complex world of facial recognition using computer vision.
This AI comic series successfully merges technical and complex Artificial Intelligence implementations with the fun of reading comic books. Learning has never been more fun!

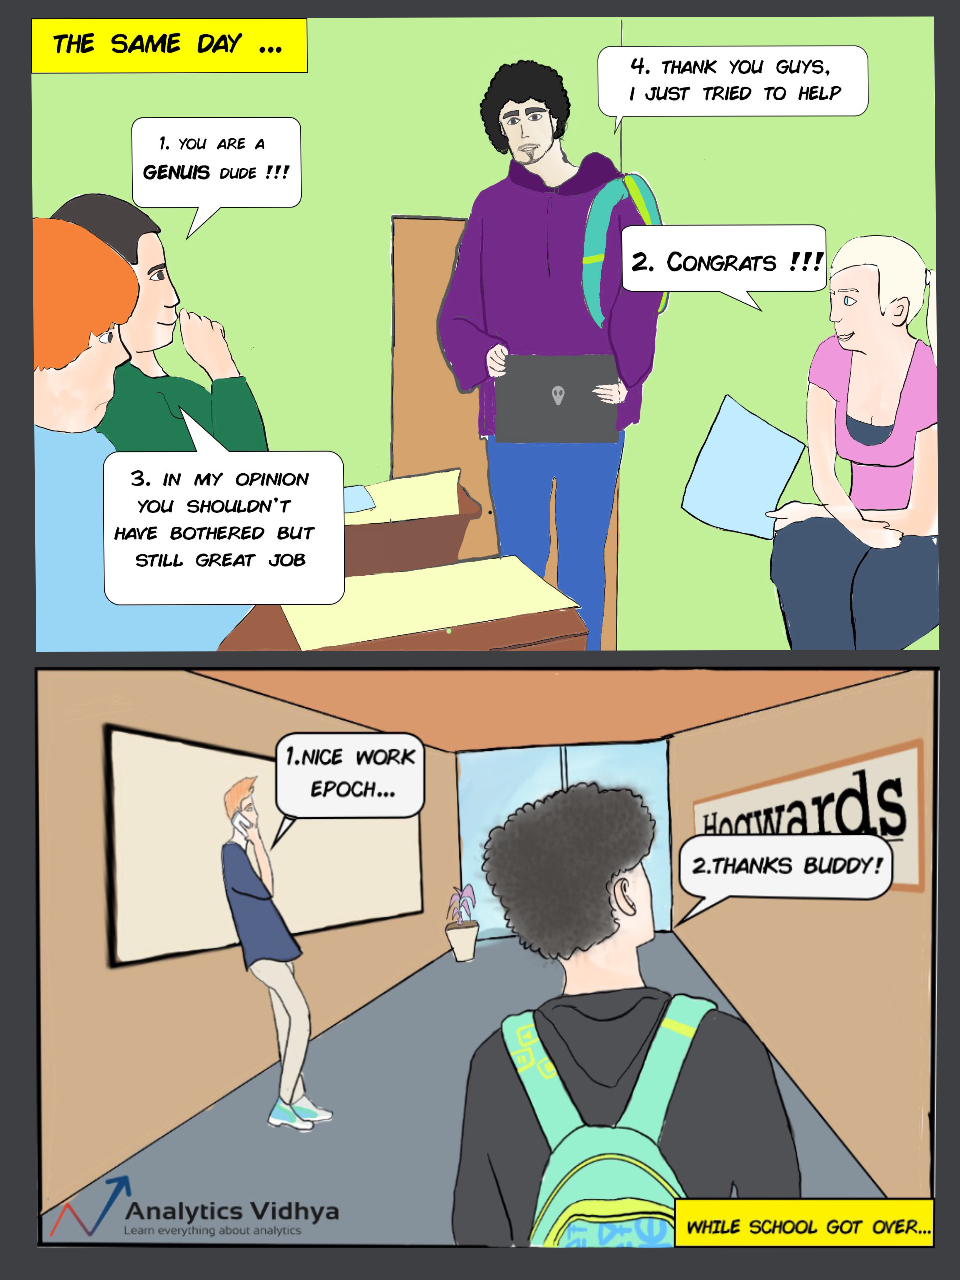
In the debut issue of our AI comic, we introduced Z.A.I.N, the chief protagonist and an Artificial Intelligence whiz. He built a computer vision system using Python to solve the problem of attendance tracking at his school. I like to believe that Z.A.I.N is more than a character – he is a way of thinking, a new way by which we can make this world a better place to live in.
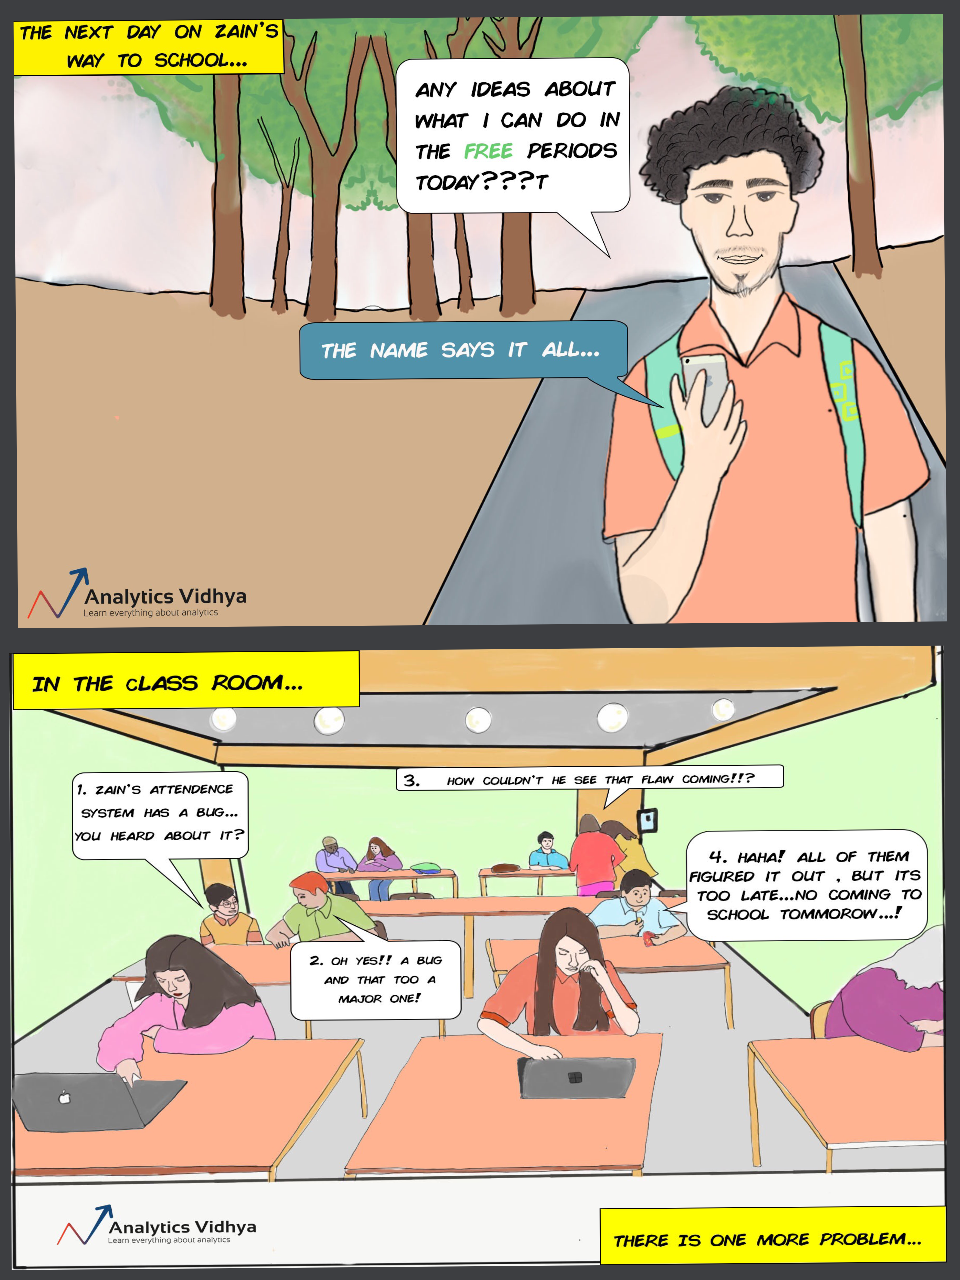
But there is a catch in the model Z.A.I.N built. The model is able to count the number of students in the class, sure. But it doesn’t recognize faces. What if a student sent a substitute? Z.A.I.N’s original model wouldn’t be able to detect that yet.
This is where Z.A.I.N and we will discover the awesome concept of facial recognition. We will even build a facial recognition model in Python once we see what Z.A.I.N does in this issue!
I recommend reading the previous issue of the AI comic first – Issue#1: No Attendance, No Problem. This will help you understand why we are leaning on the concept of facial recognition in this issue and also build your computer vision foundations.
Getting to Know this AI Comic’s Chief Character Z.A.I.N
Who is Z.A.I.N? And what’s the plot for issue #2 of this AI comic? Here is an illustrated summary of all that you need to know before pouring into this week’s issue:


Note: Use the right and left arrow keys to navigate through the below slider (or simply swipe if you’re using a touchscreen!).


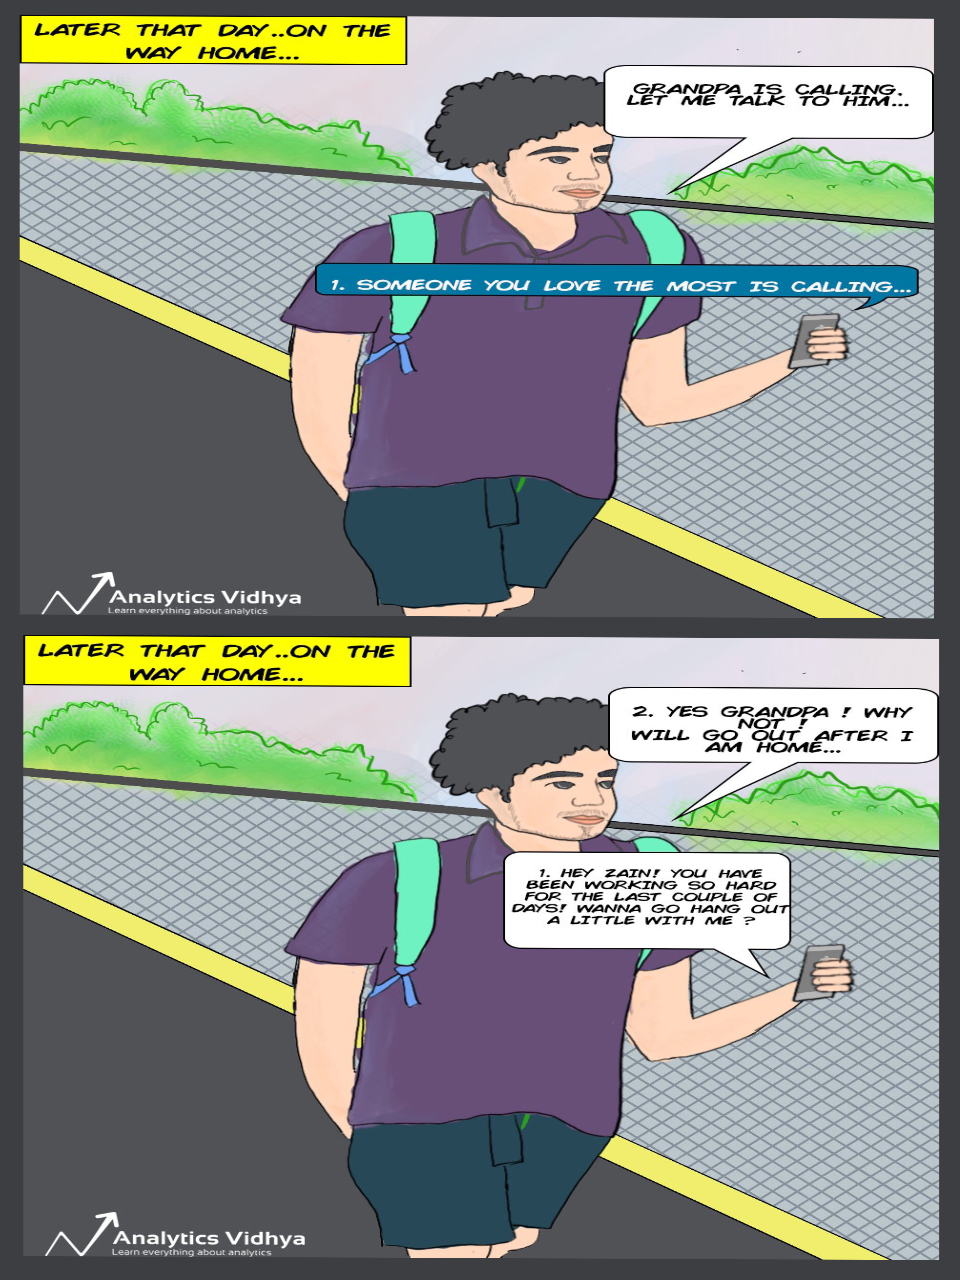
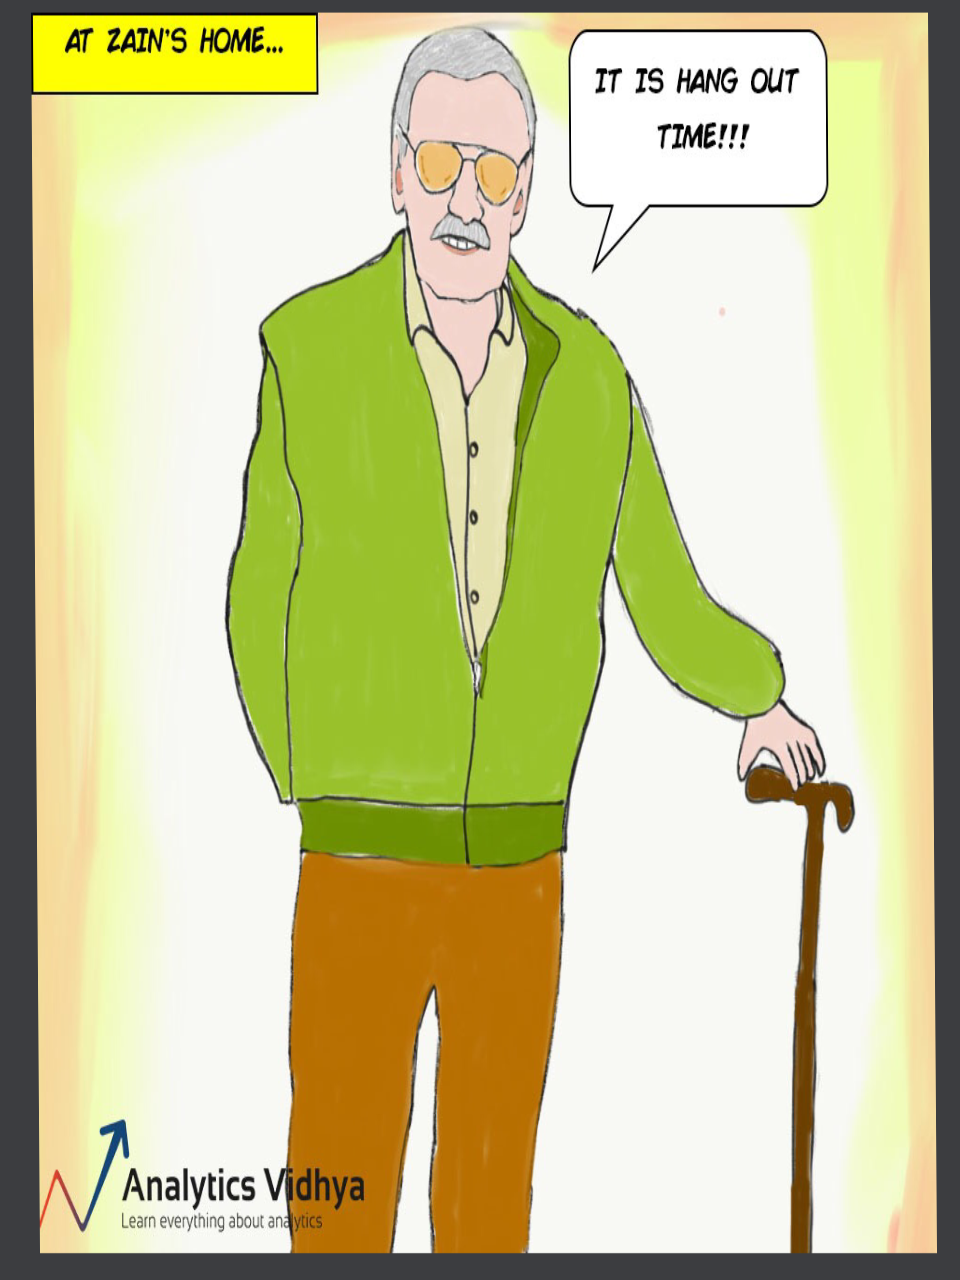
You can download the full comic here!
Python Code and Explanation Behind Z.A.I.N’s Facial Recognition Model
Enjoyed reading Issue #2? Now let’s see how ZAIN came up with that extraordinary feat! That’s right – we are going to dive deep into the Python code behind ZAIN’s facial recognition model.
First, we need data to train our own model. This comes with a caveat – we won’t be using a pre-defined dataset. This model has to be trained on our own customized data. How else will facial recognition work for our situation?
We use the below tools to curate our dataset:
- The brilliant OpenCV library
- HarrCascadeClassifier: Frontal-face-default (Frontal face detector)
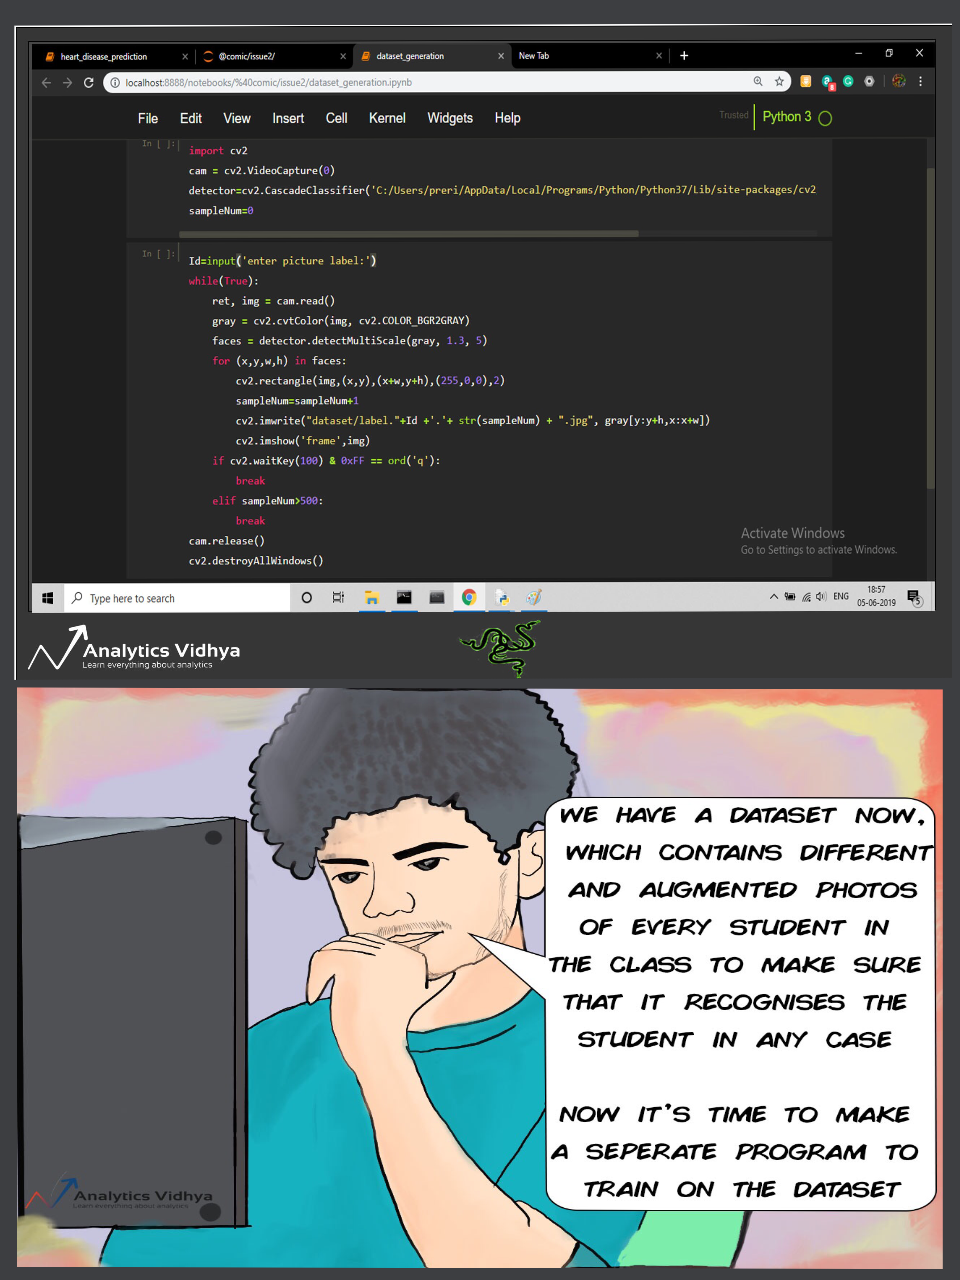
We need to first initialize our camera to capture the video. Then, we will use the frontal face classifier to make bounding boxes around the face. Please note that since we have used ‘frontal-face-default’ specifically, it will only detect specific faces.
So, you can choose which classifier to use according to your requirements. After the bounding boxes have been created, we:
- Detect these faces
- Convert them into grayscale, and
- Save the images with a label. In our case, these labels are either 1 or 2
Here, we store the grayscale version of our picture in a variable ‘gray’.Then the variable faces contain the faces detected by our detectMultiScale function. Next, we have a for loop with parameters that are our four coordinates of the top left and bottom right corner of the face detected. After we are in the for loop, we append the sampleNum variable by 1.Then we save that image to our folder with the name in the format: (“str” + label + sampleNum)
Prefer learning through video examples? I have created the below video just for you to understand what the above code does:
And that’s it – our dataset is ready for action! So what’s next? Well, we will now build and train our model on those images!
We’ll use two tools specifically to do that:
- LBPHFaceRecognizer: Please note that the syntax for the recognizer is different in different versions of OpenCV
- Pillow
Here, we will convert the images into NumPy arrays and train the model. We will then save the trained model as Recogniser.yml:
the variable detector stores the classifier (harrcascade_frontal_face_default), and recognizer stores the LBPHFaceRecognizer.
Here we are defining a function: getImagesAndLables which does exactly like its name. It gets the images with their respective labels, but how? here it is:
first, declare a variable: imagePaths which has the path to the folder/directory in which the images/dataset is stored. Next, we have two empty lists: faceSamples, IDs.Then again we have a for loop which basically uses the pillow library we imported to read the image in our dataset and convert into grayscale at the same time. Now, we have our images but how is a computer supposed to read those, for this, we convert the images into numpy array.
you may realize that our images are stored in the format: “str” +label+”sampleNum”.So, we just need to assign the image with one of the two labels/classes. But, the challenge here is to split the file name such that only the label is left. This is exactly what the ID variable contains.
the basic process of splitting and assigning the images with there respective labels is complete. This below code block just uses recognizer.train to train our model on the images and there labels, A classic example of supervised learning. then we save our trained model as Recogniser.yml.
The below code essentially does three things for us:
- It starts capturing the video
- Makes a bounding box around the face in the frame
- Classifies the faces into one of the two labels we trained on. If it does not match any of them, then it shows ‘unknown’
our model is already trained so we just import the trained model by using recognizer.read(). Then a simple if-else code block does its work and classifies the faces in the feed given by our webcam into one of the two classes and if the face does not belong to any of them, It classifies as unknown
Here’s another intuitive video to show you what the above code block does:
End Notes
This second issue of Analytics Vidhya’s AI comic, Z.A.I.N, covered how computer vision can change our day-to-day lives for the better. And guess what? There are many more adventures that await him and all of us. Strap in because things are just getting started!
Issue #3 is dropping very soon. The AI adventures of ZAIN will continue to reach new heights as we tackle real-world issues and continue to help you on your machine learning journey.
Thank you for reading and I encourage you to build on the model we created in this article. Feel free to reach me with your thoughts and precious feedback in the comments section below!


Thats good one Perit. I am learning new things :) Pls explain code little more. Just few lines of explanation more and it will help people like me in understanding more. Keep it up. By the way, how at and what age you started coding and which language!
hi Harshit !, thanks a lot for the feedback, I am really glad that you liked the second issue as well. I have updated the code accordingly, Now the code is explained in much more detail. feel free to tell if you like it this time or not and feedbacks/suggestions in the future
LBPHFaceRecognizer is not working . My openCV version is 4.0.1
Hi Nagendra, you could try reinstalling open cv because this command is version specific. Once you uninstall openCV reinstall these by: pip install opencv-contrib-python==4.1.0 pip install opencv-contrib-python would also work just as fine! If this still doesn't solve the problem then let me know as well!
Awesome post, thanks for sharing.