Build User Interface With GRADIO For Your Deep Learning Project!
Introduction
One major and important aspect of building a data science project is a smooth user interface. The interface must be simple enough to exhibit the dynamics of the project to a non-technical person. Data analysts, data scientists, programmers need a module for creating a user-friendly interface. There are many options for creating a user interface for any deep learning model like the commonly used HTML, CSS, and javascript. On the other hand, Tkinter, Gradio, Flask, Django are the user interfaces that can be created using python.
To study the installation and basic usage of Gradio click here.
As a programmer, I have worked with three kinds of interfaces. They are:
1. HTML
2. Tkinter
3. Gradio
HTML :
The most basic and oldest method to build a user interface is HTML, it provides a vast variety of options for customizing the user interface according to the requirements of the clients. HTML requires other components like CSS, javascript and bootstrap for building an interactive user interface. In order to build such a user interface the programmer should be completely aware of the above-mentioned concepts and also be able to complete the user interface on time.
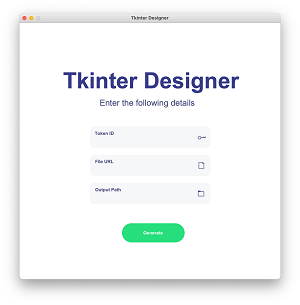
TKINTER :
Python provides a GUI- toolkit called Tkinter to build the standard interface. The Tk GUI toolkit with its python bindings consists of widgets where each widget offers different level customizability. Tkinter works on all major operating systems and provides the basic elements for a user interface like:
1. Frame: Provides structure to the application
2. Button: Used for taking input or submitting information
3. Checkbox: Used to make selections
4. Labels: To display textual information
5. File Dialogs: To upload files into the application
6. Canvas: provides space for graphs and plots
GRADIO :
Gradio was released in February 2019 as an open-source library in python for creating user interfaces that are easy to use, customizable for any machine learning or deep learning model, or any arbitrary function. A gradio user interface can be easily built with just a few lines of code. The installation and basic gradio examples are explained in the link mentioned above. Gradio can work with any Python function to build a simple user interface. That function could be anything from a simple tax calculator to a deep learning model.
Gradio consists of three parameters:
1. fn: a function that performs the main operation of the user interface
2. inputs: the input component type
3. outputs: the output component type
Gradio also provides customizable components like button, textbox, check box, file dialogs which is pretty much similar to Tkinter. It supports multiple inputs and outputs which is the most basic requirement for a user interface built for a deep learning model. Gradio can also be used to perform comparative analysis for different models.
For starters, let’s build a gradio UI for a resnet50 model :
import gradio as gr
import tensorflow as tf
import numpy as np
import requests
from tensorflow.keras.applications.resnet50 import ResNet50
from tensorflow.keras.applications.resnet50 import preprocess_input
from tensorflow.keras.models import load_model
Libraries like gradio, TensorFlow, NumPy, requests are imported from gradio and then modules like Resnet50, preprocess_input are imported from TensorFlow. The library “load_model” is used to load the deep learning model in the code which is the most important part of any user interface. The line of code shown below is used to load the model using the HDF5 file saved after training the model using a dataset.
model = load_model(" .h5 file saved after executing the model ")
Once the model is loaded, a function is written to perform the process of classifying the arbitrary input provided by the client. This piece of code is important to make predictions. After the function is written, a list called class names is created to specify the classes so that the result can be shown in the user interface.
#function
def example(image):
image = image.reshape((-1, 224, 224, 3)),
prediction = model.predict(image).flatten(),
return {class_names[i]: float(prediction[i]) for i in range(4)}
class_names = ['the number of categories in which the model classifies','a','b']
Then the input and output components are initialized using the following code
# initializing the input component
image = gr.inputs.Image(shape = (224, 224))
# initializing the output component
label = gr.outputs.Label(num_top_classes = 4)
The last and final part of the code includes launching the interface. It consists of various components like fn, inputs, outputs, title, description, etc.., All the components in the interface are available in this link.
# launching the interface
gr.Interface(fn = example,inputs = image,outputs = label,capture_session = True, title="This is an example",description= "Description of the user interface").launch(share=True)"
An example of a Gradio interface is shown in the figure below:

Gradio also provides the option of multiple inputs and outputs which can be very helpful for comparative analysis of two or more deep learning models. This can be achieved by just adding a few lines of code. For example, let us consider two deep learning models Resnet50 and VGG16. Let’s get started :
For starters, the same modules are imported and other modules can also be used according to the requirements
import tensorflow as tf
import numpy as np
import requests
from tensorflow.keras.applications.resnet50 import ResNet50
from tensorflow.keras.applications.resnet50 import preprocess_input
from tensorflow.keras.models import load_model
As discussed two HDF5 files are loaded to the user interface using the library “load_model”
model1 = load_model("Model1.h5")
model2 = load_model("Model2.h5")
The categories must obviously be the same for both the models, which must be specified in the list. There is another way to add the categories to the code i.e., using a return statement in the functions. A list can be used when there more than three categories to predict.
class_names = ['a','b','c','d'] # categories
Next comes the main part, the function used to make the prediction. In this case, two functions are required for two models as shown in the code below:
def model1(image):
    image = image.reshape((-1, 224, 224, 3))
    image = tf.keras.applications.resnet50.preprocess_input(image)
    prediction1 = model1.predict(image).flatten()
    return {class_names[i]: float(prediction1[i]) for i in range(4)}
def model2(image):
    image = image.reshape((-1, 224, 224, 3))
    image = tf.keras.applications.resnet50.preprocess_input(image)
    prediction2 = model2.predict(image).flatten()
    return {class_names[i]: float(prediction2[i]) for i in range(4)}
The next part is the same as the code used for a single model
image = gr.inputs.Image(shape = (224, 224)) # initializing the input component
label = gr.outputs.Label(num_top_classes = 4) # initializing the output component
Sample images can be provided in the user interface so that the user can test UI easily
sample_images = [["a.jpg"],["b.jpg"],["c.jpg"],["d.jpg"],["e.jpg"]]
The last part of the launching interface just includes the new functions which are enclosed in the brackets, which indicates that more functions can be added.
# launching the interface
gr.Interface([model1,model2], inputs = image,outputs = label ,capture_session = True, examples = sample_images, title="Example", description="This is the description.").launch(share=True)
The sample output of the user interface looks like shown in the figure:
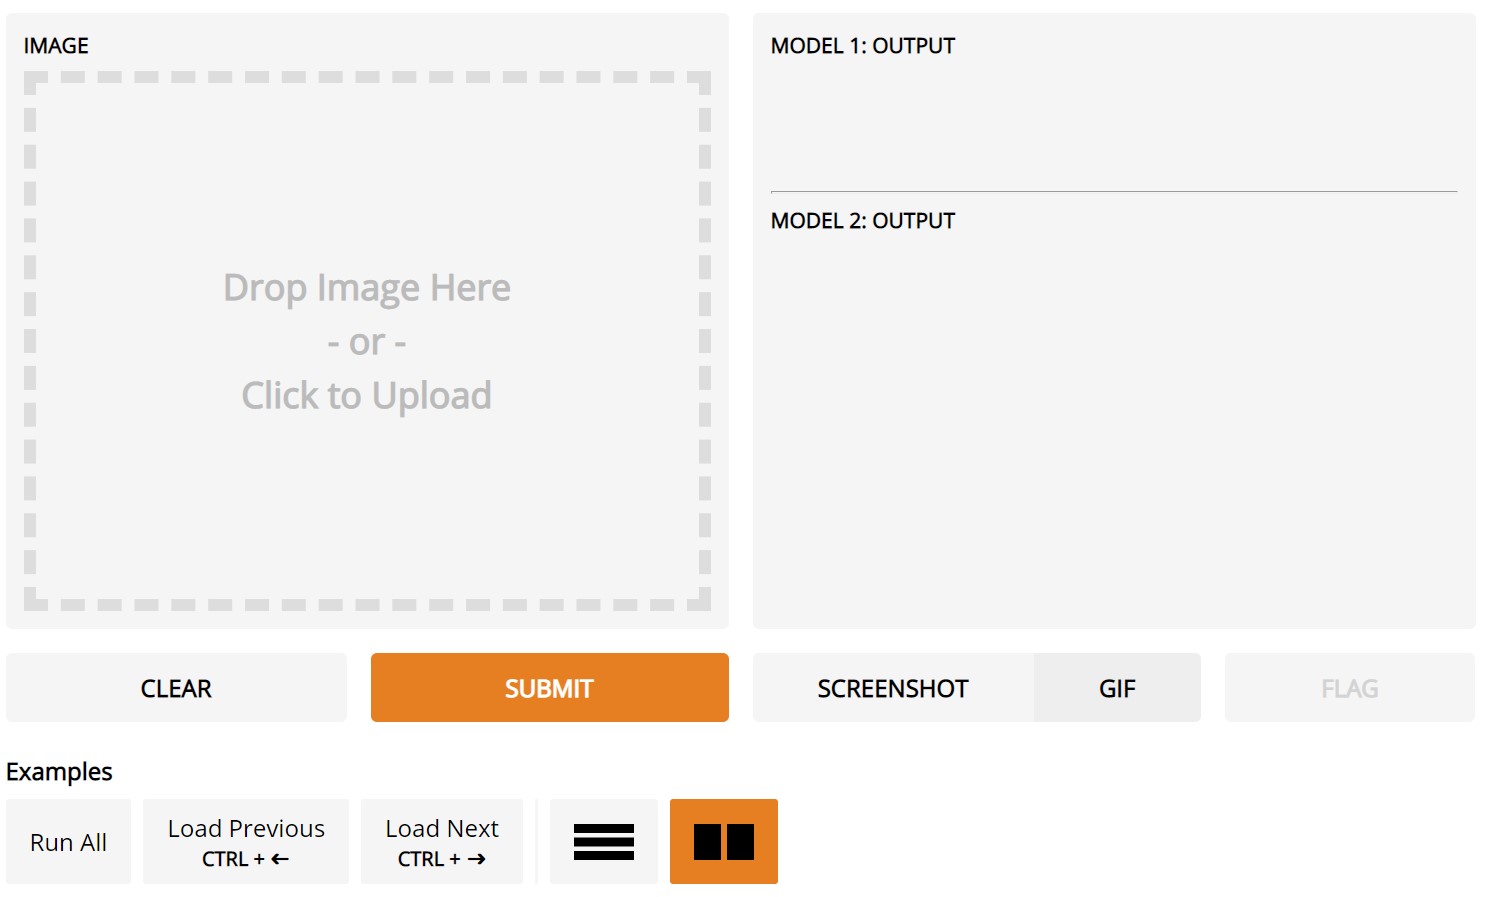
Example for Comparison, image source: Simi_Sanya
To upload the testing image the user can click in the area mentioned ” click to upload ” and then hitting the submit button gets the result in the “output” area. This UI is easy to build and requires very few lines of code when compared with HTML or Tkinter.
End Notes :
It can be concluded that gradio provides a simpler and more user-friendly user interface even for new programmers. Further scope in gradio involves more customizations that can also be done for a better UI. I recommend using this UI for comparing the robustness of different models.
For more examples of Gradio UI for machine learning models, click the link
For further queries email me: [email protected]


