Scraping Jobs on LinkedIn Using Scrapy
This article was published as a part of the Data Science Blogathon.
Introduction
Recently I have been working on a personal project in which I want to extract the skills from the resume and match those skills with the job description to figure out how much a candidate is a good fit for a specific type of job. I need data containing the job description for a specific job role for this work. So, I decided to scrap some job descriptions from Linkedin.

I chose Linkedin for scraping jobs, and their descriptions as this site are the most used for searching jobs. I also need a domain-specific job description, so collecting data from others will not work for me.
Before starting this article, I want to inform you that this article is not for absolute beginners. You must have a basic knowledge of Scrapy. Otherwise, it will be overwhelming for you. If you have that knowledge, just take a cup of coffee and read on.
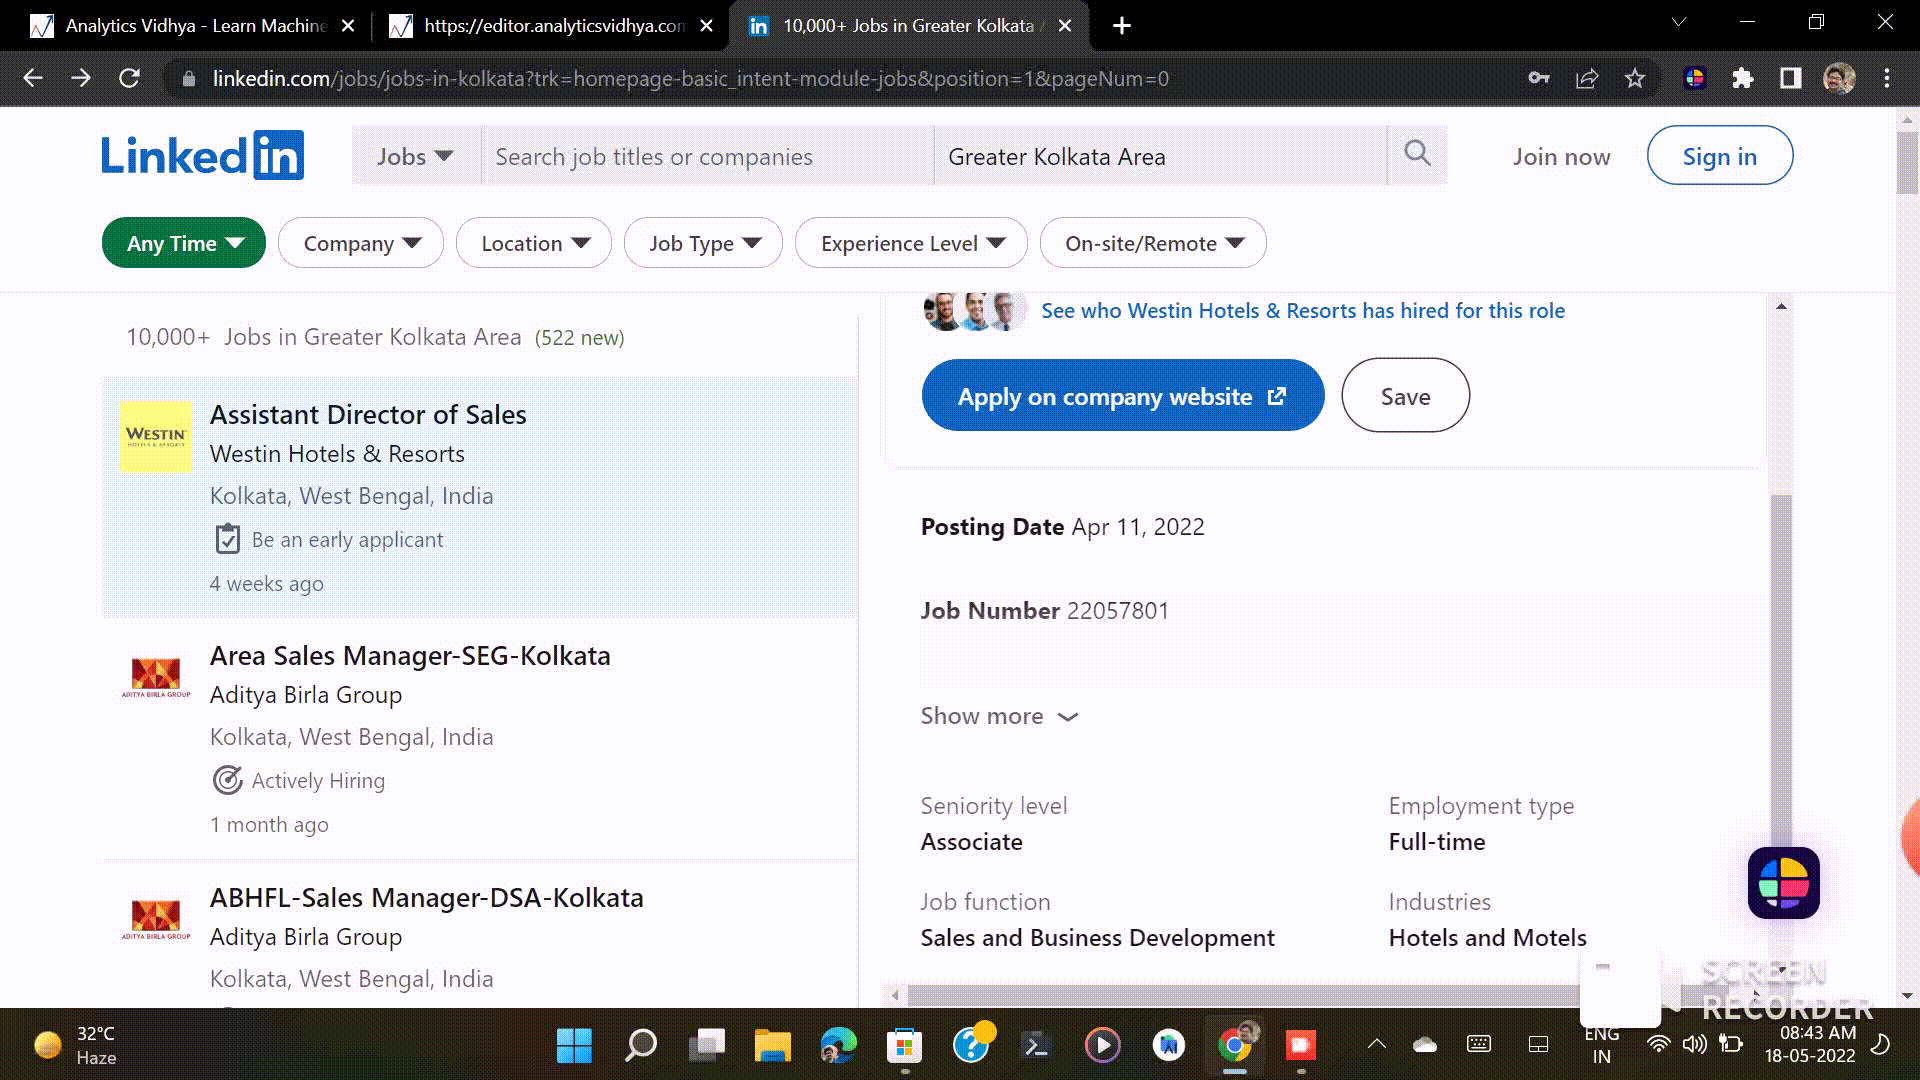
Take a look at Linkedin
Let’s see how Linkedin shows jobs on their website. Here we aim to scrap the job title, company name, job description, date posted, and the location of the job.
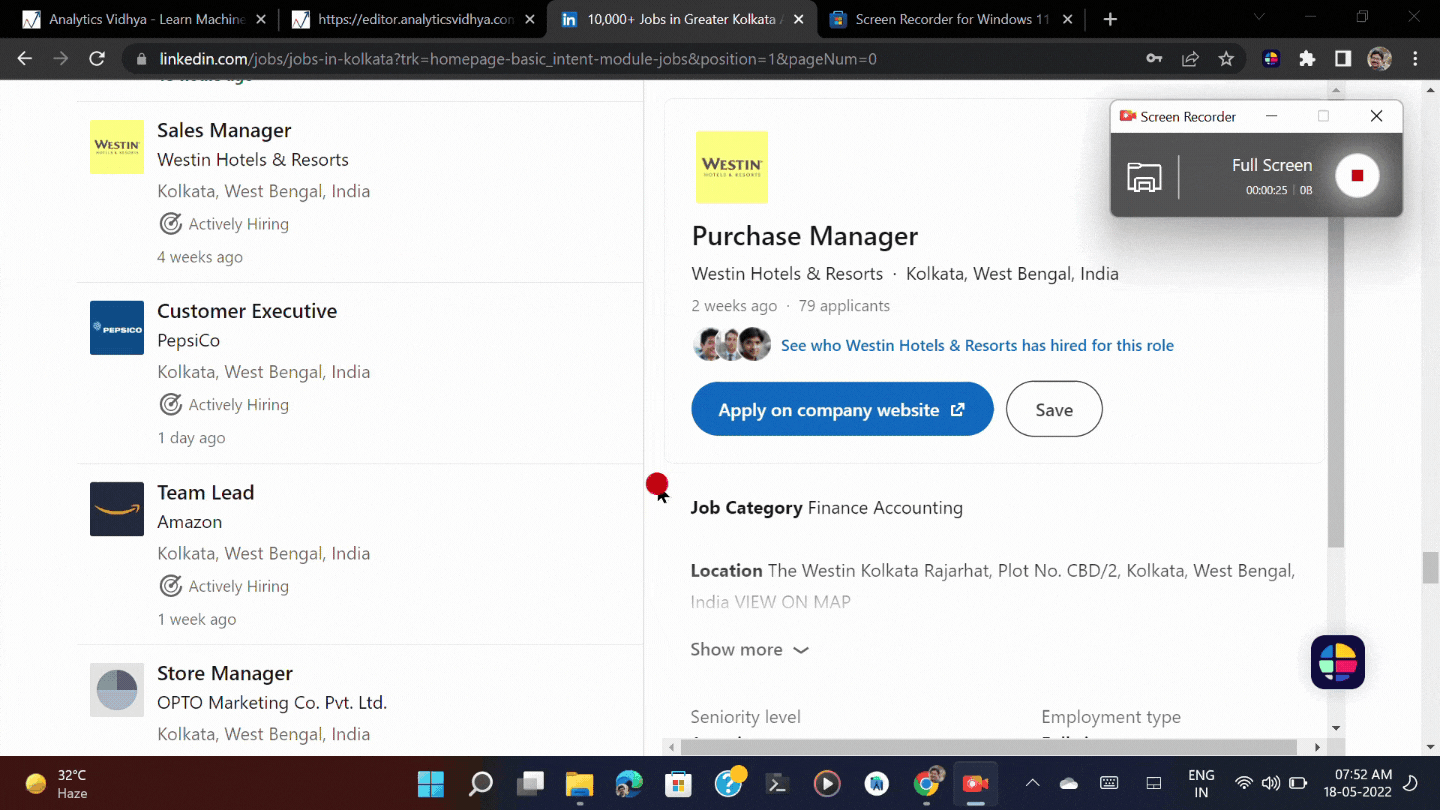
From the above gif, we can easily see how we can see jobs and their details on Linkedin. On the left side, we can see the job names, company names, their locations, etc. And on the other side, we can see the job description.
There are two things:
- The more we scroll the webpage, the more we get details about jobs. This type of scrolling is called Infinite Scroll. Linkedin displays 25 jobs in one scroll. So, if you ignore this infinite scroll, you will get only 25 jobs every time. For this, taking the website link and scraping data from them is not sufficient here.
- When you open the developer tool in the browser, the right part is disappeared. For this, we can’t scrap the right side in this way; we have to find another way.
Now we know about our problems, so let’s dive into the solution.
Making a New Project
I am using the Scrapy Python library for scraping those data. If you face trouble while selecting elements from the website in Scrapy, please check this article. In this article, I explain everything about selecting XPath and CSS selectors from websites in Scrapy.
At first, we start by creating a new project. You can use any IDE for this. Here I am using PyCharm. First, create a new folder in your desired directory and then right-click on it.
.png)
You can see something like this. If you are using PyCharm, just click the ‘Open Folder as PyCharm Project’ option. If you are using VS code, just click the next option shown in the image. I named the folder ‘LinkedinHunter.’ It seems like we are going to a war🤣🤣.
Now set the python interpreter, install Scrapy, write the command mentioned below in the terminal, and press Enter.
scrapy startproject
This command will create a folder containing all the files needed for creating a spider. The directory will look something like this.
.png)
For now, our work will happen in the ‘spiders’ package highlighted in the image. here create a python file with your desired file name and add that initial code inside that file.
Now we are ready to code our spider to scrap Linkedin.
Making a Scrapy Spider
Enabling ‘Log XMLHttpRequest’
As I told you earlier, this webpage is an infinite scroll webpage. This website uses AJAX (Asynchronous Javascript And XML), which gives the website the capability of reloading data without reloading the whole website. So when we are done reading about the whereabouts of 25 jobs and scroll further, the website again sends a request to the server for sending 25 more jobs. That’s how this website works. So, we have to find the link by which this website sends requests to the server.
Now there is a question – How can I find that link? Don’t worry, I will tell you that too.
At first, we have to enable the ‘log XMLHttpRequest‘ option from the console in the developer tool. Just open the developer tool by right-clicking on the webpage. Then go to the console tab and click settings. Here you can see the ‘log XMLHttpRequest‘ option. Just enable it.
.gif)
After enabling this option, go to the Network tab and start scrolling the webpage slowly. When you see that loading animation at the bottom of the website, just stop and see on the right side i.e. the Network tab and find which link just appeared. This is the link we have to give to the spider.
Implementing Start_Requests() Method
Now let’s make the spider step by step. We have a python file containing the initial code for the spider. Now remove the pass statement and add a method named start_requests.
By experimenting a little bit, you can see while loading jobs, the last two digits of the link are updating every time and that digit is the factor of 25. For this, when you first scroll further after reading 25 jobs, the last digit will be 50. That makes sense because every time Linkedin load 25 jobs and the last digit denotes how many job posts are there. That is how the browser sends requests to the server.
So we have to update the last two digits. For that reason, I gave curly braces in the position where the digit exists and by a for loop, we change that number and send requests programmatically, just like the browser. That’s all about the start_requests method.
Now you can also see in the above code snippet that I also define a callback function in the scrapy.Request() function. This just tells the spider the next step after fetching the links. Now it’s the time for implementing the after_fetch method.
Implementing after_fetch() method:
In this method, after fetching the link we again go to the job link where we get the all details about the job. Remember the problem where I mentioned that the right side disappeared after opening the developer tool. So I go to those job links, which are given with the job title, and from there I scrap those necessary pieces of information.
Now in the above code, you can see that there is also a callback argument in response.follow() where I specify a method named parse. it is a method inherited from Scrapy and it is a required method. Now let’s override this method.
Implementing Parse() Method
If you are familiar with Scrapy, you can easily understand those codes. I gave a little space between codes for better understanding.
In the first part, I select the job description, whether the job is entry-level or not, job title, company name, location, and time.
In the second part, I cleaned the collected information.
In the third part, I made a dictionary containing all the data I have collected so far.
And finally, I yield that dictionary.
The difference between yield and return is – yield returns a sequence of values, but return gives us a single value.
Now we are done writing our spider. now let’s run this by this command—
scrapy crawl -o job_data.json
Here is that spider name that you give in the spider class.
By specifying -o, we tell scrapy to save those data in that file. you can give any name of that file but don’t change the format; otherwise, it will give an unexpected result. You can also save those data in a CSV file. Just modify the code as needed.
After scraping all the data, it will look something like this.
.png)
Conclusion
So, we successfully created a spider that can scrape job data from Linkedin. If you face trouble understanding those CSS selectors anywhere, just go through this article.
Now you can scrape any job website like a pro. You can also learn how to tackle the infinite scrolling problem and gain good knowledge about Scrapy. I faced a lot of trouble while tackling the infinite scrolling problem on Linkedin. I hope you don’t fall into that trouble after reading this article.
That’s all for now. If there is any problem, please let me know😇. Thanks for reading this article so far😁. Sayonara!


Hey, i am interested to learn about this project. Can you please provide me the code you used here? Thanks in advance.