Getting Started with Linux File System
This article was published as a part of the Data Science Blogathon.
This article will discuss the essential and valuable commands required for managing Files and Directories in Linux Operating System.
Prerequisites: You must have a Linux Operating System and some basic knowledge of Linux Shell.
What is Linux?
Linux is the most used open-source operating system. An Operating System is software used to manage your computer’s hardware resources. It works as a middleman between the software and the hardware and is responsible for allocating resources to the software.
Linux is also one of the world’s most reliable, secure and bug-free operating systems. Also, famous platforms like Android works on Linux distribution. Despite its use in servers and desktops, it is used in most embedded devices like Watches, Smart Phones, Refrigerators, etc. It is also used in Super Computers.
It has zero entry cost (i.e. you don’t have to pay a single penny to get a license to use it). It is robust towards viruses, malware, slowdowns, and creases. It is also available Open Source.
An Open Source application is that which we can use for free. Also, we have a right to modify its code and also a right to share the original code or the modified code with others.
Linux Distributions:
Distributions are called versions of Linux. Linux has various versions that suit the need of all types of users, whether they are beginners or hard-code coders. Below are some famous distributions of Linux:
1. Ubuntu
2. Debian
3. Kali Linux
4. Alpine
5. CentOS
6. Fedora
7. Manjaro
This tutorial will use Ubuntu, the most popular Linux Distribution. It is the most reliable one, and it is also a desktop-based OS.
Open your Ubuntu Shell and get your hands dirty on some valuable and vital Linux Commands.
Let’s get started, 😉
Package Manager
In Ubuntu, apt is used as a package manager. It stands for Advanced Packaging Tool. It is a command-line tool responsible for installing new packages or updating the existing packages. It is also responsible for updating the whole list of packages or sometimes the entire Ubuntu system.
Let’s see how can we install packages using apt.
We will install a simple terminal-based text editor called nano
1. Getting the list of packages:
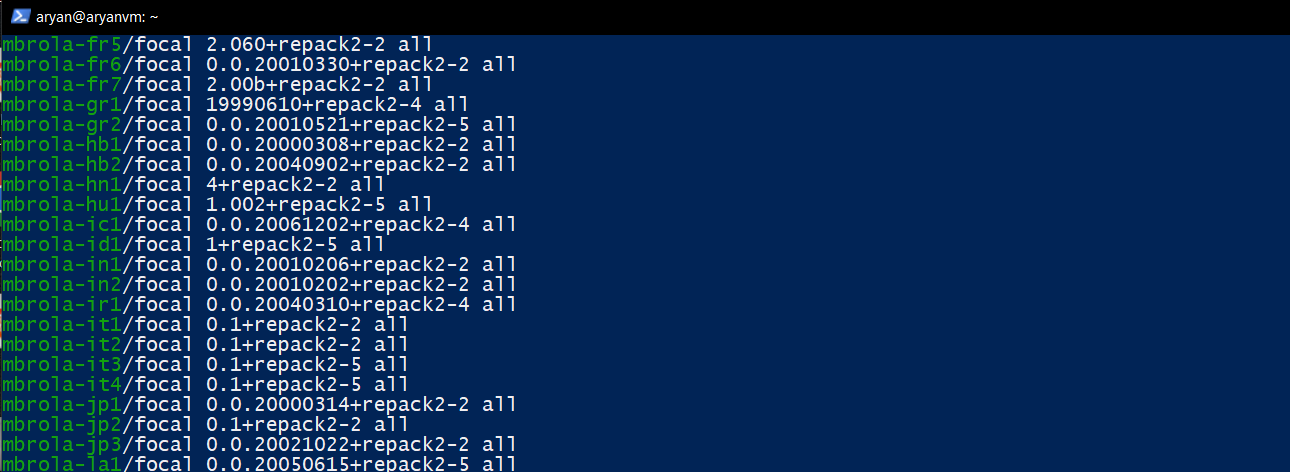
$ apt list
Output (You will get the entire list of packages that you can install using apt)
2. Updating the list of packages:
$ sudo apt update
sudo is used because I’m not the root user of the machine I’m using. If you are a root user, then you don’t have to use sudo.
The above code will update the list with all the latest packages.

3. Install nano package:
$ sudo apt install nano
4. Checking the installed package:
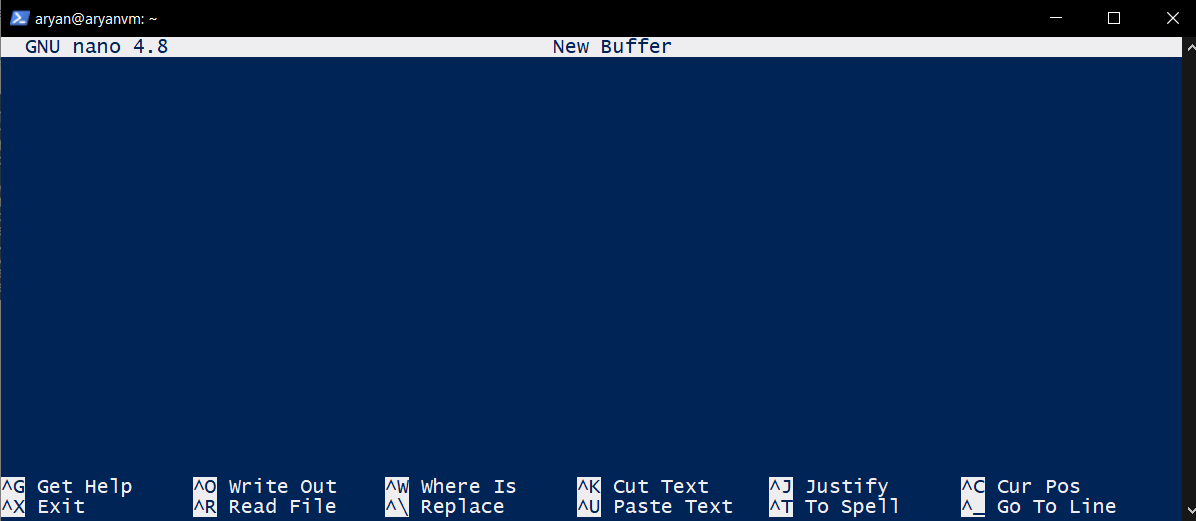
$ nano
If nano is installed successfully, typing the above command will open a text editor in the terminal.
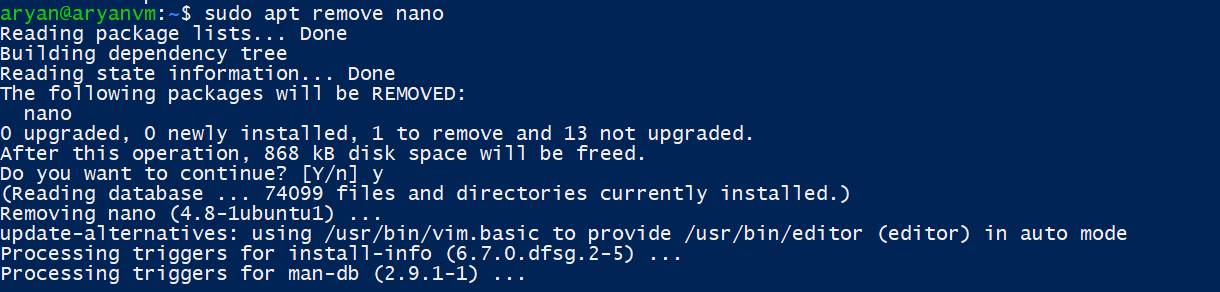
5. Uninstall selected packages:
$ sudo apt remove nano
The above code will remove the selected package from Ubuntu.
Directory Structure
Type the below command to get the list of the required files in the Linux File System.
$ ls -l
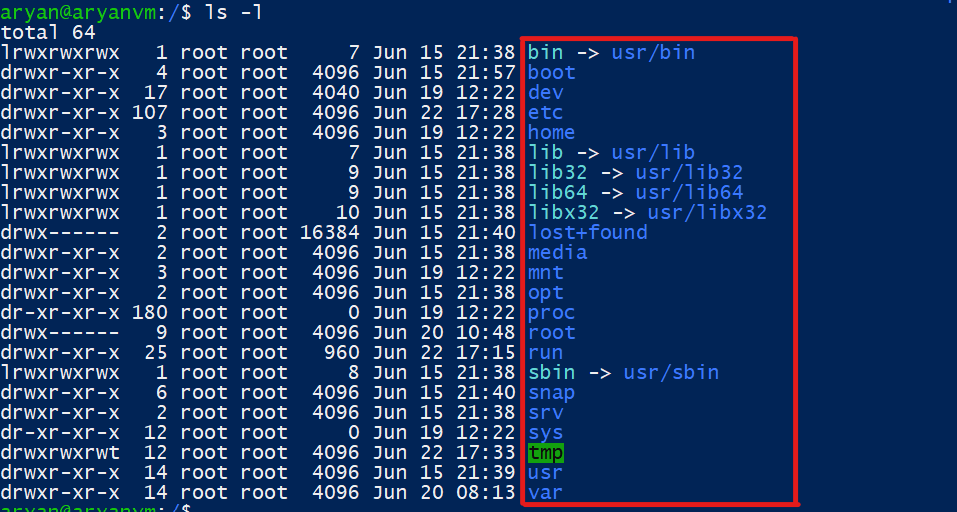
Let’s understand the functions of some of these directories:
1. /bin – It represents binaries and contains executable user programs.
2. /boot – It contains all the files required to boot Linux operating system.
3. /dev – It stands for devices. It contains all the files required to access and control all the devices in the computer.
4. /etc – It stands for Editable Text Configuration. It contains all the configurations file for the host computer.
5. /home – This directory stores the data of users. In the case of multiple users, then all users have their separate home directory.
6. /root – It is the home directory for the root user. Only the root user has access to that directory. A root user is a user with the highest privileges.
7. /lib – It contains all the files of the libraries installed in the system.
8. /var – It stands for the variable. Here variable data files have stored that need to be updated frequently, like log files, database files, etc.
9. /proc – This file represents all the running processes.
File Navigation Commands
1. Print the current working directory:
$ pwd

2. List the folders and files of the current directory:
$ ls

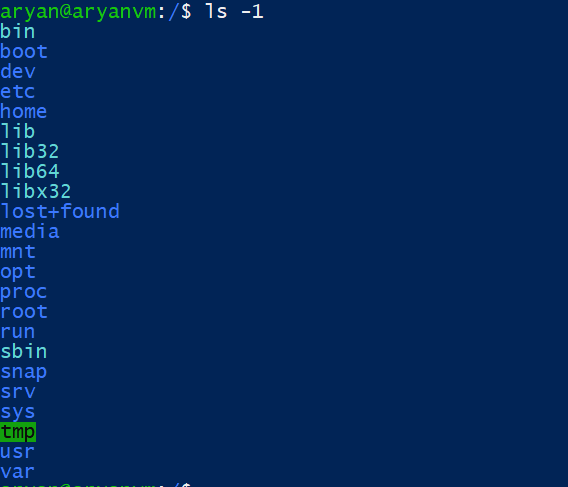
List all the files row-wise instead of column-wise:
$ ls -1
List all the files with additional data like Time Stamp, User Access, etc.
$ ls -l

3. Changing the Directory:
Type the below command along with the relative path of the directory you want to move.
$ cd
For ex-
$ cd boot

Go back to the previous directory:
$ cd ..
Shortcut to directly go into your Home Directory:
$ cd ~
Creating Files and Directories
1. Creating a new directory:
$ mkdir #test_directory
For ex-
$ mkdir test_directory

2. Removing a directory:
$ rmdir
For ex-
$ rmdir test_directory

3. Renaming a directory:
$ mv
For Ex-
$ mv test_directory test_directory_new

You can also use the above command to move a directory from one path to another.
4. Creating Files:
$ touch test_file.txt

You can also create multiple files simultaneously using the touch command:
$ touch test_file_1.txt test_file_2.txt test_file_3.txt

5. Removing a File:
$ sudo rm test_file.txt

You can also remove multiple files having a common prefix:
For Ex- Remove all the files whose prefix starts from “test_”.
$ rm test_*

Viewing and Editing Files
If you remember, previously, we have installed a text editor named nano. Now we will use that text editor to view and edit the files.
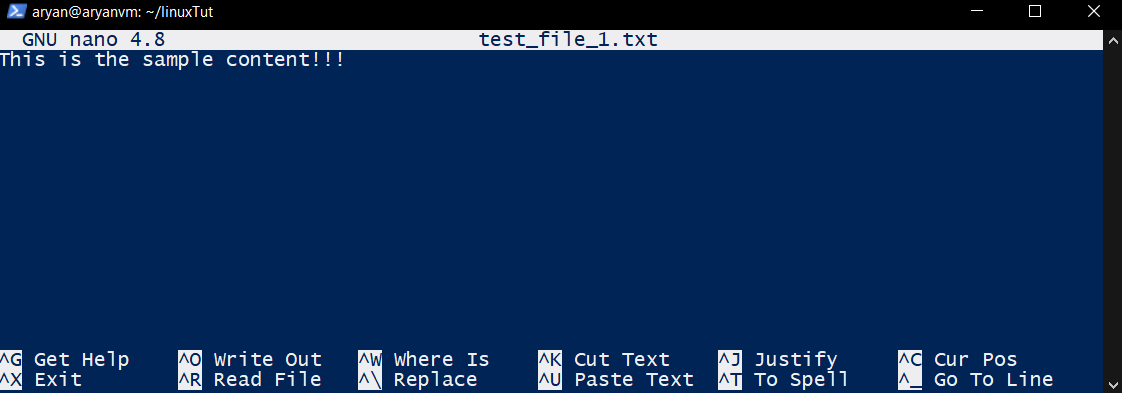
1. Creating a file using nano:
$ nano test_file_1.txt
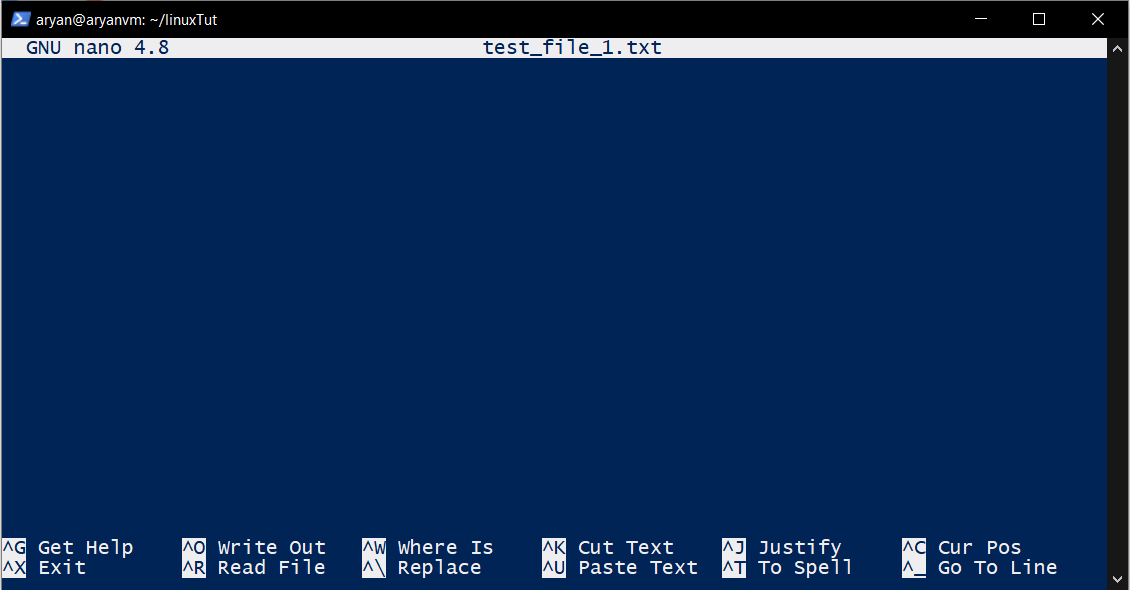
A text editor likes the above opens, where you can write your text.
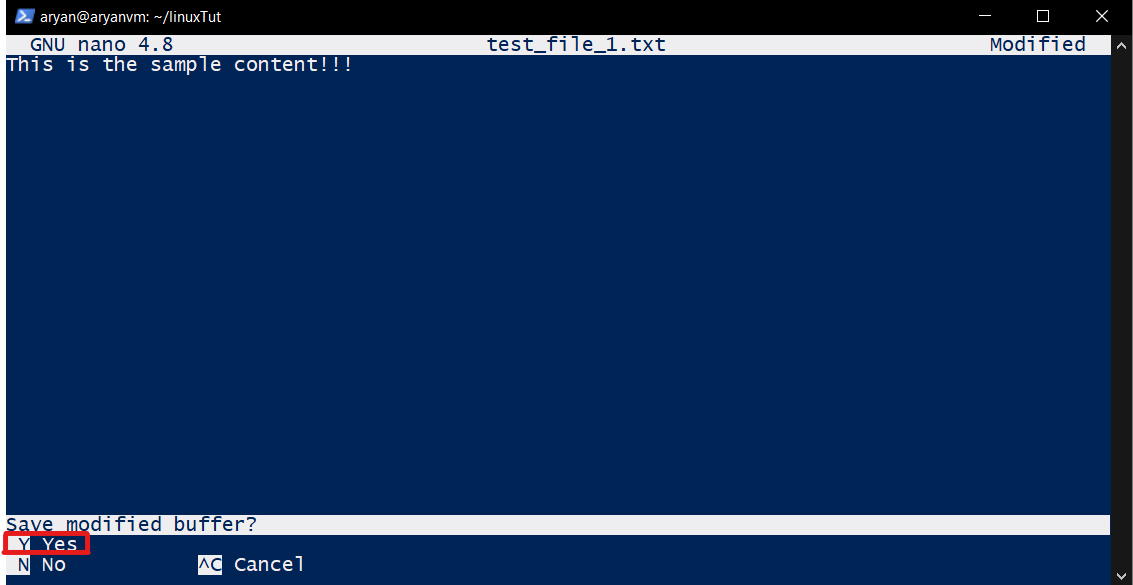
2. Saving a file using nano:
To save the content that you have written, press Ctrl+X.
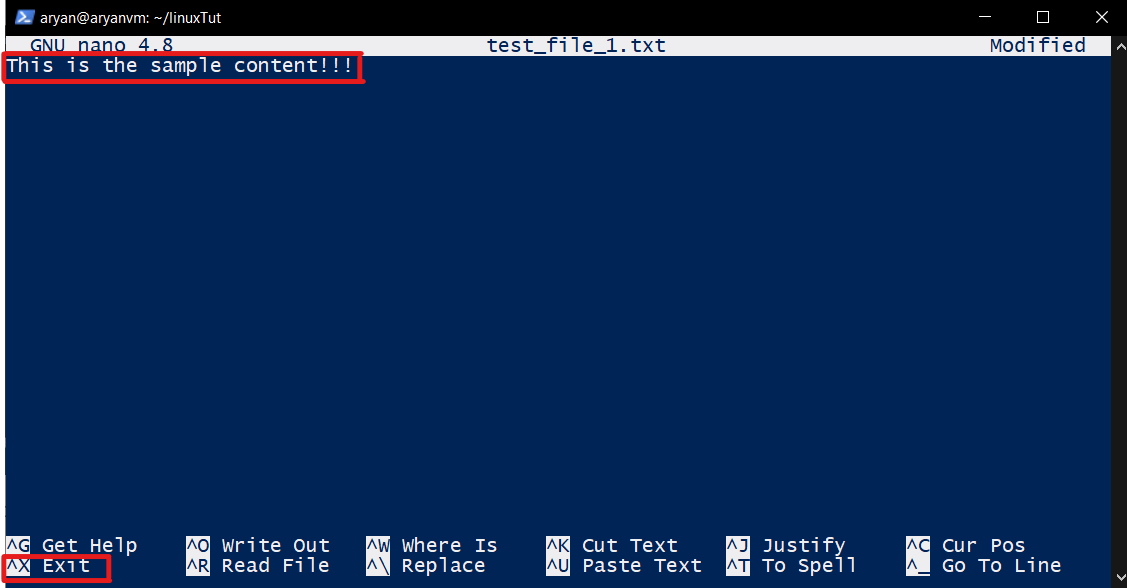
Then press Y if you want to save or N if you’re going to exit without saving, and finally hit enter.
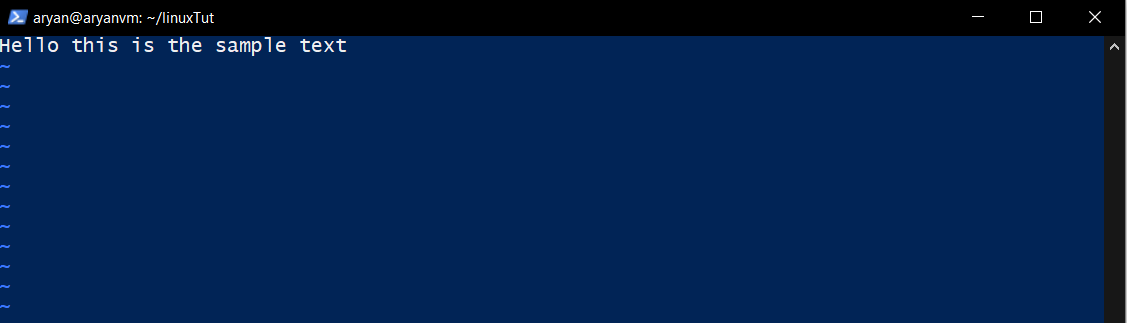
3. Creating a file using vim text editor:
Now, we have another text editor called vim. You can install it similarly to nano using the apt command if it is not installed already.
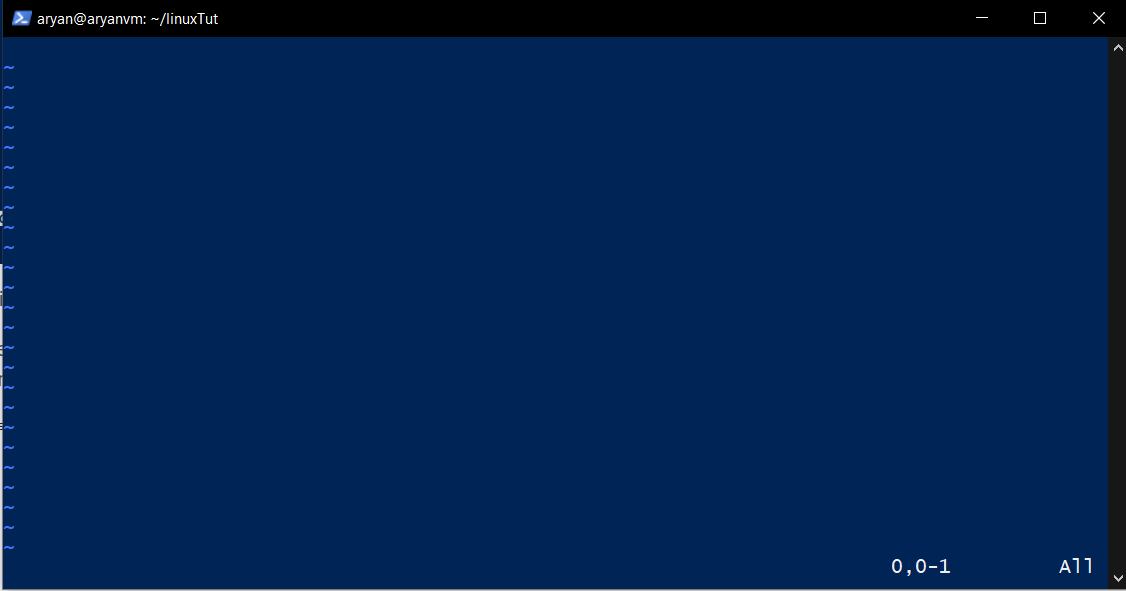
$ vim test_file_2.txt
When the text editor opens, then press the I button to start inserting text into it.
You can save that file using the below command:
ESC+ colon + w + q then press enter.
4. Viewing the content of the saved files:
$ nano test_file_1.txt #Add your file path instead
$ vim test_file_2.txt
Or, if you want to see the output in the browser itself, you can use the cat command.
$ cat test_file_1.txt

If a file is large, it isn’t easy to see all the content simultaneously. So use less command to see the output page by page. And you can navigate through the pages using the up and down arrow keys.
First, create a file having significant content.
Then use the below command to get the data.
$ less large_file.txt
Then you will see the output page by page, not the complete output simultaneously.
5. View only the first or last n lines of a file:
To view the first n lines
$ head -n 5 large_file.txt
To view the last n lines
$ tail -n 5 large_file.txt
6. Copy the content of one file to another:
Now, we will copy the text from one file and then paste it into another file.
$ cat >
For Ex-
$ cat test_file_1.txt > copy_file.txt

In the above image, you will see that the content of the file test_file_1.txt is copied to copy_file.txt
7. Concatenating two files:
Now, we will merge the contents of two separate files into a single individual file.
$ cat >
For Ex-
$ cat test_file_1.txt test_file_2.txt > combined_file.txt

In the above image, you will observe that the output of both the files is combined into an individual file.
8. Pasting content in a file without using a Text Editor:
$ echo >
For Ex-
$ echo This is 3rd test file > test_file_3.txt

Conclusion
In this article, we have discussed a brief introduction to the Linux Operating System and its distributions. Further, we have discussed the essential and most critical command-line functions used to manage files and directories in Linux.
Linux is a lightweight operating system requiring the least RAM and processing power. And it can keep running smoothly without shutdown for even many years.
In future articles, I will try to cover more essential commands and functions like Searching for a file, searching for a text, creating environment variables, creating a separate user with restricted authorization, etc.
Key takeaways of this article:
1. Firstly, we have discussed Linux and its distributions.
2. We have talked about the apt package manager.
3. After that, we discuss the significant directories of the Ubuntu OS.
4. Further, we have discussed the file navigation commands and how we can create files and directories.
5. Finally, we have discussed how we can view and update these files’ contents.
It is all for today. I hope you have enjoyed the article. If you have any doubts or suggestions, feel free to comment below. Or you can also connect with me on LinkedIn. I will be delighted to get associated with you.
Do check my other articles also.
The media shown in this article is not owned by Analytics Vidhya and is used at the Author’s discretion.


