Introduction to Supabase: Postgres Database using Python
This article was published as a part of the Data Science Blogathon.
Introduction
Supabase is an open-source Backend as a Service (BaaS) that is gaining traction among developers in recent times. Supabase claims to be the open-source Firebase alternative and is backed by big tech companies like Yandex, Mozilla, and Coatue. Just like Google Firebase, Supabase also aims to replace the complete backend for modern web and mobile applications by providing various important features and functionalities like authentication, cloud storage, database, analytics, and edge functions. These services can automatically scale by network traffic without any manual setup.
The major issue with Google Firebase is vendor lock-in, which is one reason companies refrain from using these platforms to reduce development time. In the case of Supabase, there is no fear of vendor lock-in. Another significant difference between Supabase and Firebase is that Supabase is built on top of a Postgres database while Firebase ships a NoSQL database called Firestore. If you are interested in learning about the Firestore database offered by Google Firebase, refer to my previous article here.
In this article, we will learn how to set up the Postgres database on the Supabase platform and perform basic CRUD operations using the python programming language. We will also see some SQL queries to perform some CRUD operations on the Postgres database.
Setting-up Supabase
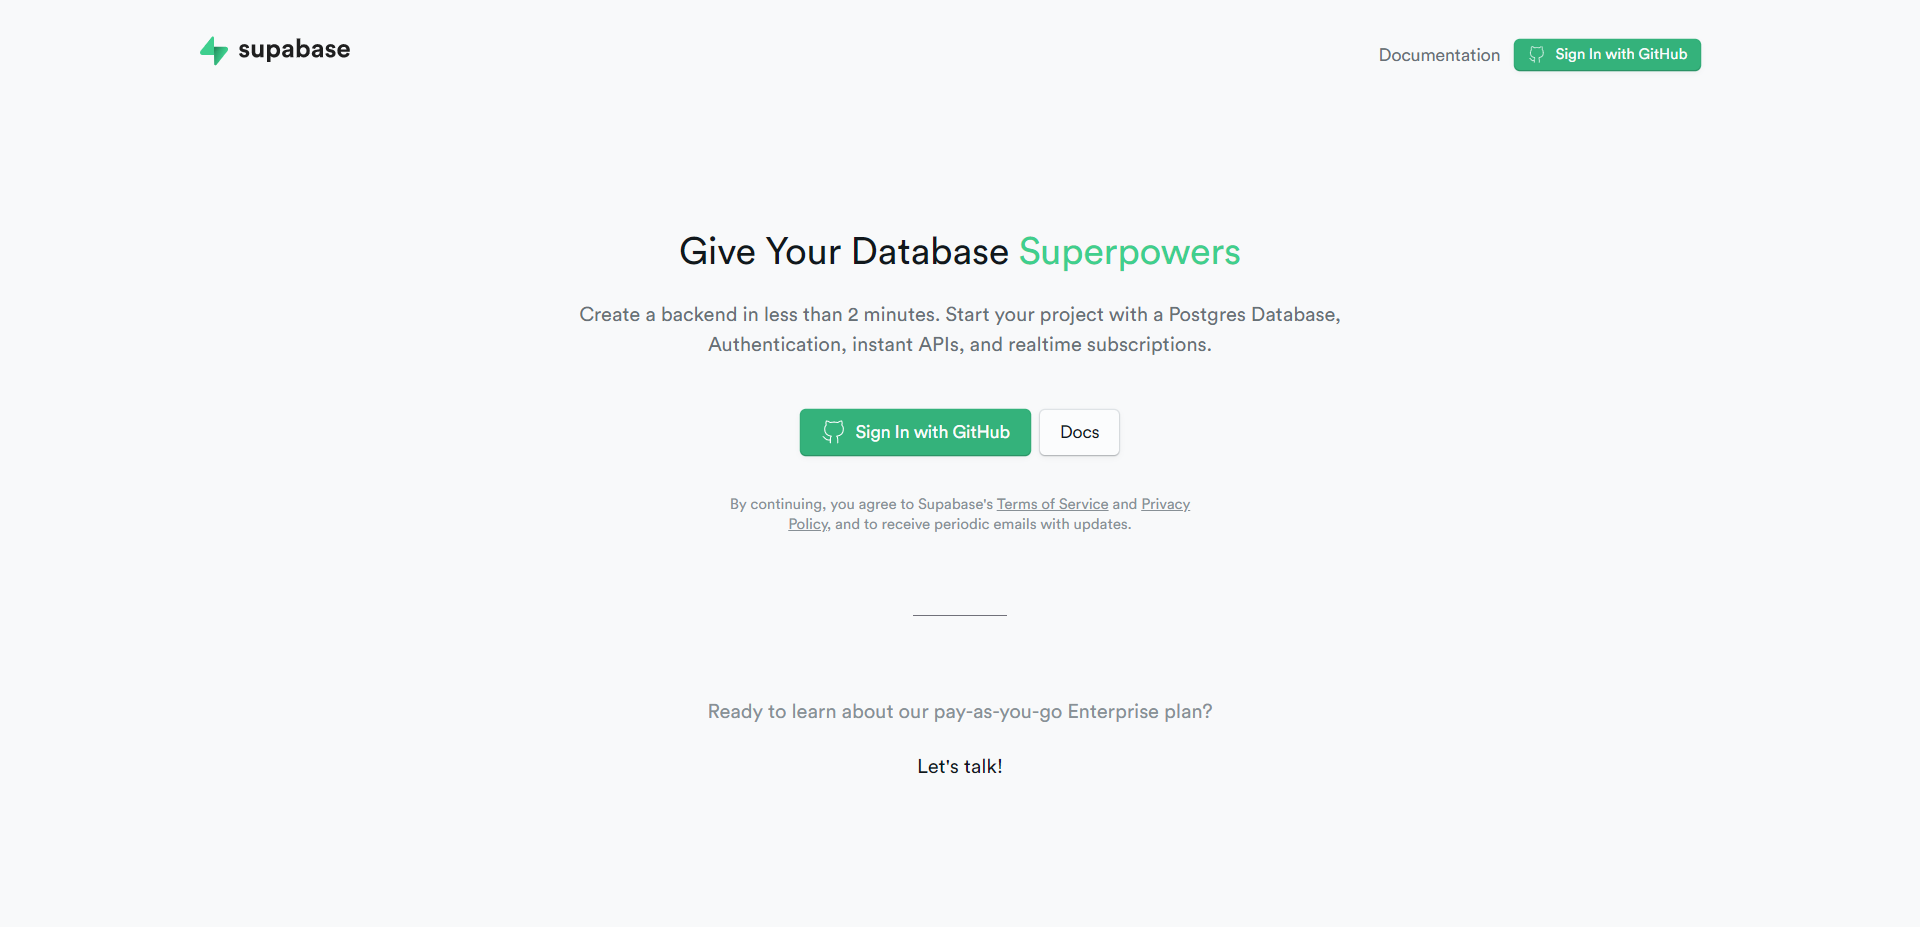
Navigate to the official Supabase website and sign in with your GitHub account to access Supabase. This is a mandatory step.
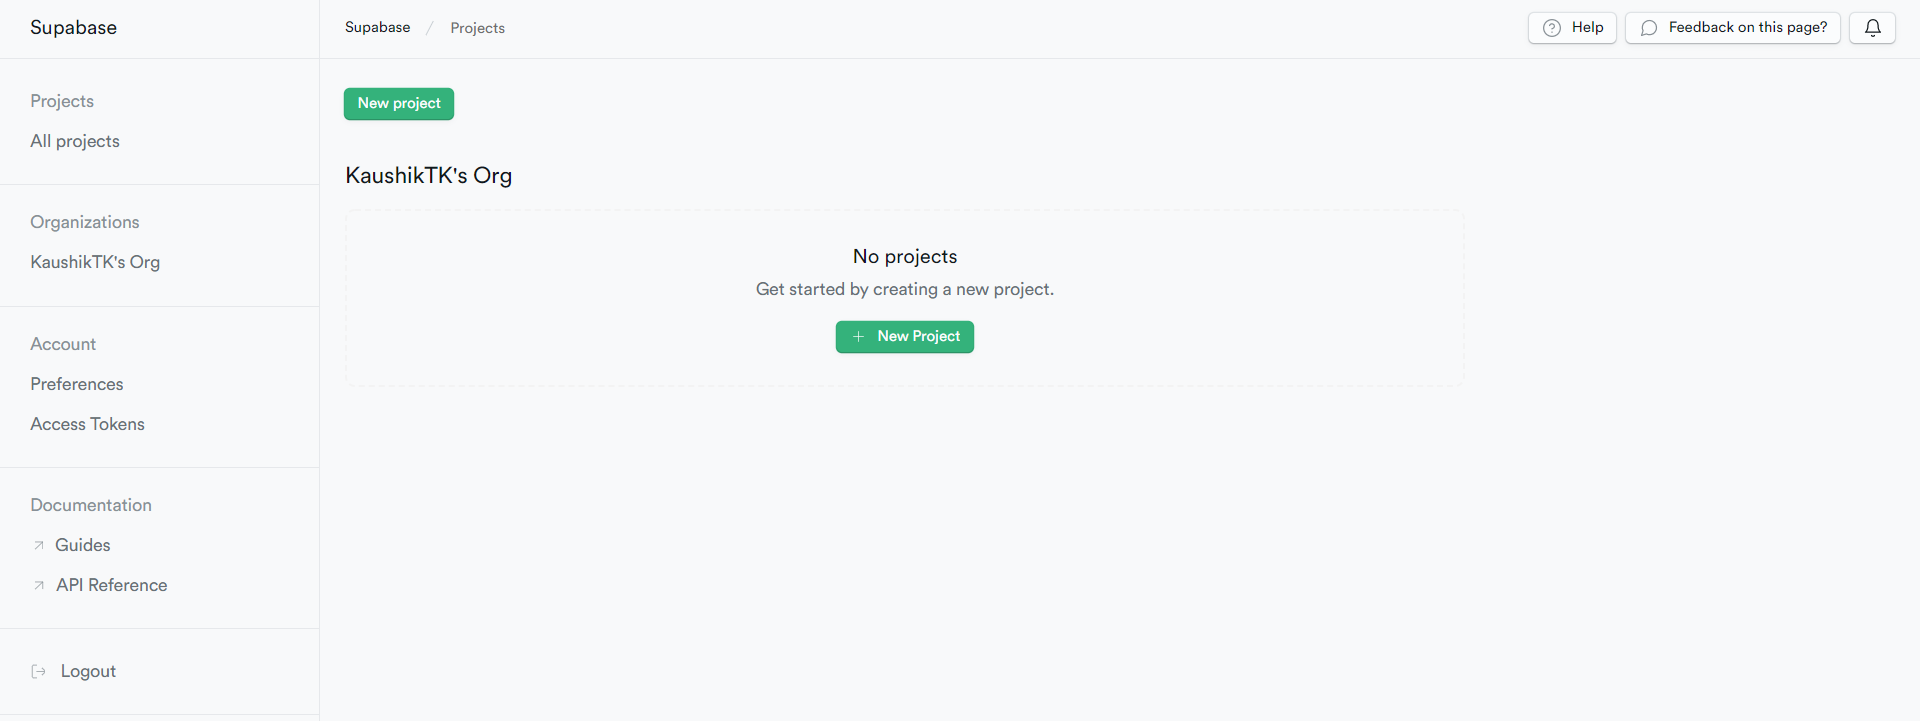
Once you sign in with your Github account, you can see all your projects on the dashboard. Please note that the free-tier version lets you create a maximum of up to 2 projects. Let’s go ahead and create a new Supabase project.
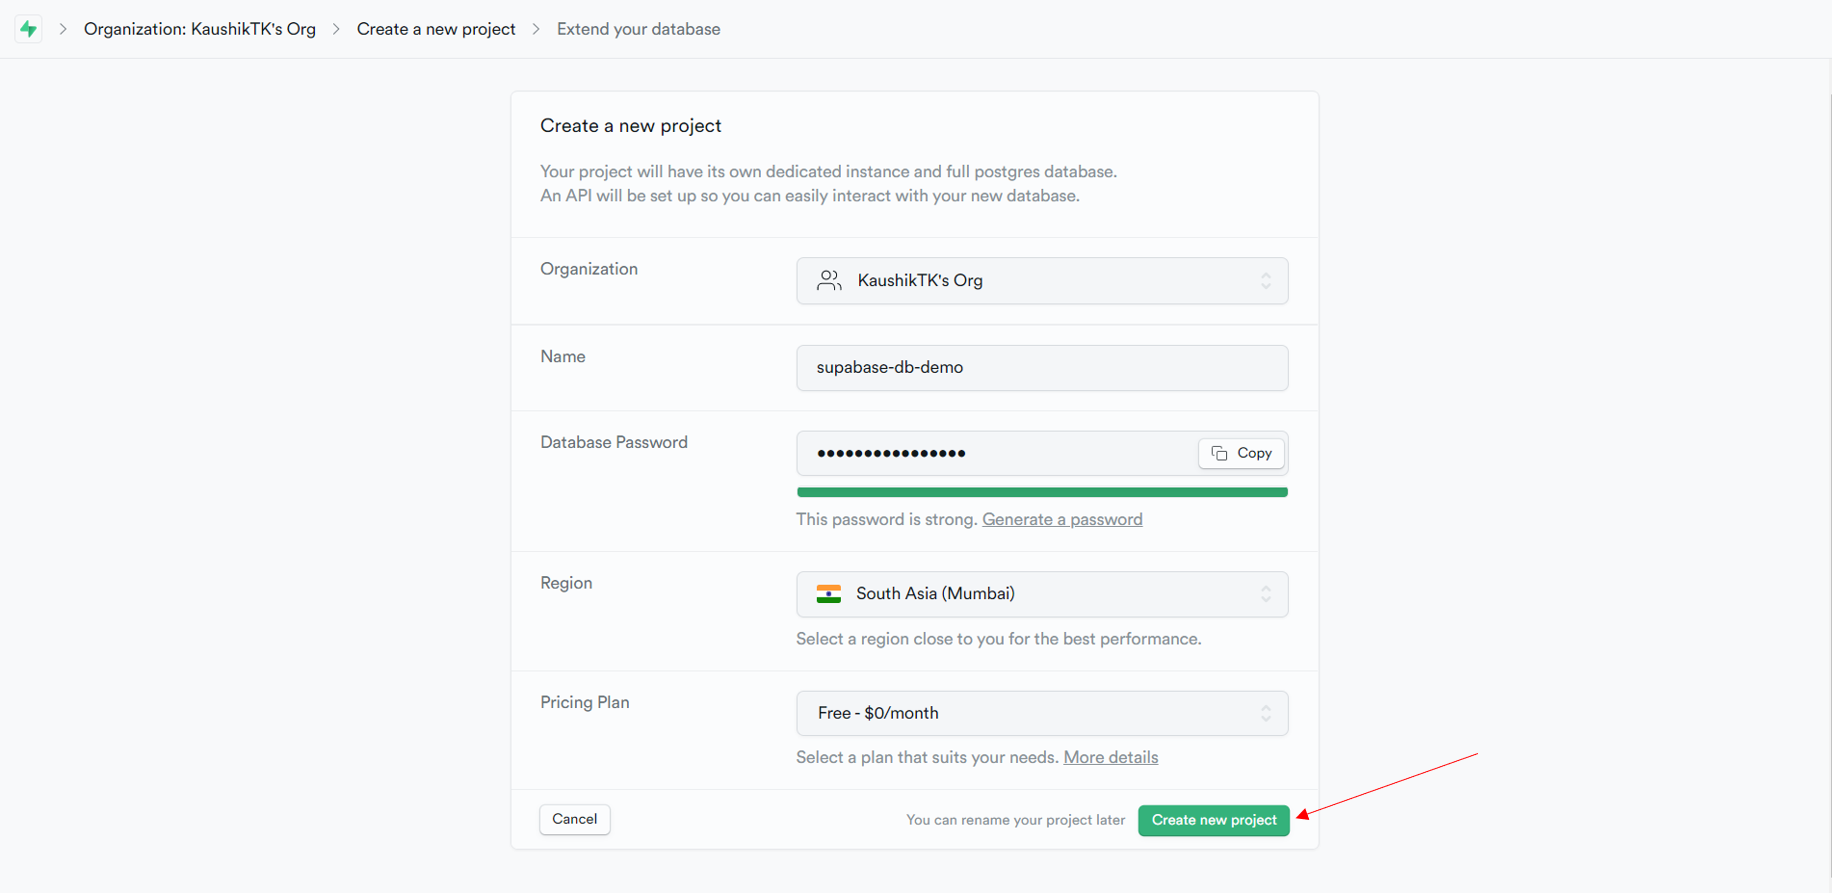
Once you click the create new project button, you will be prompted to fill out a form with some basic information concerning your project. Go ahead and fill in the details, and once completed, click the create new project button. Please note that if the database password entered by you is weak, the create new project button is disabled. So, make sure to give a strong password. It takes a minute or so to create the project. A reference picture is shown below.
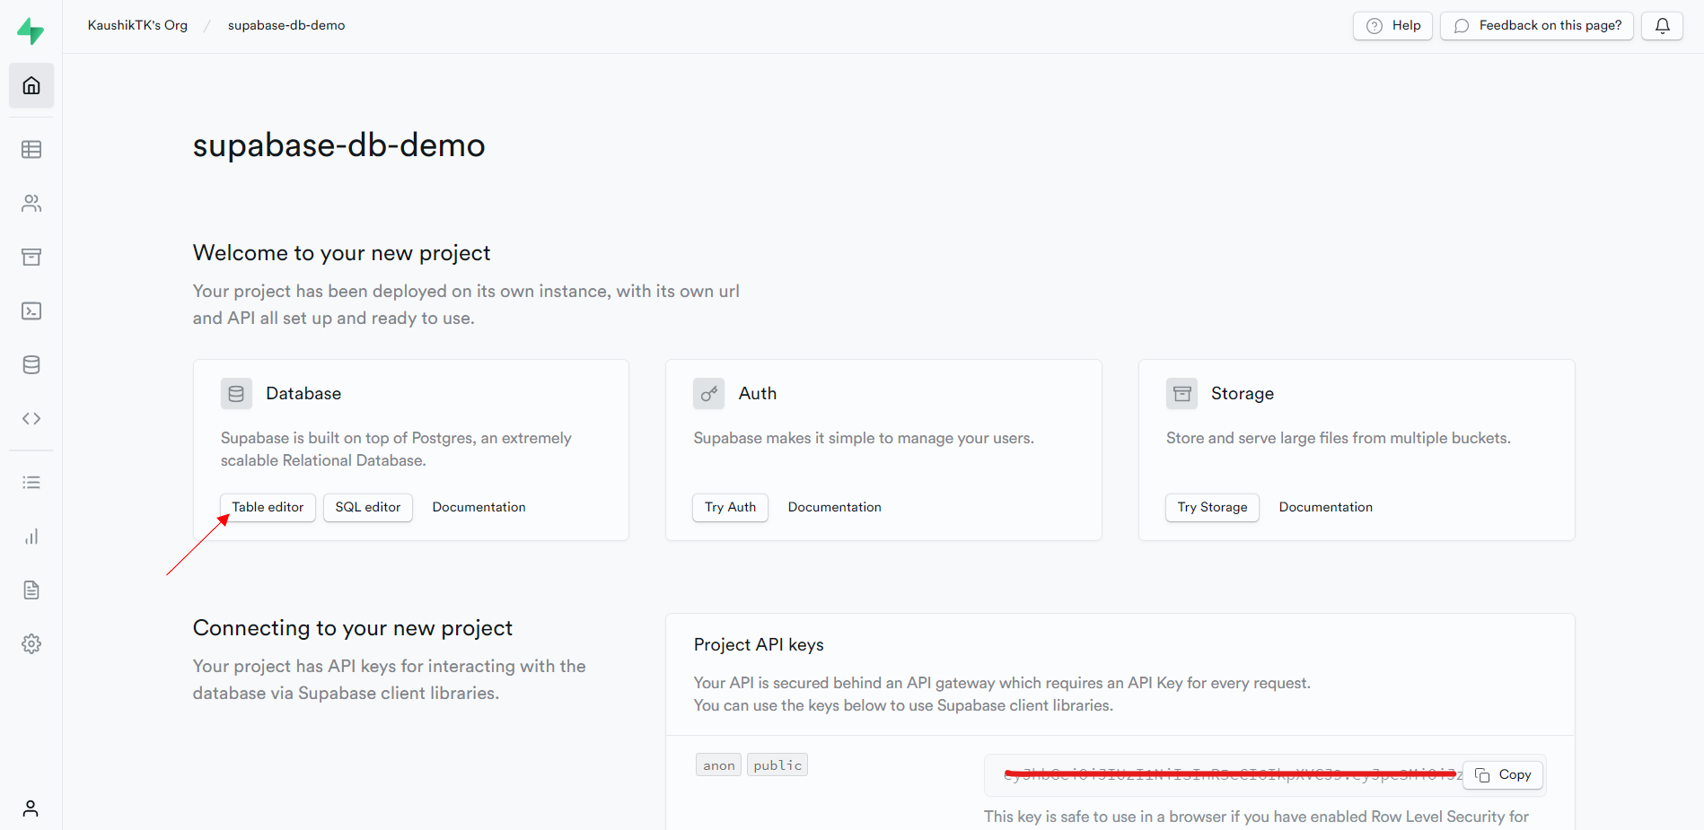
Once the project is successfully created, you will be redirected to your project dashboard, which will look something like the picture shown below. Since this article is focused on introducing the Postgres database, we will not cover other services available like authentication or storage. Let’s go ahead and create a Postgres table in the database. For this, we can click the table editor button, which provides an easy UI to create and manage tables. If you are familiar with writing SQL queries, you can select the SQL editor to create the table and perform other required tasks. To keep things simple, I will be creating the table using the table editor, but I will also cover the SQL editor available in another section of this article.
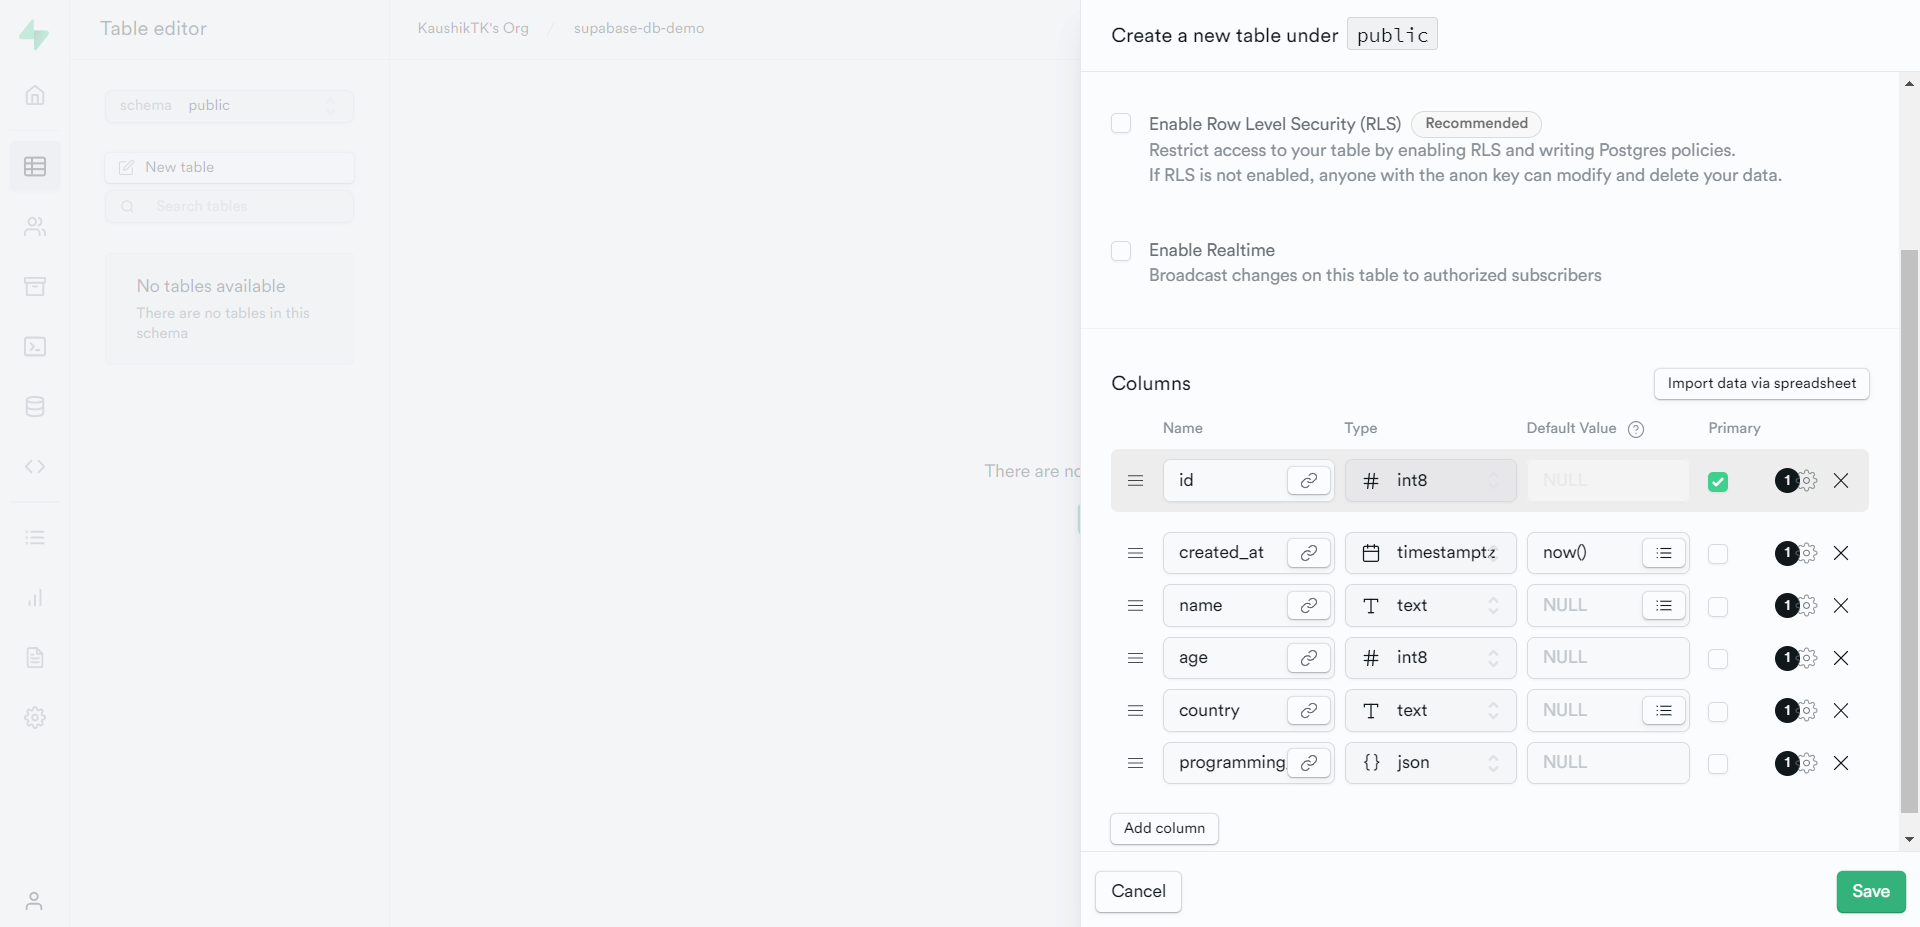
Once you click the create new table button, you will be prompted to enter the table name and the column names along with their data type. I will be naming the table as “demo-database” and creating a table with six columns – id, created_at, name, age, country, and programming_langauges. The id field will serve as the primary key for this table. Please refer to the below image to have a better understanding. Once all the details are entered, click the save button to create the table.
Now that we have created a table let’s get our hands dirty and shift our focus to the programming part.
Connecting to Supabase and Performing CRUD Operations
There is a Supabase client for python available that can be installed like any other python module using pip. Let’s go ahead and install it before proceeding further.
$ pip install supabase
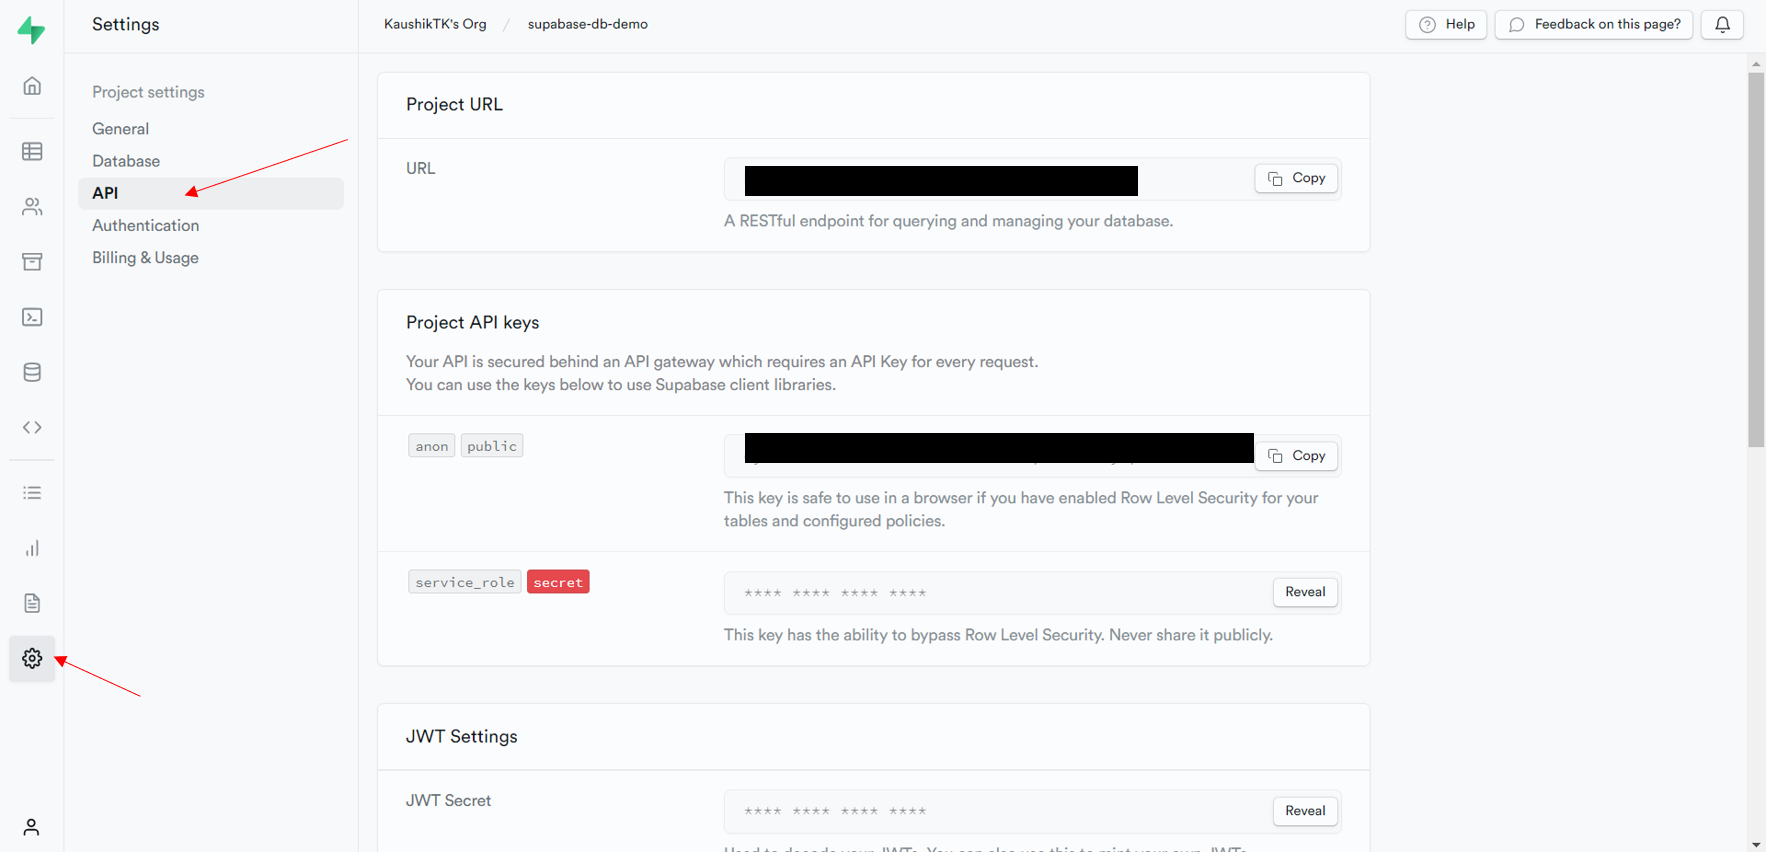
Two things are mandatory to connect to the Supabase database: the Project URL and the API Key. To extract this, navigate to the settings tab and select the API section, where you will find the project URL and the API key. Copy the URL, and the anon public key as this will be used to connect to the Supabase database.
Now that we have all the credentials with us let’s go ahead and connect to the Supabase database.
from supabase import create_client
import json
API_URL = 'your_url'
API_KEY = 'your_key'
supabase = create_client(API_URL, API_KEY)
supabase
Now that we have successfully connected to our database let’s understand how to perform basic CRUD operations.
Let us first see how we can insert a single record into a table in our database. Each record needs to be a dictionary containing all the information. To insert a record into a table, we use the “insert()” function, which accepts the record data as a dictionary.
data = {
'id': 1,
'name': 'Vishnu',
'age': 22,
'country': 'India',
'programming_languages': json.dumps(['C++', 'python', 'Rust'])
}
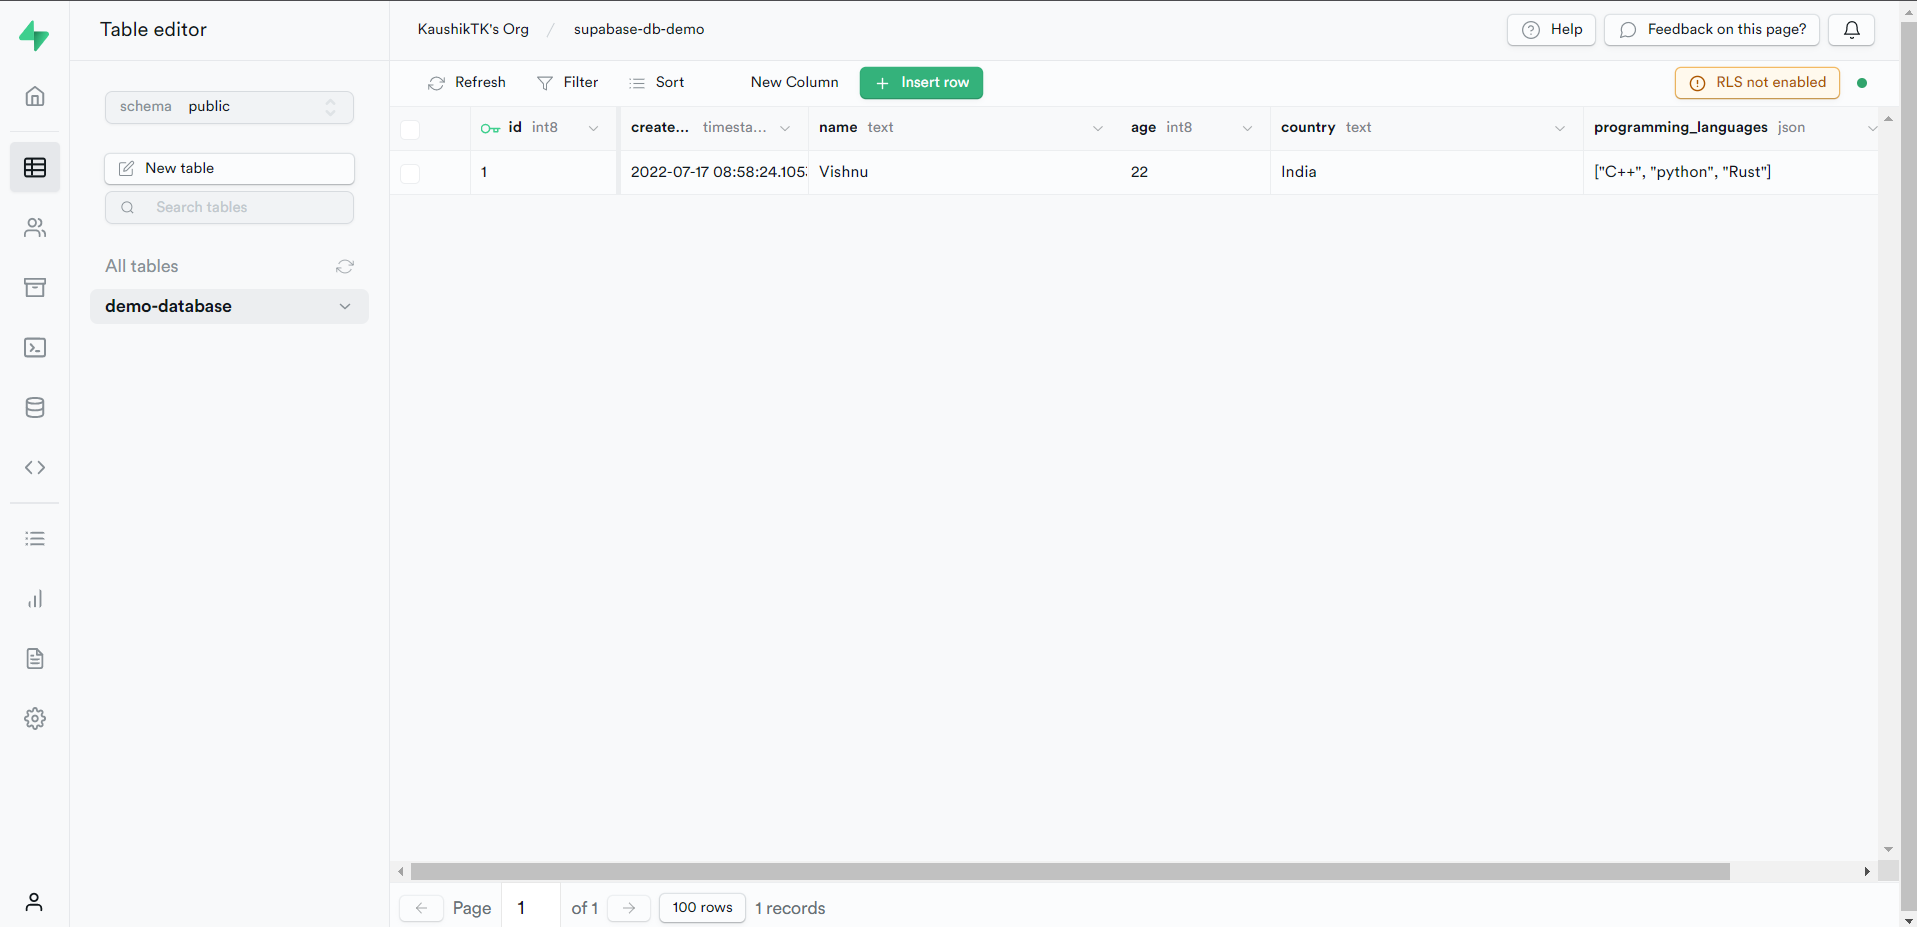
supabase.table('demo-database').insert(data).execute() # inserting one record
APIResponse(data=[{'id': 1, 'created_at': '2022-07-17T08:58:24.105377+00:00', 'name': 'Vishnu', 'age': 22, 'country': 'India', 'programming_languages': '["C++", "python", "Rust"]'}], count=None)
Now the same “insert()” function can also be used to insert multiple records. To do so, we must pass in a list of dictionaries containing all the records’ data. Let’s see this in action now.
data = [
    {
        'id': 2,
        'name': 'Prakash',
        'age': 37,
        'country': 'India',
        'programming_languages': json.dumps(['C#', 'web assembly'])
    },
    {
        'id': 3,
        'name': 'Arjun',
        'age': 29,
        'country': 'Germany',
        'programming_languages': json.dumps(['python', 'nodejs', 'Rust'])
    },
    {
        'id': 4,
        'name': 'Sanjay',
        'age': 19,
        'country': 'India',
        'programming_languages': json.dumps(['python'])
    },
    {
        'id': 5,
        'name': 'Ram',
        'age': 44,
        'country': 'India',
        'programming_languages': json.dumps(['python', 'Go'])
    }
]
supabase.table('demo-database').insert(data).execute() # inserting multiple records
APIResponse(data=[{'id': 2, 'created_at': '2022-07-17T09:02:48.193326+00:00', 'name': 'Prakash', 'age': 37, 'country': 'India', 'programming_languages': '["C#", "web assembly"]'}, {'id': 3, 'created_at': '2022-07-17T09:02:48.193326+00:00', 'name': 'Arjun', 'age': 29, 'country': 'Germany', 'programming_languages': '["python", "nodejs", "Rust"]'}, {'id': 4, 'created_at': '2022-07-17T09:02:48.193326+00:00', 'name': 'Sanjay', 'age': 19, 'country': 'India', 'programming_languages': '["python"]'}, {'id': 5, 'created_at': '2022-07-17T09:02:48.193326+00:00', 'name': 'Ram', 'age': 44, 'country': 'India', 'programming_languages': '["python", "Go"]'}], count=None)
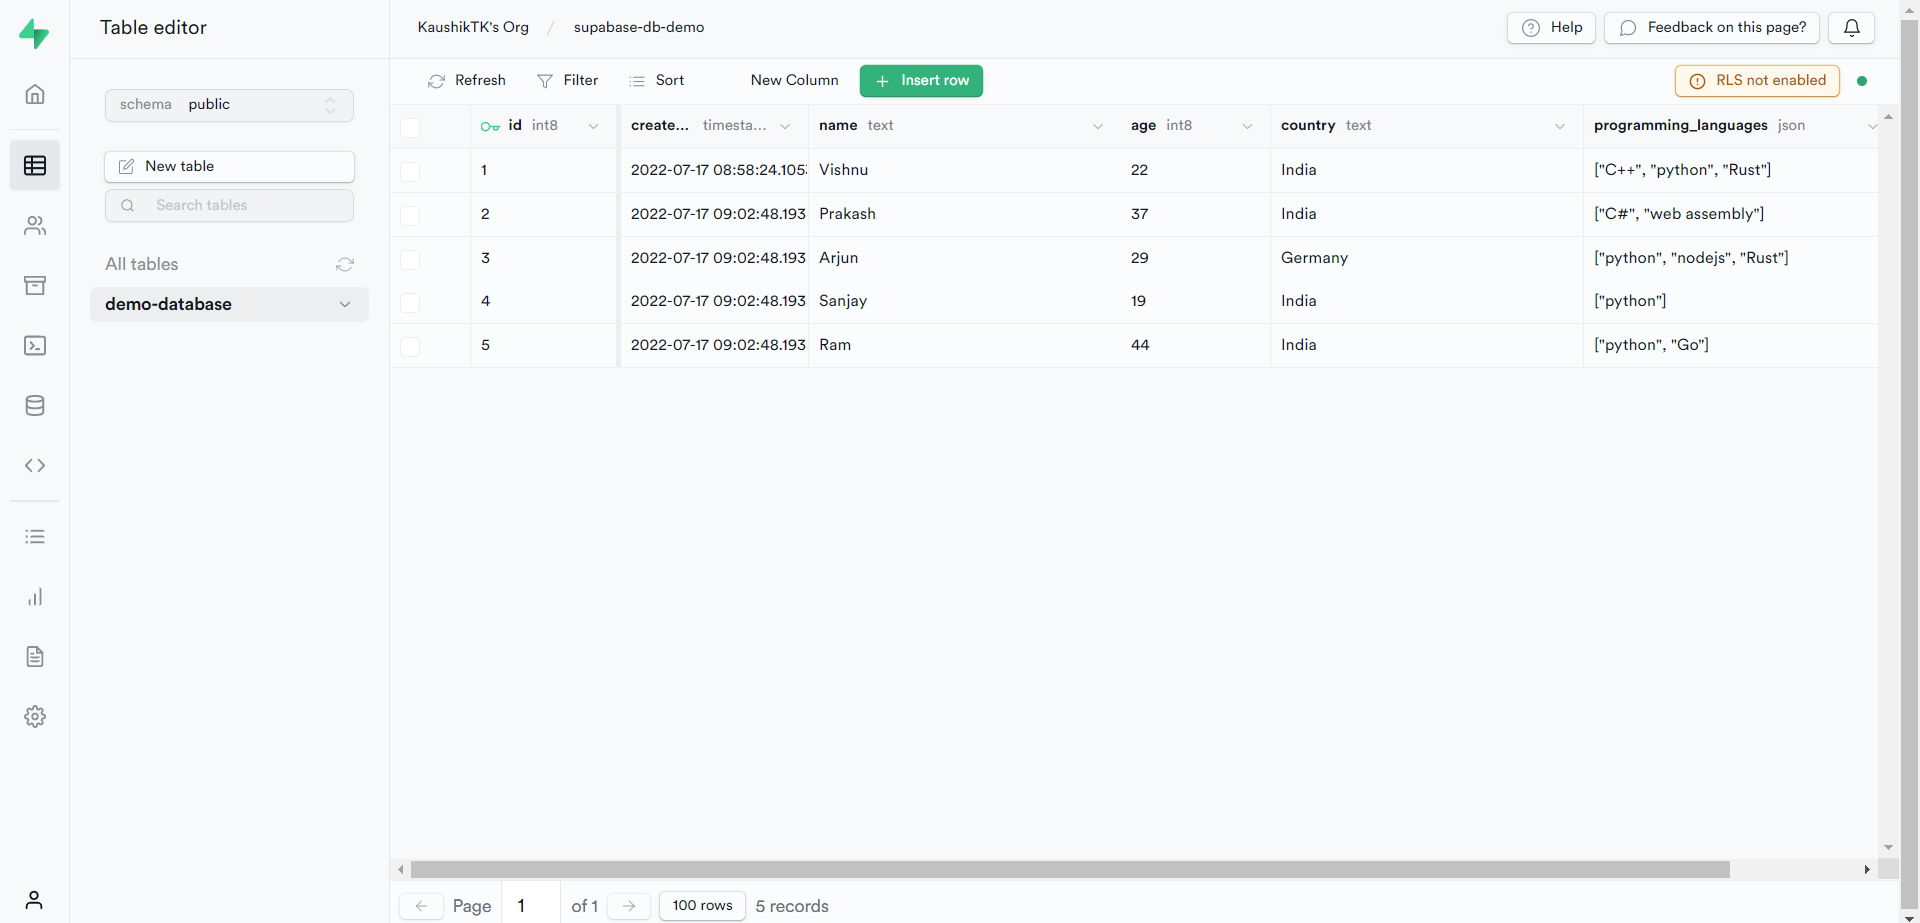
We can see that all the records are also visible in our dashboard. Now that we have understood how to perform the insertion operation, let’s see how we can fetch some documents from the table.
To fetch some records from the table, we can use the “select()” function just like the select SQL query. Let’s see this in action to have a better understanding.
supabase.table('demo-database').select('*').execute().data # fetching documents
[{'id': 1,
  'created_at': '2022-07-17T08:58:24.105377+00:00',
  'name': 'Vishnu',
  'age': 22,
  'country': 'India',
  'programming_languages': '["C++", "python", "Rust"]'},
 {'id': 2,
  'created_at': '2022-07-17T09:02:48.193326+00:00',
  'name': 'Prakash',
  'age': 37,
  'country': 'India',
  'programming_languages': '["C#", "web assembly"]'},
 {'id': 3,
  'created_at': '2022-07-17T09:02:48.193326+00:00',
  'name': 'Arjun',
  'age': 29,
  'country': 'Germany',
  'programming_languages': '["python", "nodejs", "Rust"]'},
 {'id': 4,
  'created_at': '2022-07-17T09:02:48.193326+00:00',
  'name': 'Sanjay',
  'age': 19,
  'country': 'India',
  'programming_languages': '["python"]'},
 {'id': 5,
  'created_at': '2022-07-17T09:02:48.193326+00:00',
  'name': 'Ram',
  'age': 44,
  'country': 'India',
  'programming_languages': '["python", "Go"]'}]
The “*” represents that we need all the columns to be returned from the table. This can be done using the SQL editor from our dashboard as well. Let’s go ahead and write a simple SQL query and see how it works.
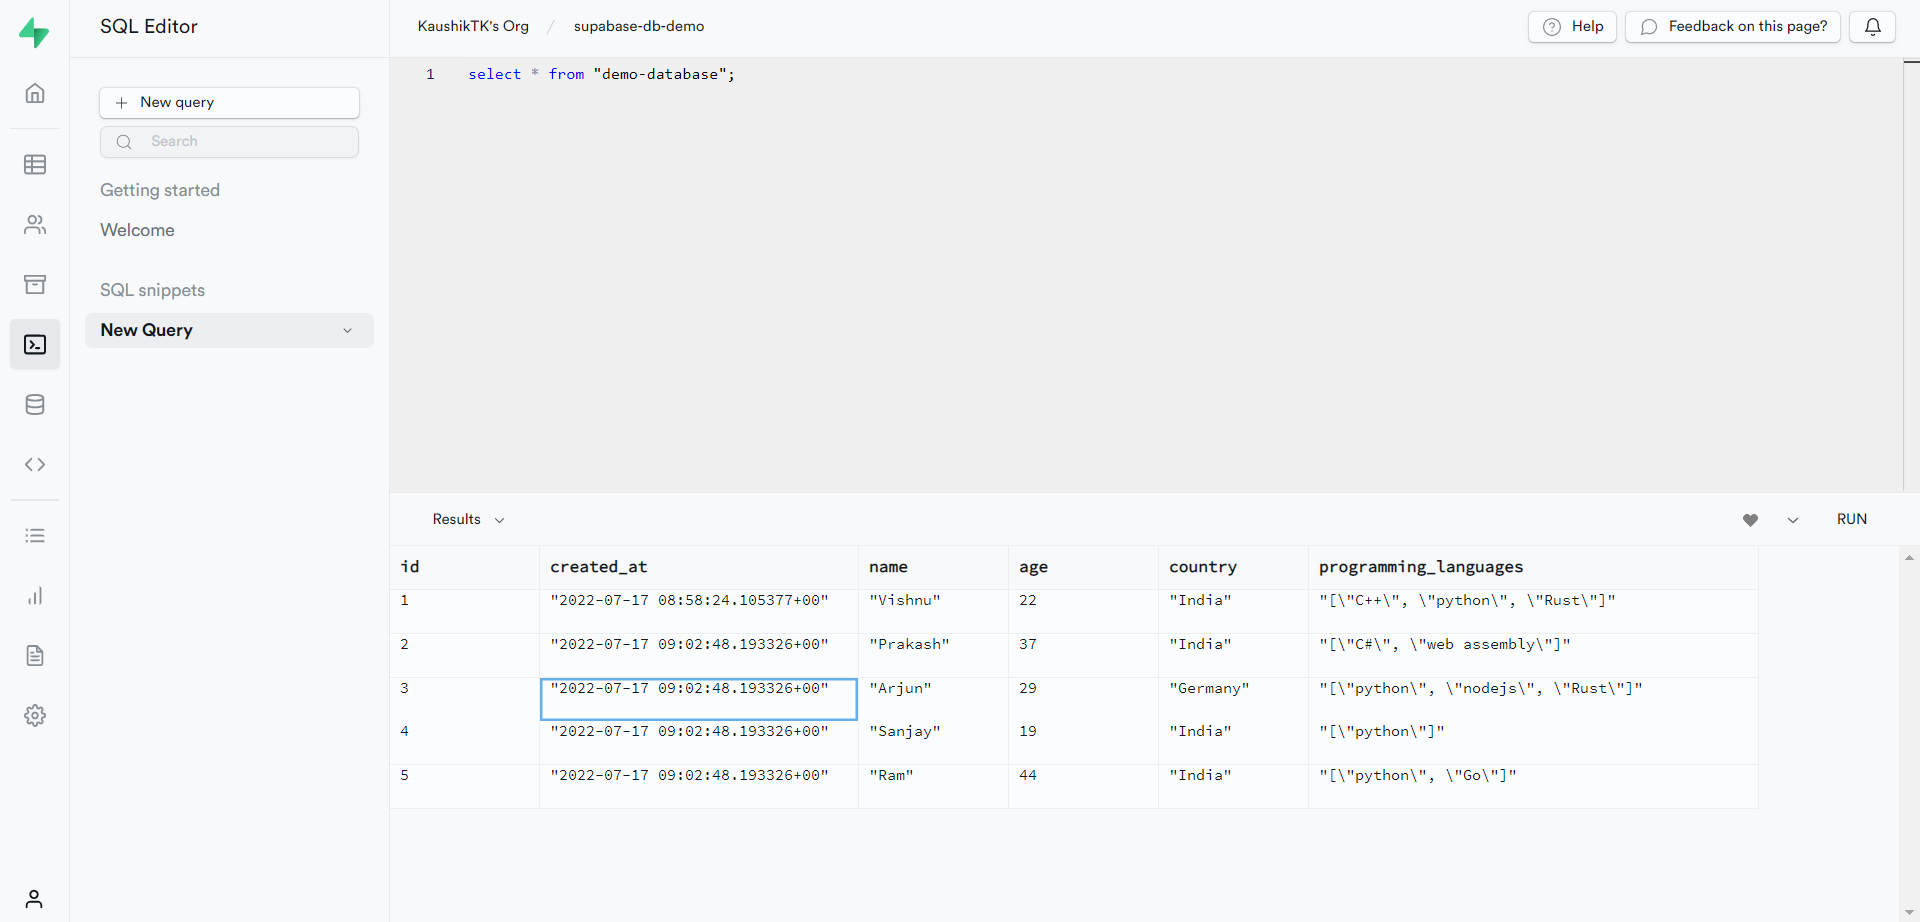
We can see that we get the same response here as well. Now select queries are pretty dumb if we do not have any sort of filtering. You can understand this part easily if you are slightly familiar with MongoDB queries. Now let’s see a couple of filtering techniques in action.
Let’s try to fetch all the records where the age exceeds 35 years. To execute this, we can make use of filtering techniques. In this case, we will be using the “gt()” function, which stands for the “greater than” operator. Let’s solve this by running a normal SQL query as well in the SQL editor.
supabase.table('demo-database').select('*').gt('age', 35).execute().data # fetching documents with filtering
[{'id': 2,
  'created_at': '2022-07-17T09:02:48.193326+00:00',
  'name': 'Prakash',
  'age': 37,
  'country': 'India',
  'programming_languages': '["C#", "web assembly"]'},
 {'id': 5,
  'created_at': '2022-07-17T09:02:48.193326+00:00',
  'name': 'Ram',
  'age': 44,
  'country': 'India',
  'programming_languages': '["python", "Go"]'}]
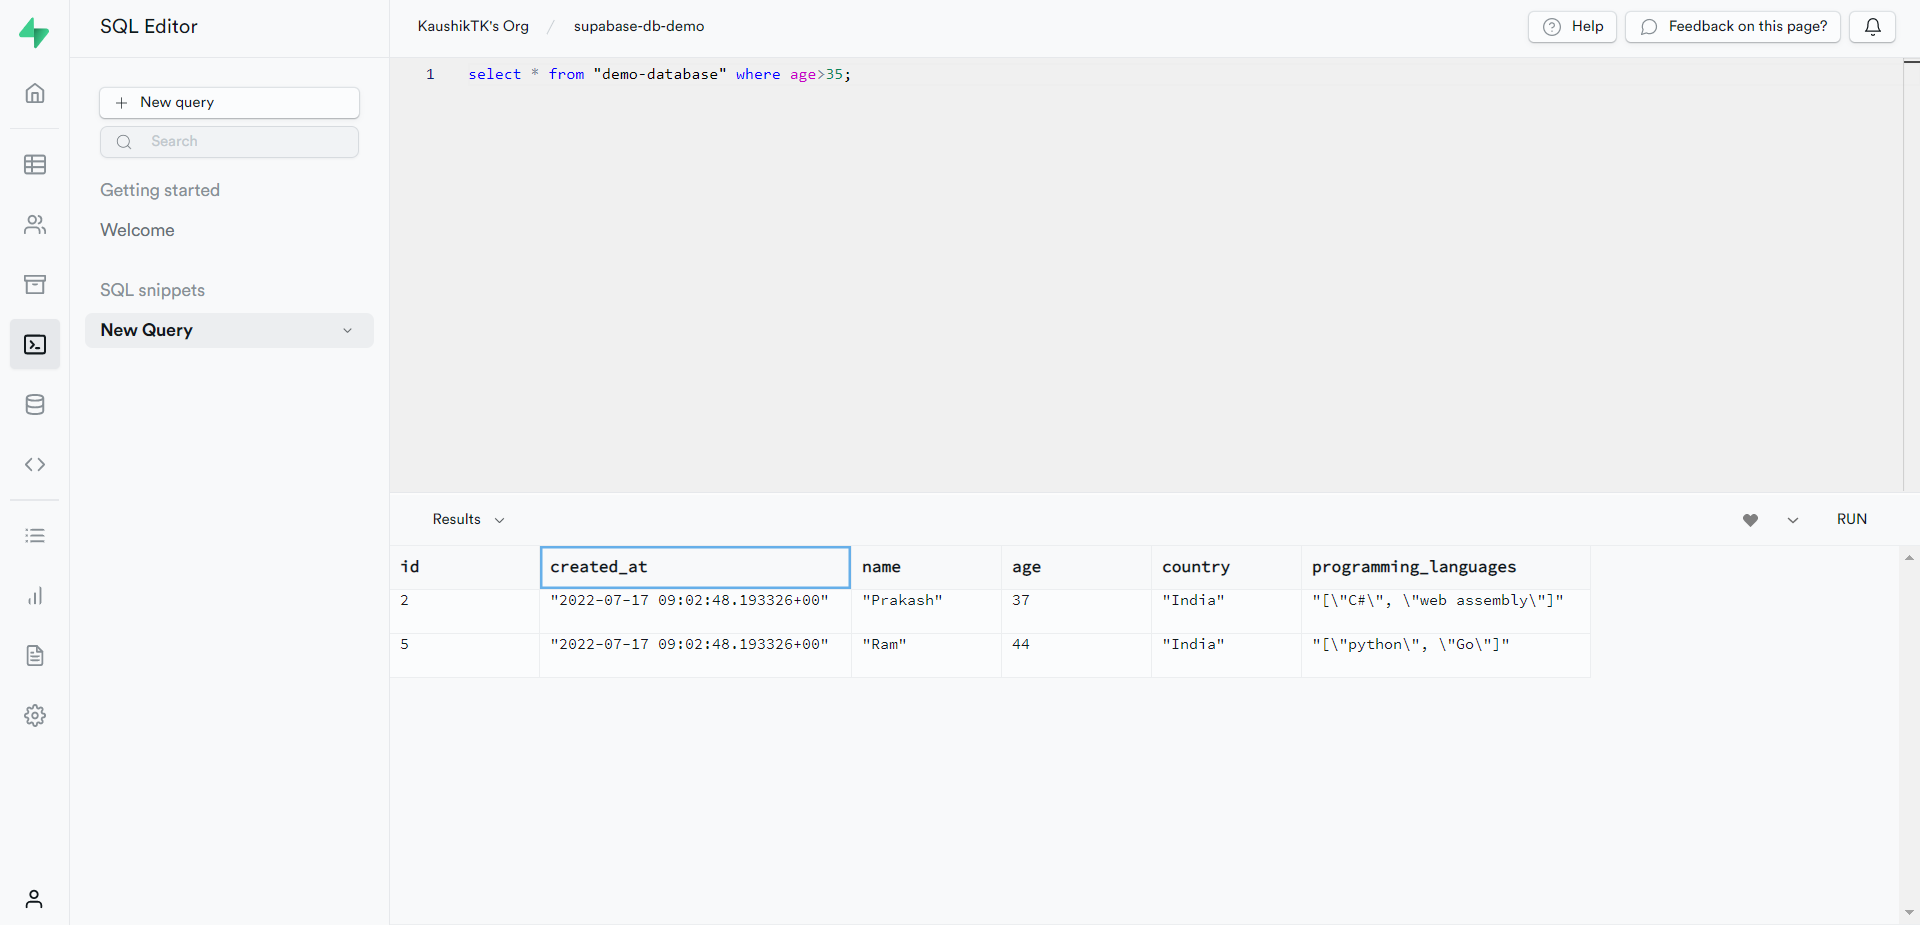
We can see that the SQL query also returns the same set of records as the response. Now we can add multiple sets of filters as well. To see this in action, let’s try to fetch all the records with ages greater than 35 but less than 40.
supabase.table('demo-database').select('*').gt('age', 35).lt('age', 40).execute().data # multiple filtering
[{'id': 2,
  'created_at': '2022-07-17T09:02:48.193326+00:00',
  'name': 'Prakash',
  'age': 37,
  'country': 'India',
  'programming_languages': '["C#", "web assembly"]'}]
Now that we have seen how records can be fetched from the table let’s look at how we can update records in the table. For this, we make use of the “update()” function. Let’s try to update the country to France for the record having id as 2. We make use of the “eq()” function that serves as the “equal to” operator for filtering. If we do not include this, all the records in the table will be updated.
supabase.table('demo-database').update({"country": "France"}).eq("id", 2).execute() # updating a record
APIResponse(data=[{'id': 2, 'created_at': '2022-07-17T09:02:48.193326+00:00', 'name': 'Prakash', 'age': 37, 'country': 'France', 'programming_languages': '["C#", "web assembly"]'}], count=None)

We can see that the country has been successfully updated to France.
Now let’s look at the last operation, which is the delete operation. To delete a record, we use the “delete()” operation along with some filtering operations lest all the records in the table will be deleted. This is similar to the update operation explained in the previous section. Let’s go ahead and delete a record from the table. We will delete the record having id as 1.
supabase.table("demo-database").delete().eq("id", 1).execute() # deleting a record
APIResponse(data=[{'id': 1, 'created_at': '2022-07-17T08:58:24.105377+00:00', 'name': 'Vishnu', 'age': 22, 'country': 'India', 'programming_languages': '["C++", "python", "Rust"]'}], count=None)

We can see that the corresponding record has been deleted successfully.
Conclusion
A few key takeaways:
- Understanding how to set up a Postgres database in Supabase
- Learning how to perform basic CRUD operations on the Postgres database using python
- Learning how to use the SQL editor to write SQL queries
As mentioned earlier, Supabase provides many other services like authentication, cloud storage, real-time database, and edge functions. The real-time database feature is currently not available for python. I will try to cover the cloud storage service provided by Supabase in another article in the coming weeks, so stay tuned!
That’s it for this article. I hope you enjoyed reading this article and learned something new. Thanks for reading and happy learning!
The media shown in this article is not owned by Analytics Vidhya and is used at the Author’s discretion.


Can you please create a youtube tutorial, thanks in advance