AWS Elastic BeanStalk Processing and its Components
This article was published as a part of the Data Science Blogathon.
Introduction
If you are a beginner or have little time, configuring the environment for your application may be too complicated and time-consuming. You need to consider monitoring, logs, security groups, VMs, backups, etc. You can make a mistake that compromises your application and makes it vulnerable to various attacks. The service can help you with all this. Sit back and enjoy a hands-on Elastic Beanstalk tutorial.
.png)
What is an elastic beanstalk?
Benefits of the Elastic Beanstalk
- automates the creation of infrastructure, taking into account AWS best practices guidelines, so you don’t have to click through many different AWS services,
- all the required configurations are in one place, so it is easy to find the ones you need to change,
- you can automate this even more with the EB CLI console tool,
- EB supports plugins that you can save along with your code. Plugins can contain configurations for various services, including EB itself. This allows you to start your journey with infrastructure as code (IaC) before moving on to more advanced solutions such as CloudFormation or Terraform,
- you can easily create many environments for one application (dev, staging, prod, etc.),
- it’s free (but you have to pay for the resources it created),
- it’s PAAS (platform-as-a-code), so you don’t have to worry about security patches and updates to infrastructure elements.
- Sounds good, right? Let’s get to the real Elastic Beanstalk tutorial!
- Check out the TSH Node.js development standard, which includes support for deployment with Elastic Beanstalk.
- With this standard, you can build scalable Node.js applications faster.
Getting started with Elastic Beanstalk
https://docs.aws.amazon.com
https://docs.aws.amazon.com
https://docs.aws.amazon.com
- Software – here, you can enable rotatable logging and choose a proxy server if needed. You can also set environment properties that will be passed to the application as environment variables.
- Instance – here, you can specify the type of storage you want to use along with EC2 security groups if you want to use any previously created ones.
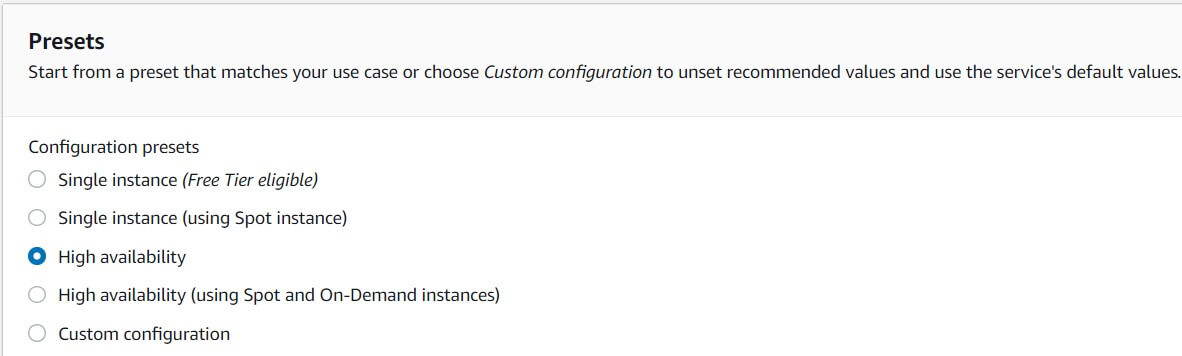
- Capacity – here, you can enable load balancing and specify autoscaling parameters for your environment (how many instances you want to use and which metric determines their addition/removal).
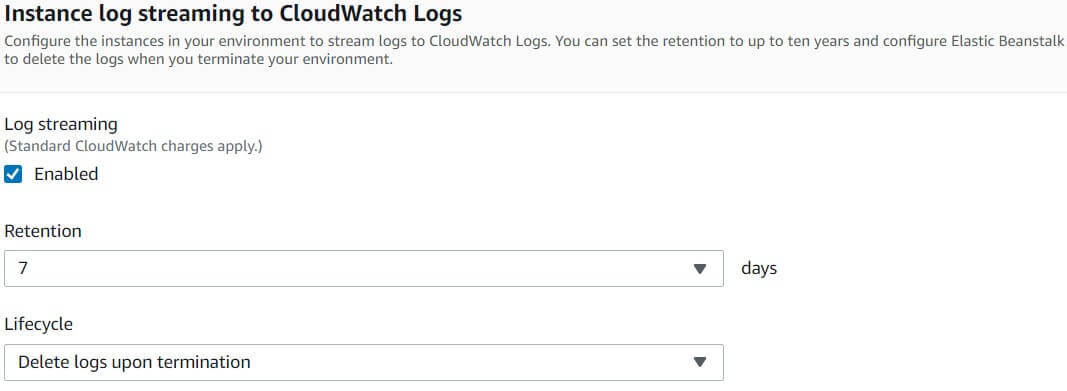
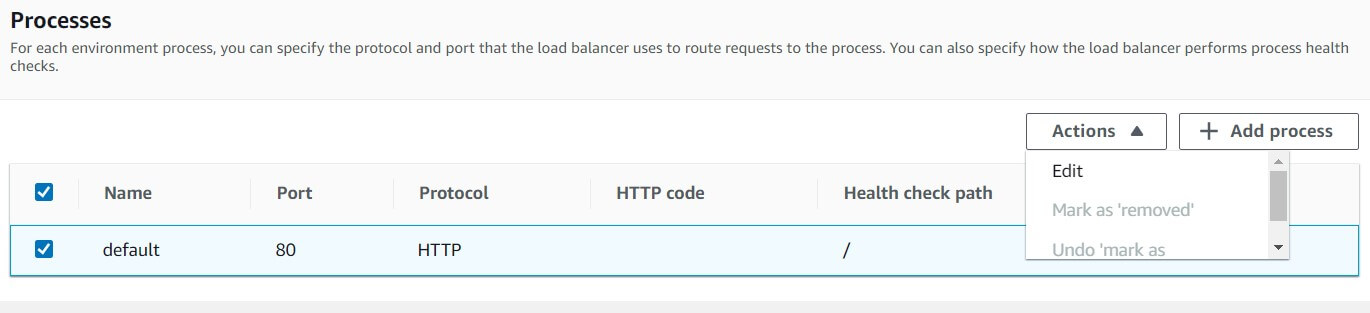
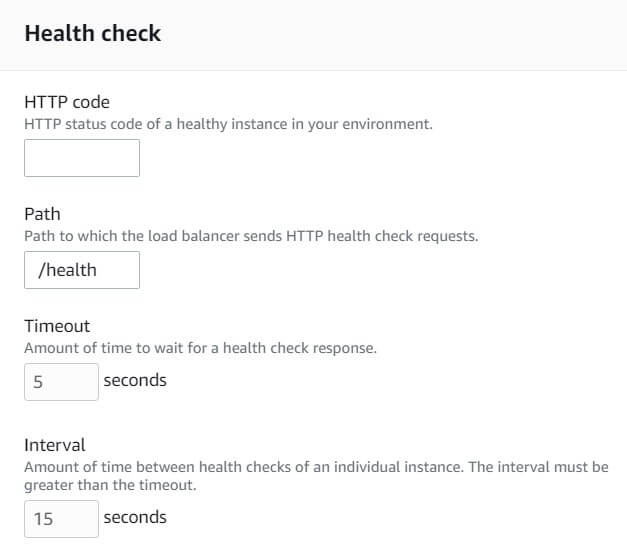
- Load balancer – here, you can choose the type of load balancer, figure listeners, and processes for it. You can also enable logging.
- Continuous Updates and Deployment – here, you can specify the deployment policy for our auto-scaling application.
- Security – You can edit EC2 security stuff (EC2 key pair, IAM instance profile).
- Monitoring – here, you can configure reports on the status of your application and log them to CloudWatch.
- Managed Updates – You can specify if and when you want to update the version of the EB platform if AWS prepares a new version.
- Notifications – Here, you can enter an email address to be notified of critical environment events such as crashes.
- VPC – You can configure your EB environment to be part of a VPC.
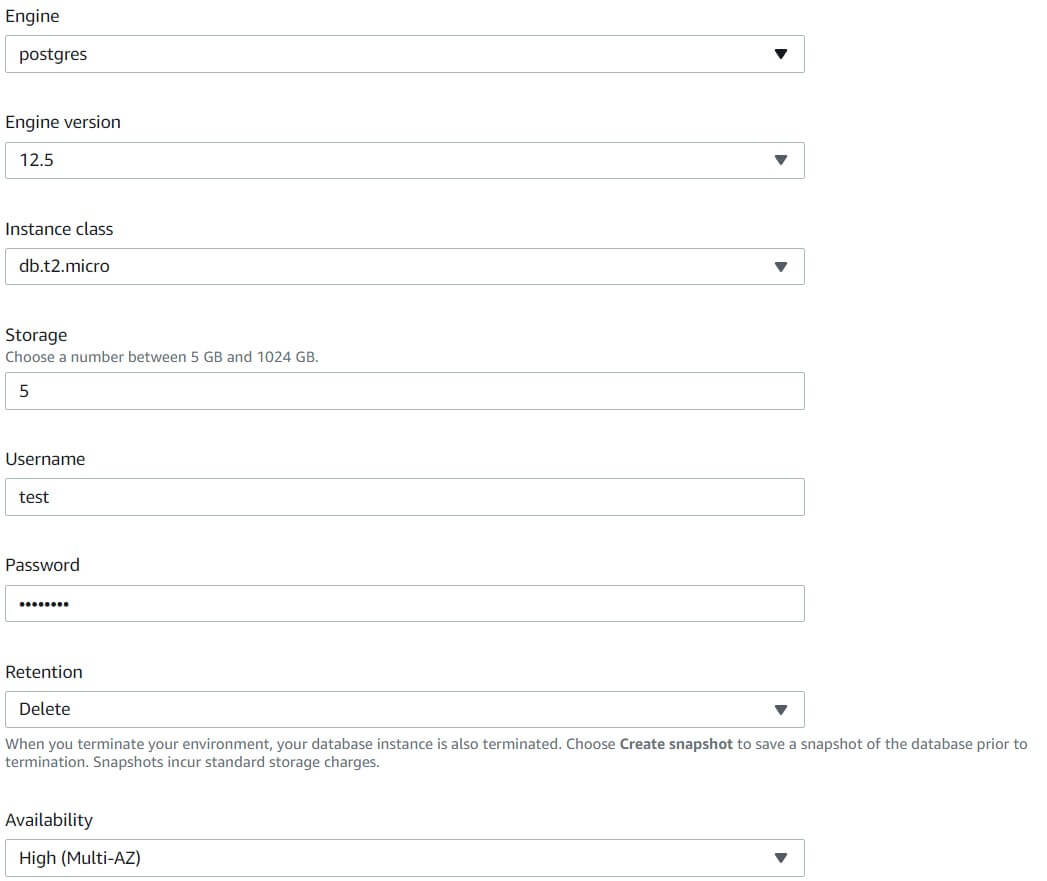
- Database – EB can create a database for you and send connectivity options to your application via environment parameters (but they won’t be visible in the Software module).
- Tags – You can add some tags to make your environment easier to find.
https://docs.aws.amazon.com
import { Module } from '@nestjs/common';
import { TypeOrmModule } from '@nestjs/typeorm';
import { AppController } from './app.controller';
import { AppService } from './app.service';
import { Product } from './product.model';
@Module({
import: [
TypeOrmModule.forRoot({
type: 'Postgres',
host: process.env.RDS_HOSTNAME,
port: parseInt(process.env.RDS_PORT),
username: process.env.RDS_USERNAME,
password: process.env.RDS_PASSWORD,
database: process.env.RDS_DB_NAME,
entities: [Product],
sync: true
}),
TypeOrmModule.forFeature([Product]),
],
controllers: [AppController],
providers: [AppService],
})
export class AppModule {}
view rawapp.module.ts hosted with ❤ on GitHub
After saving the database changes, it’s time for the Software section. In the Container Options section, None is selected because the sample application does not need a proxy. Additionally, logging is enabled.
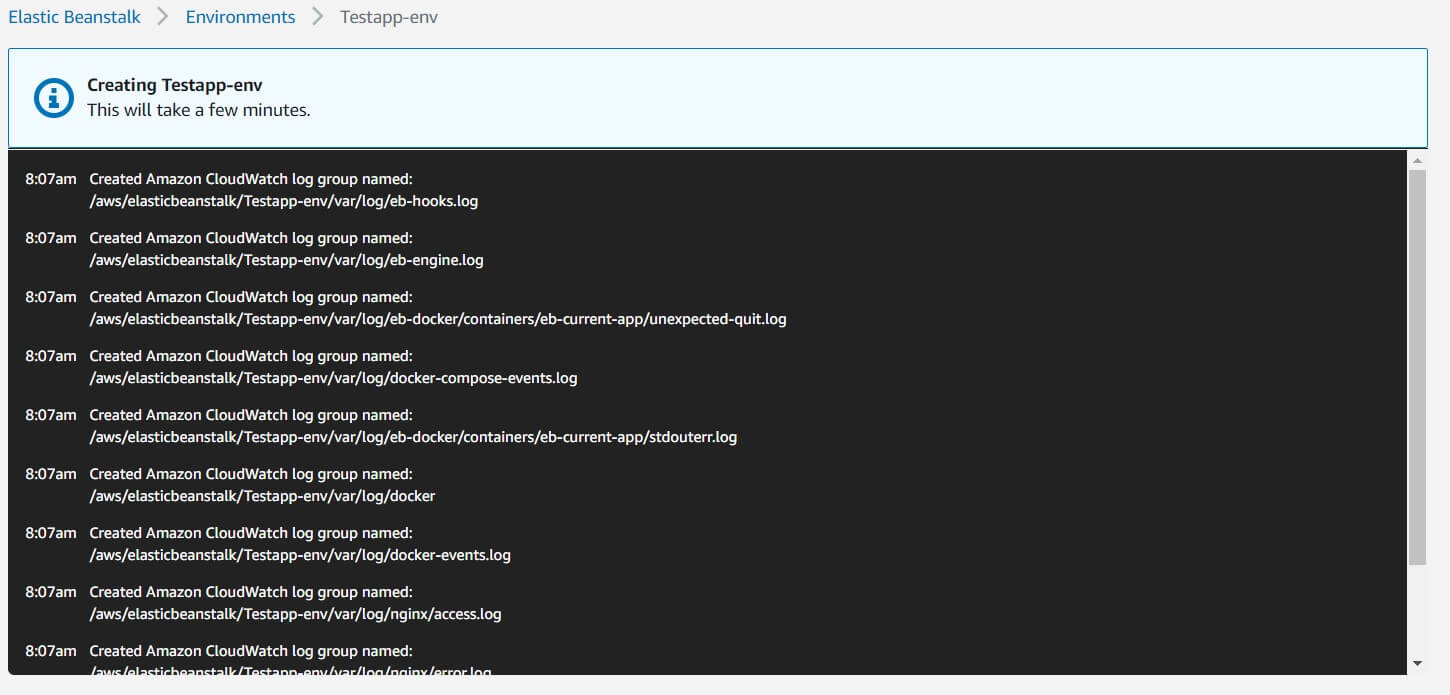
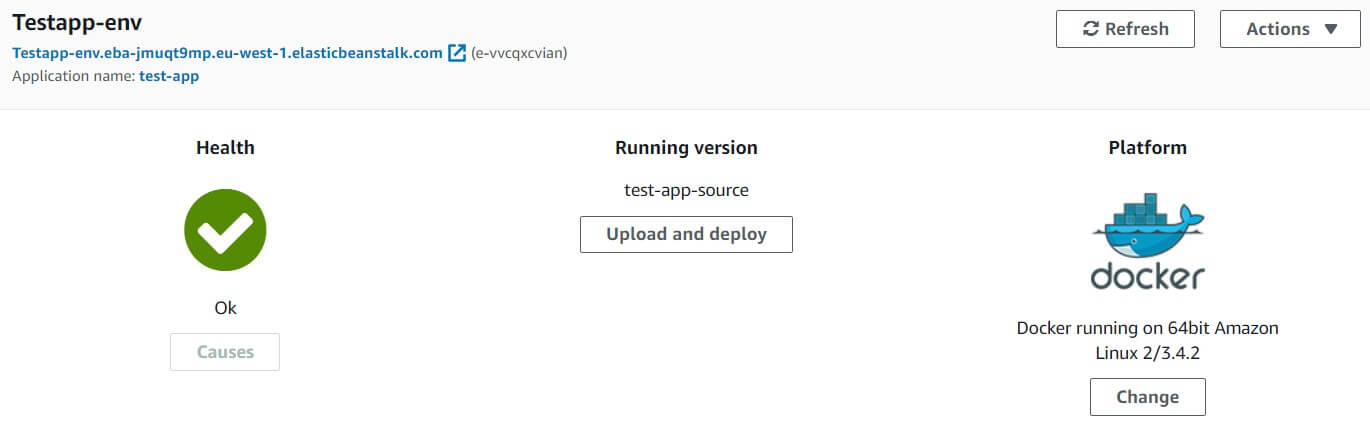
Now you need to click on the Create App button. You will be able to track the application deployment progress.
Conclusion
Let’s Recap What we have learned till now.
- EB supports plugins that you can save along with your code. Plugins can contain configurations for various services, including EB itself. This allows you to start your journey with infrastructure as code (IaC) before moving on to more advanced solutions such as CloudFormation or Terraform.
- Elastic Beanstalk (EB) can prepare an entire AWS environment for you. This way, you can deploy your application and prepare the environment for it in minutes. EB will prepare EC2 instances, RDS database, auto-scaling load balancer, health checks, HTTPS certificates, logging, and more.
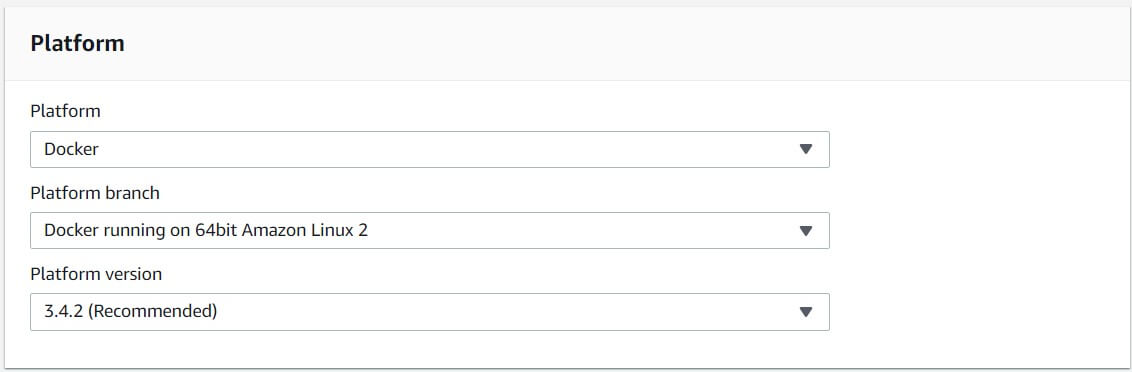
- Amazon Linux 2 allows you to use the docker-compose.yml file and build Docker images directly. If you chose the first version, you would have to use the dockerrun.aws.json files, which requires additional work and knowledge.
The media shown in this article is not owned by Analytics Vidhya and is used at the Author’s discretion.


