This article was published as a part of the Data Science Blogathon.
INTRODUCTION
Hi, in this tutorial, we are going to have a look at how we can build a Deep Learning program to automatically trim our videos using signs! An application like this would make the lives of people who are not adept at editing videos easier.
We will use signs like ‘thumb_up’ and ‘thumb_down’ to create checkpoints and only save the part of the video we want to. Let us assume the following, the ‘thumb_up’👍 sign represents success implying that those frames can be saved to the final video file and the ‘thumb_down’👎 sign will represent failure implying that corresponding video frames will be discarded. This is the high-level overview of the project and more details will be discussed as we proceed with the implementation.
OVERVIEW OF GOOGLE TEACHABLE MACHINE
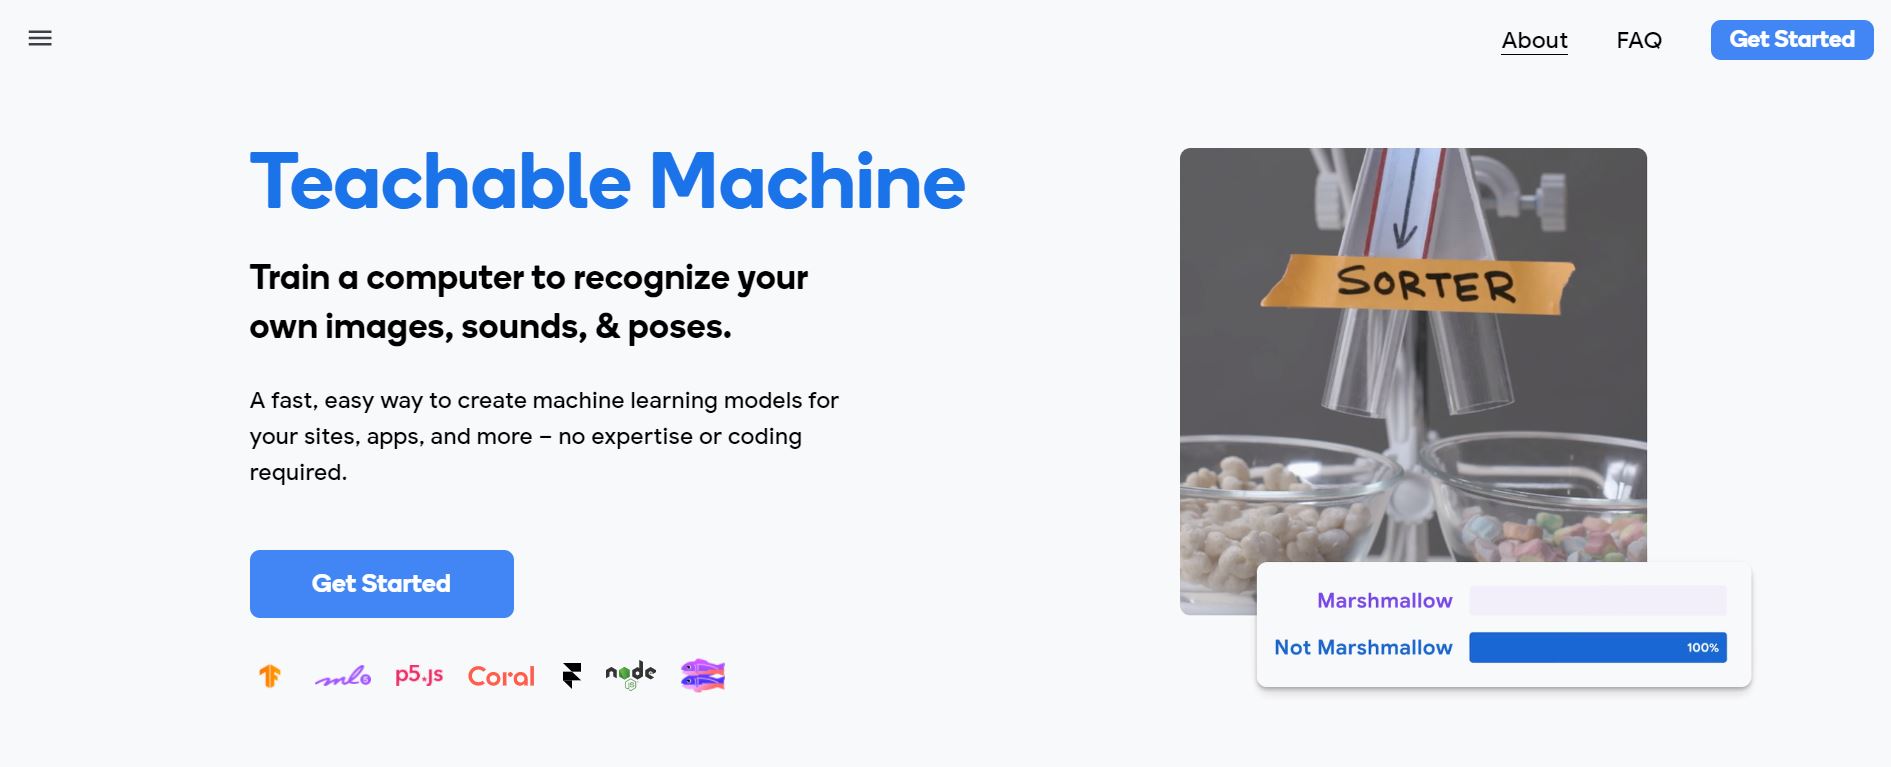
We will be using Google Teachable Machine to train our Deep Learning model and Python to implement our program. Google Teachable Machine lets you create Deep Learning models for a variety of use-cases without typing any code.
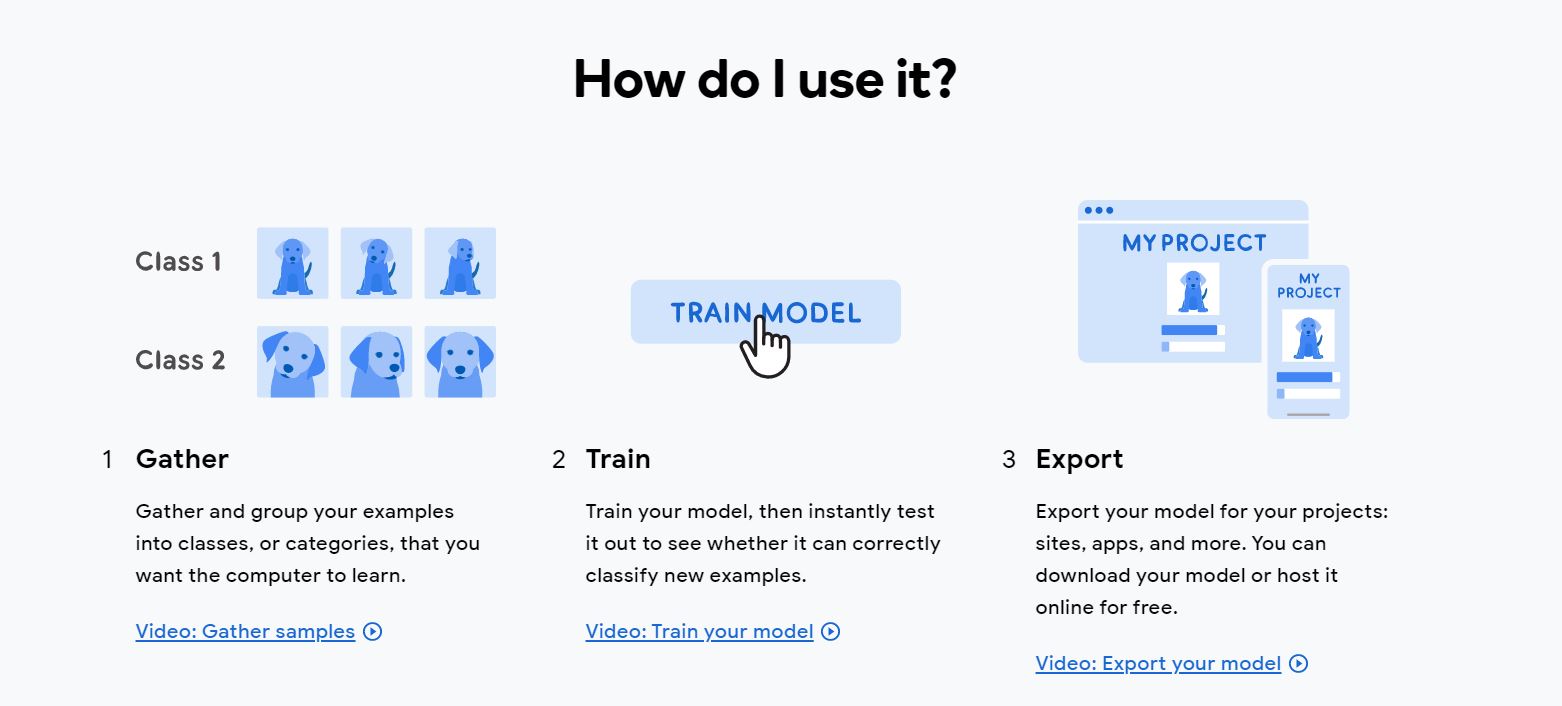
Using it is pretty straightforward.
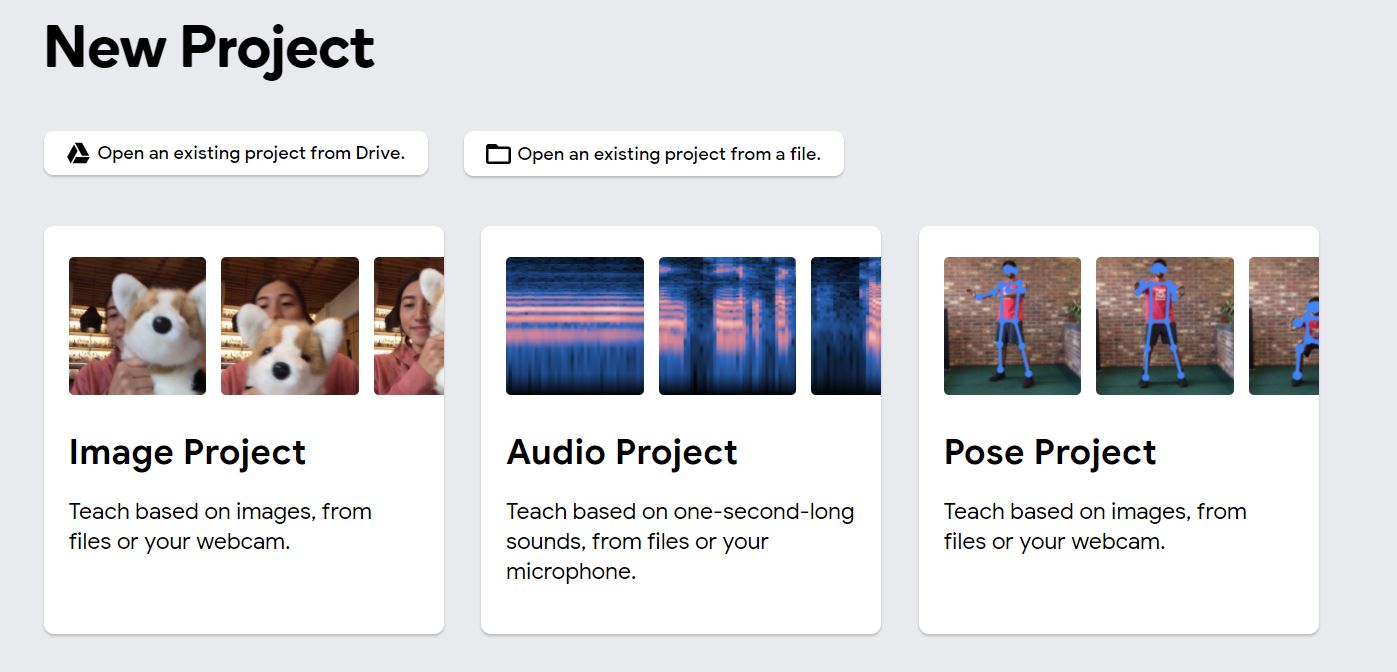
Click on the ‘Get Started’ button and you will see the screen below. As you can see, you can create a model for pose estimation, image classification or audio classification. Choose ‘Image Project’ since our task is Image Classification.
BUILDING THE DEEP LEARNING MODEL
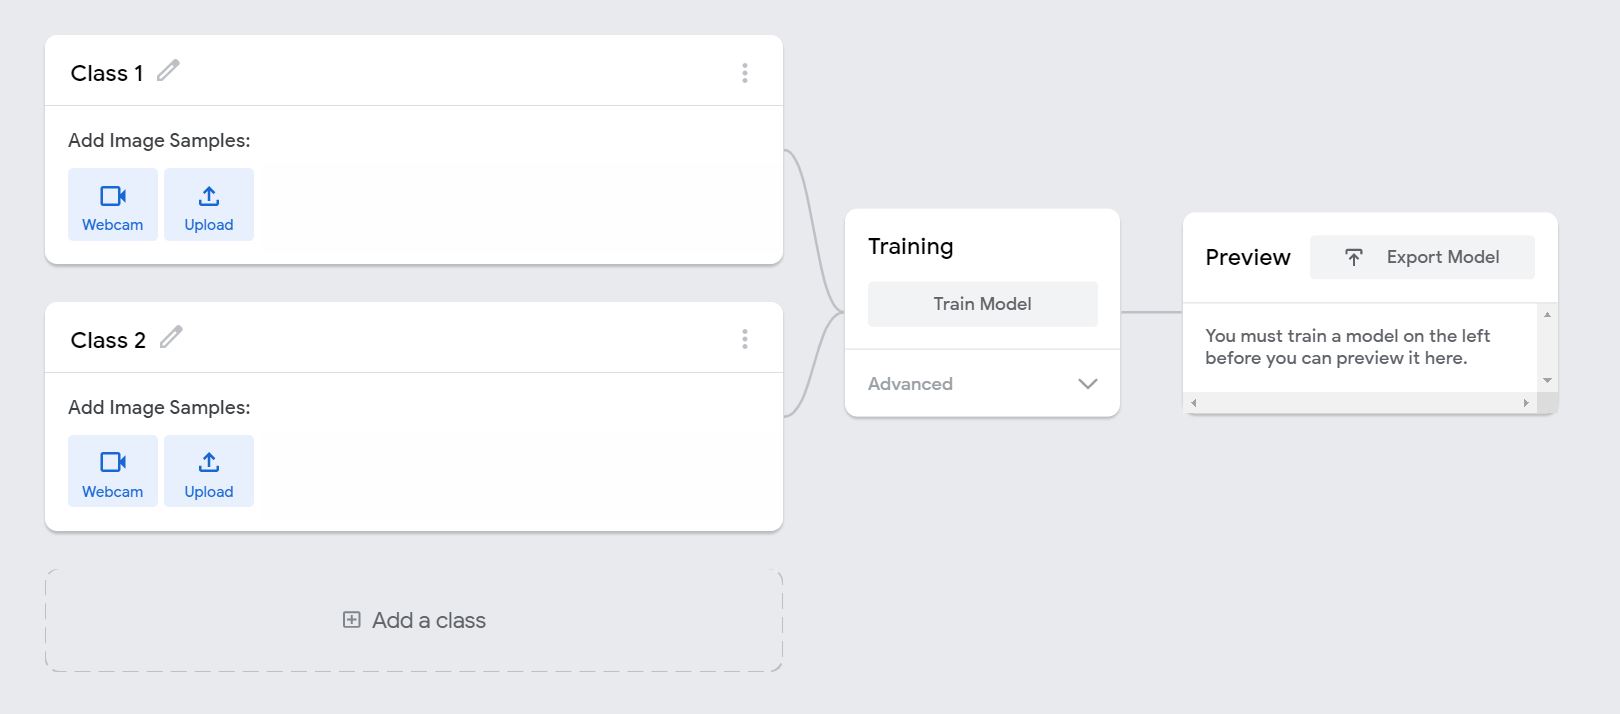
The above is the initial setup of our project. Classes represent the different classification categories. We can record our samples (create dataset) directly from the web browser using our webcam. Else, we can also upload the images from our local machine or Google Drive.
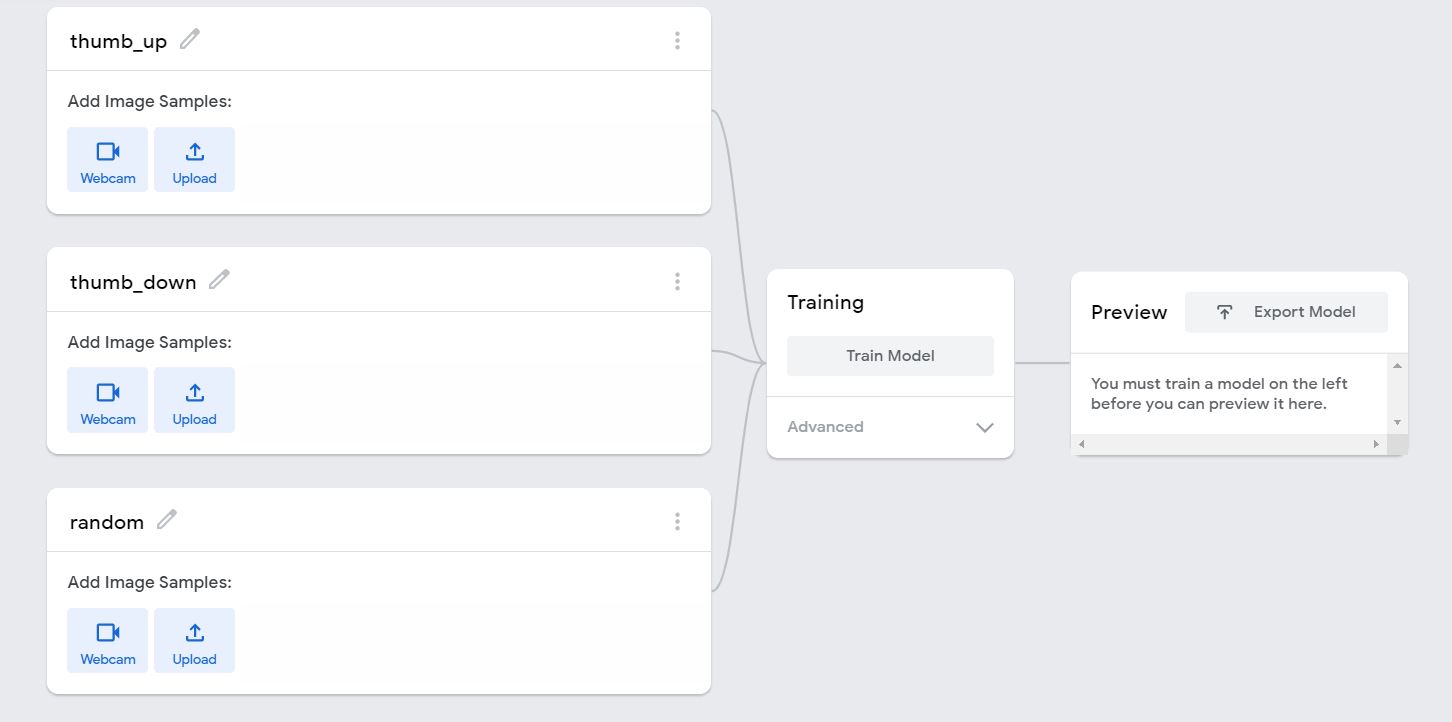
As shown below, create 3 classes (thumb_up, thumb_down and random). We need the third ‘random’ class to check whether the user is showing a sign or not.
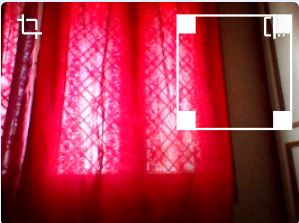
Click on the ‘Webcam’ button in the ‘thumb_up’ class and click on the crop button on the top left.
Crop a region somewhere in the top right of the webcam image as we are assuming that the user will lift his/her hand to make signs in that region while running the program. After doing this, click the blue ‘Done Cropping’ button to confirm the cropped region.
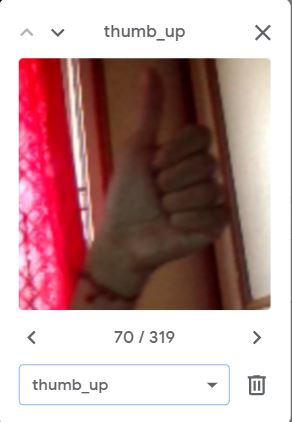
Now, click on the ‘Hold to Record’ button and record your samples. Since we are recording pictures for the ‘thumb_up’ class, put your thumb up and record images from different distances and thumb angles. This is to ensure that the model learns to generalize well and doesn’t overfit to a few specific examples.
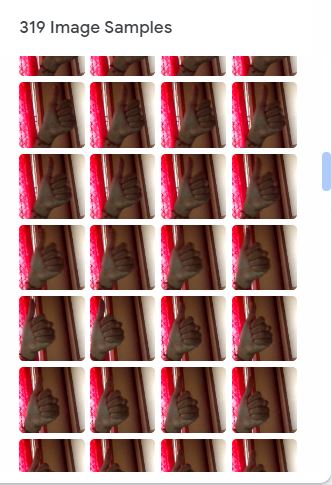
After you finish doing this, you can select an individual image from the sample and delete or change its label if it was recorded by mistake.
Repeat the process for the ‘thumb_down’ class and ‘random’ class (collect images of the background).
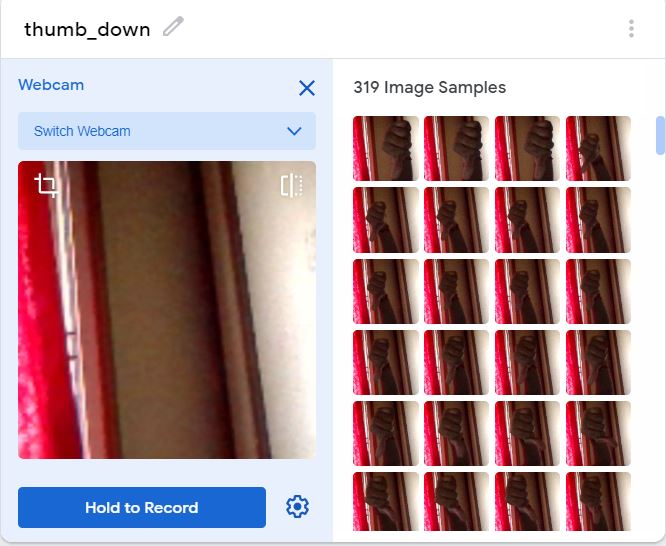
Note: Try to have a roughly equal number of images for all the classes so that the model isn’t biased to any one particular class.
TRAINING THE MODEL
Click the Train Model button to begin training your model on the images you just collected! You can also click on the Advanced section dropdown to change hyperparameters.
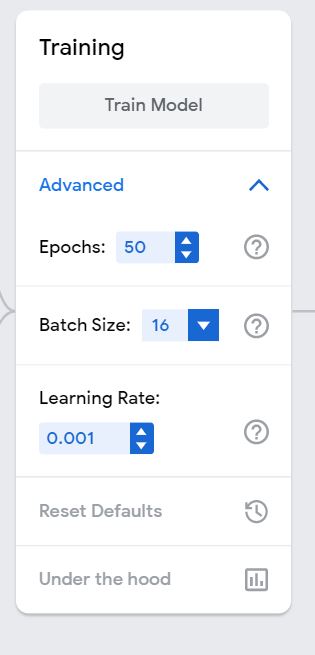
While the model is being trained, you can click on the ‘Under the hood’ button to visualize various performance metrics.
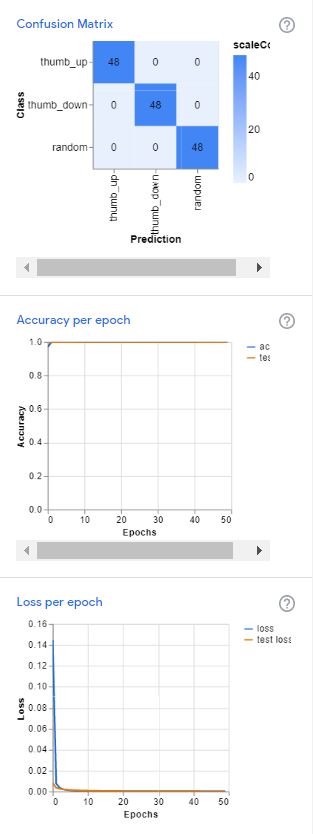
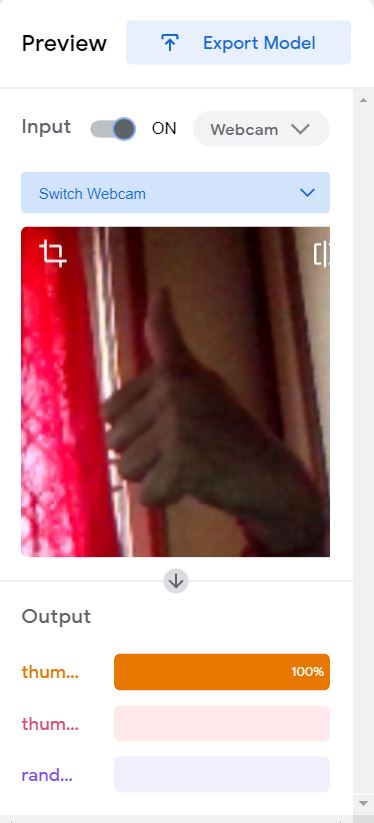
After the training is done, you can test your model I’ve on the browser itself to decide whether the model was trained sufficiently on all possible cases or more images are to be added.
EXPORT MODEL
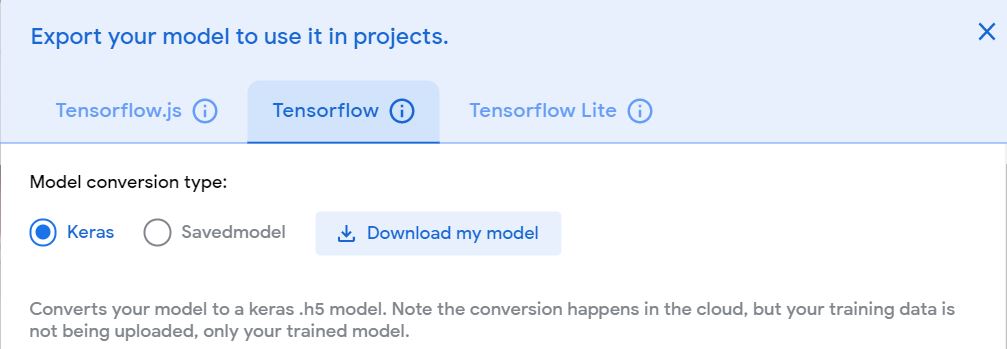
Now, click on the ‘Export Model’ button on the top and select Tensorflow -> Keras. You can also convert the model into other formats like Tensorflow.js or Tensorflow Lite depending on your use-case. Click ‘Download my model’ and unzip the Zip file to obtain the model weights and the labels.
Now, the model is ready and we can head to the Deep Learning Python program implementation which will use this model and accordingly trim our videos. Create the Python same in the directory in which the model is present.
PROGRAM IMPLEMENTATION
Python program to trim videos with Deep Learning using signs
# Import necessary libraries
import numpy as np
import cv2
import tensorflow.keras
from keras.preprocessing import image
# Access WebCam
cap = cv2.VideoCapture(0)
state = True
# Load the TensorFlow model weights
model = tensorflow.keras.models.load_model('keras_model.h5')
labels = ['thumb_up','thumb_down','random']
# Set the width and height of the frame for video to be saved
width = int(cap.get(cv2.CAP_PROP_FRAME_WIDTH))
height = int(cap.get(cv2.CAP_PROP_FRAME_HEIGHT))
# Create a writer object to save the frames
writer = cv2.VideoWriter(r'C:UsersSharan BabuDesktoptrimmed_video.mp4',cv2.VideoWriter_fourcc(*'XVID'),25, (width, height))
final_video = [] // List to store our video frames
# Video editing!
while True:
success, image = cap.read()
if success==True:
final_video.append(image)
img = image.copy()
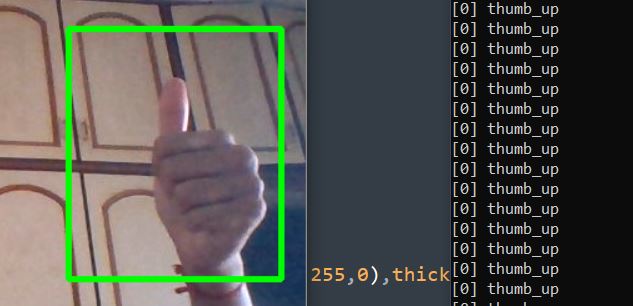
# Draw a rectangle to indicate the region of interest and crop it
img = cv2.flip(img,1)
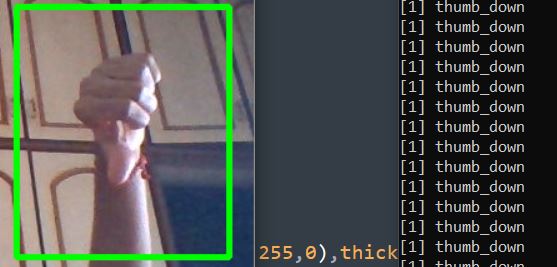
cv2.rectangle(img,pt1=(450,100),pt2=(620,300),color=(0,255,0),thickness=3)
cv2.imshow("Video",img)
roi = img[102:298,448:618]
# Image pre-processing for making predictions
data = cv2.resize(roi,(224,224))
data = np.array(data,dtype=np.float32)
data = np.expand_dims(data,axis=0)
data = data/255
# Predict output class for the image and save video accordingly
prediction = model.predict(data)
predicted_class = labels[np.argmax(prediction)]
print(prediction, predicted_class)
if predicted_class == 'thumb_up':
for frame in final_video:
writer.write(frame)
final_video = []
elif predicted_class == 'thumb_down':
final_video = []
# Break the program when key 'q' is pressed
if cv2.waitKey(1) & 0xFF == ord('q'):
break
# Close webcam and other connections
writer.release()
cap.release()
cv2.destroyAllWindows()
In-depth Explanation of the Program:
- We import the required libraries: NumPy(image processing), cv2(OpenCV for video capture), TensorFlow, and Keras for loading the model.
- Access the webcam using the OpenCV library.
- Load the model into ‘model’ and create a list called ‘labels’ which will store the class names of the model.
- Create a writer object. This will be responsible for writing frames into the new video.
- We will store our video frames in a Python list called ‘final_video’.
- Now, when the video is on, we will continuously append the current frame into our writer object.
- Create a copy of this image. After drawing a rectangular box indicating the region of interest of the model on this image, we will display it to the user.
- Crop only that part and pre-process it so that it can be fed to our model.
- If the predicted class is ‘thumb_up’, it means that the user is happy with the frames shot so for, so we can write them to our new video file. Empty the array.
- If the predicted class was instead ‘thumb_down’, it implies that the user wants to retake that part of the video, hence, drop those video frames by emptying the array.
- We have set the code such that the program will end when the button ‘q’ is pressed. So this is equivalent to stop the recording.
- At last, we release all the open connections.
- The trimmed video can be found in the path you chose while creating the writer object.
OUTPUT:
The media shown in this article are not owned by Analytics Vidhya and is used at the Author’s discretion.


