This article was published as a part of the Data Science Blogathon.
Introduction on Jupyter Notebook
Jupyter notebook is an important data science tool. It is used by many data science professionals to do exploratory data analysis and also to prototype machine learning models. It helps beginners pick up data science concepts easily. Sometimes we might want to see our code in action producing the results we wanted. For that, we may have to use frameworks like Flask, etc. But what if we could just turn our Jupyter notebook into an application by adding a few lines of YAML config to the first cell of the Jupyter notebook?
Mercury by MLJAR Inc is a framework that helps us convert Jupyter notebooks into web applications. Mercury helps us to share Jupyter notebooks in an easy way as a web app. We can build web applications by converting Jupyter notebooks in a simple way.
Mercury
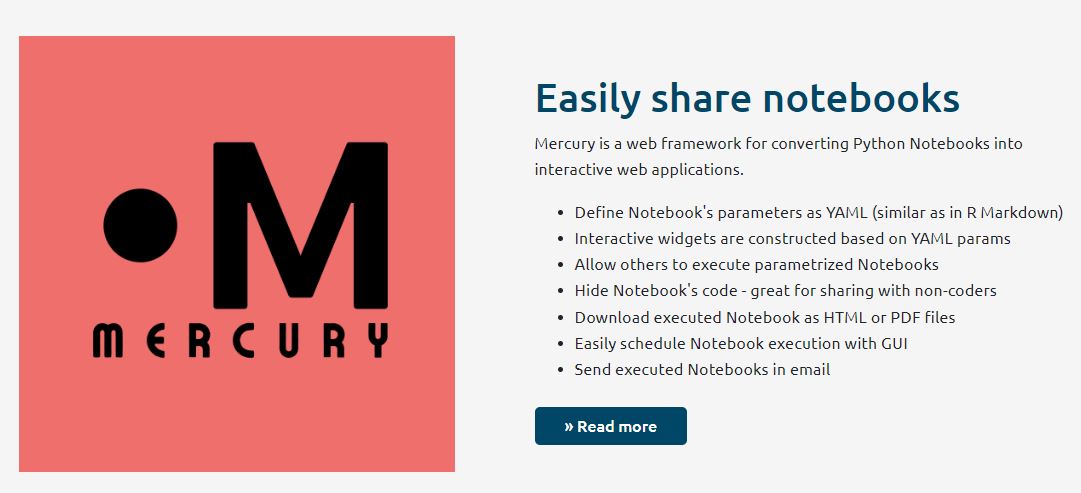
Mercury is an open-source library that allows you to turn a Jupyter notebook into a web application by simply adding YAML parameters to the notebook’s first cell. MLJAR Inc. is the company behind it. For a small fee, there is a pro edition with additional features and assistance. This library’s documentation may be found at this site.
Now that we have seen what is mercury, let’s start building our application and deploy it on hugging face spaces.
Building Application
Toonify app basically takes an image as input and outputs a cartoonised version of the same image. It uses AnimeGAN to create a cartoon of the uploaded image. AnimeGAN technology uses machine learning through Generative Adversarial Networks(GAN) to generate cartoon versions of the input images. It helps artists reduce their time in creating tasks related to realistic backgrounds. We will use this on our application. More details regarding AnimeGAN with PyTorch implementation can be found in this github repository.
As a first step, we will install all necessary libraries required to build this application.
pip install mljar-mercury
pip install torch
pip install Pillow
Now that we have installed the necessary libraries to build our application let’s code. Firstly, open the Jupyter notebook and import the libraries as shown below
import os
import torch
from PIL import Image
import warnings
warnings.filterwarnings("ignore")
In this app, the variable parameter is the input image as we want to have cartoonised versions of different images. So in the next cell, we define the input image path as follows,
image_path = 'abc.jpg'
Now in the next cell, we load the model from the torch hub as shown below,
model = torch.hub.load("bryandlee/animegan2-pytorch:main", "generator", pretrained="paprika")
face2paint = torch.hub.load("bryandlee/animegan2-pytorch:main", "face2paint", size=512)
In the next cell, let’s define the function that returns the cartoonised image using the above model in the following way,
def toonify(img):
    out = face2paint(model, img)
    return out
In the next cell let’s open the image so that we can toonify the image in the following way,
im = Image.open(image_path)
So far we imported all necessary libraries, defined the input parameter for our application, loaded the model from the torch hub, defined a user function to cartoonify the image using the model we loaded from the torch hub and finally we loaded the image into a variable. Now we call the function to cartoonify the image as shown below,
toonify(im)
We have created a toonify function and created a cartoon image of an image. Now we will turn our Jupyter notebook into an application using mercury. To do this we need to add the YAML config to the first cell of the notebook. Create a cell on the top of the notebook so that it is the first cell in the notebook. Change the type of the cell to ‘Raw NBConvert’.
You can find the allowed parameters in YAML config here in this link of official documentation. We will use ‘title‘, ‘description‘, ‘show-code‘ and ‘params‘ parameters. YAML config should always start with three hyphens and end with three hyphens. We need to add the YAML config as shown below
---
title: Toonify your Pics
description: Creates a cartoon version of your pic
show-code: False
params:
    image_path:
        input: file
        label: Please upload a photo
---
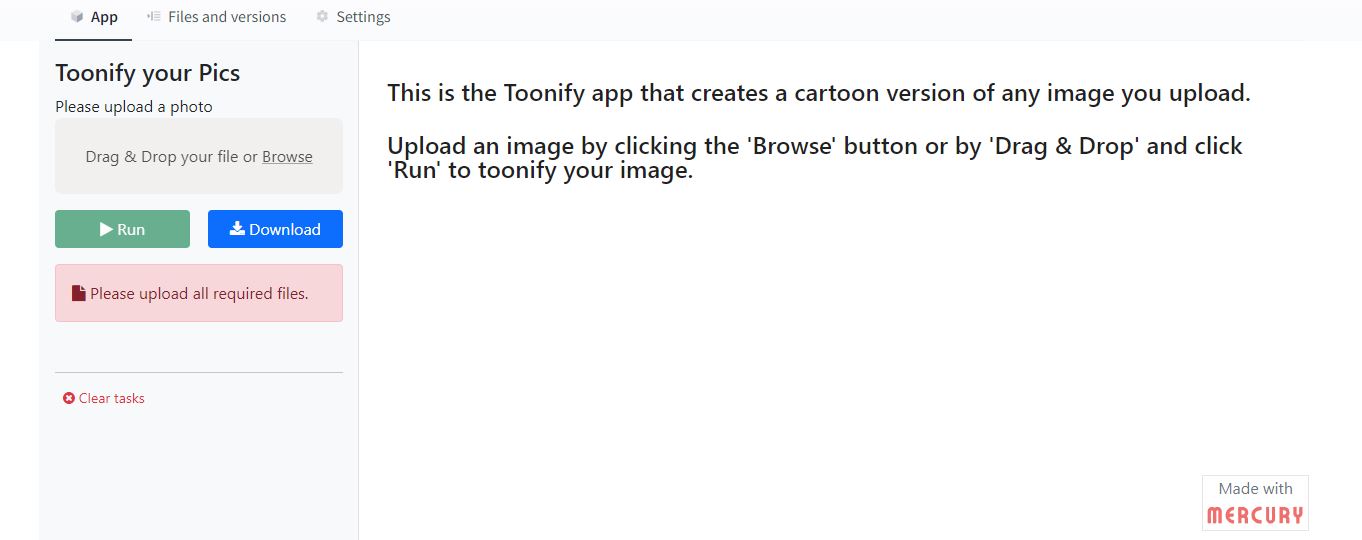
In the above config, we can see that we gave a title to our app and also a description. We don’t want to see our code hence we hide code using the parameter ‘show-code‘ by setting it to False. In the ‘params‘ parameter we give our input parameter ‘image_path‘ and define the input type as ‘file‘. We also give a label under the ‘image_path‘ parameter. Now we run our app and see how it works. Open the terminal and type the following
mercury run your_notebook_address.ipynb
This will create the app in your local server at this address ‘127.0.0.1:8000’. Open this address. You will see something like below…
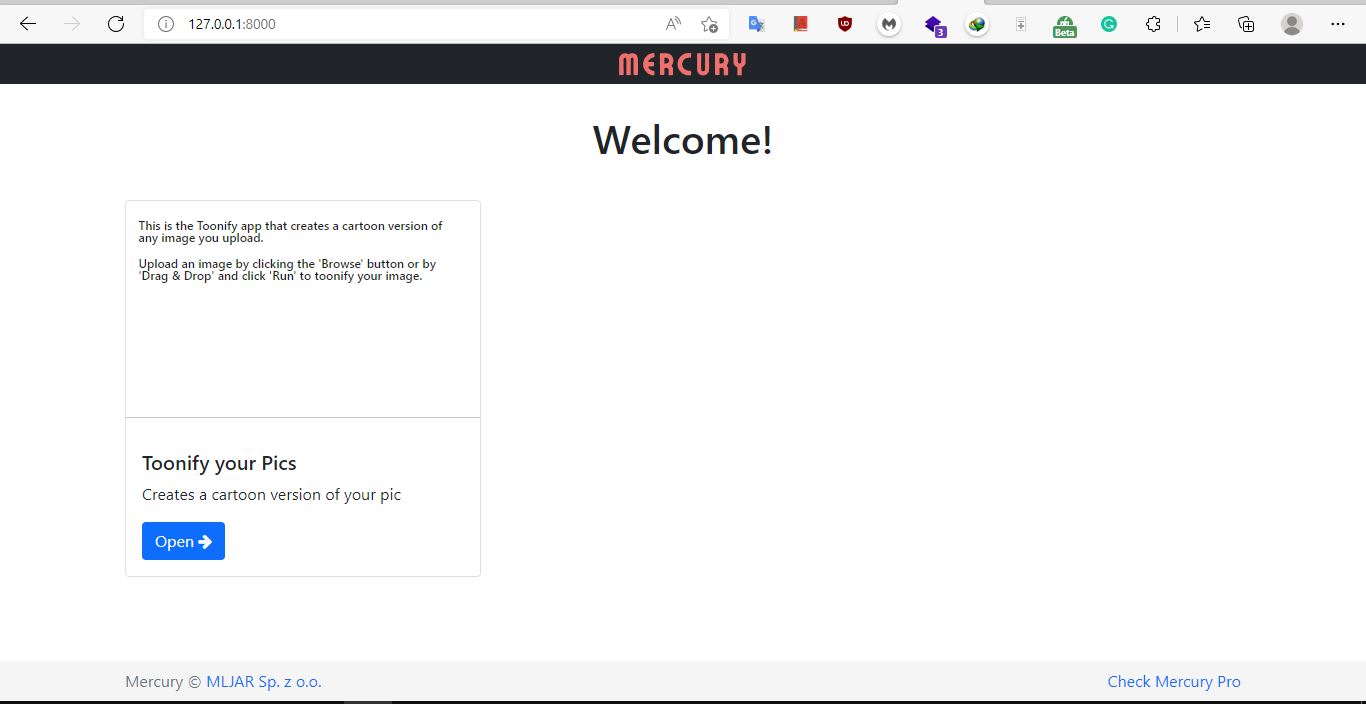
Click the ‘Open’ button and you can run your app by uploading the desired pic. Now that we built our application let’s deploy it on Hugging Face spaces.
Deployment
Go to the Hugging Face website and create an account if you don’t have one. In the next step, click the ‘spaces‘ option and click the ‘create new Space’ button on the page that appears. On the page that appears give a name to your space, choose the appropriate license and select the ‘Gradio’ option under the ‘select the space SDK’ section and click the ‘create space’ button.
On the new page that appears click the ‘Files and versions’ and upload the Jupyter notebook, we created by clicking the ‘Add file‘ button on the right top. Next, create a ‘requirements.txt’ file and give the following packages as requirements…
jinja2==3.0.3
python-dotenv
mljar-mercury
Pillow<7
torch
torchvision
Commit changes and create a new a file ‘app.py’ and type the following code,
import os
from dotenv import load_dotenv
from subprocess import Popen
load_dotenv()
my_env = os.environ.copy()
my_env["HF_SPACE"] = "embed/your_username/your_space_name"
command = ["mercury", "run", f"0.0.0.0:{os.environ.get('PORT', 7860)}"]
print(command)
worker = Popen(command, env=my_env)
worker.wait()
In the above code, replace ‘your_username’ with your Hugging Face username and ‘your_space_name’ with the space name you created. Commit changes to this file. Hugging Face spaces will deploy the app automatically. Finally, our app gets deployed and we will see like below…
Find the app I made and deployed on Hugging Face spaces here in this link
Toonify Mercury – a Hugging Face Space by rajesh1729
You can try the above app by uploading your own pic. Using mercury framework we managed to turn our Jupyter notebook into a web application and also we deployed it on Hugging Face spaces.
You can see the demo of the application in the above illustration. If necessary, we create an option to download the output image.
Conclusion
Mercury framework provides an easy way of sharing Jupyter notebooks and also converting them into web applications. We can create a variety of applications like data visualizations, machine learning web applications, or any image editing applications like those shown above. Hosting Jupyter notebooks is made easy with mercury. The main advantages of mercury are
- It is very simple to create apps from Jupyter notebooks.
- It is very easy to share Jupyter notebooks on various platforms using mercury.
- We can create demos of machine learning models in a simple way and share them.
The media shown in this article is not owned by Analytics Vidhya and is used at the Author’s discretion.


