Introduction
When you learn the nuances of a programming language, You know that this is the language you need to talk to the computers. But Why do you want to talk to the computers? What is that you try to achieve? Computers are vastly used for two of their superior capabilities over humans.
- They are fast.
- They are good at doing repetitive tasks. Neither do they get bored nor they commit mistakes on their own.
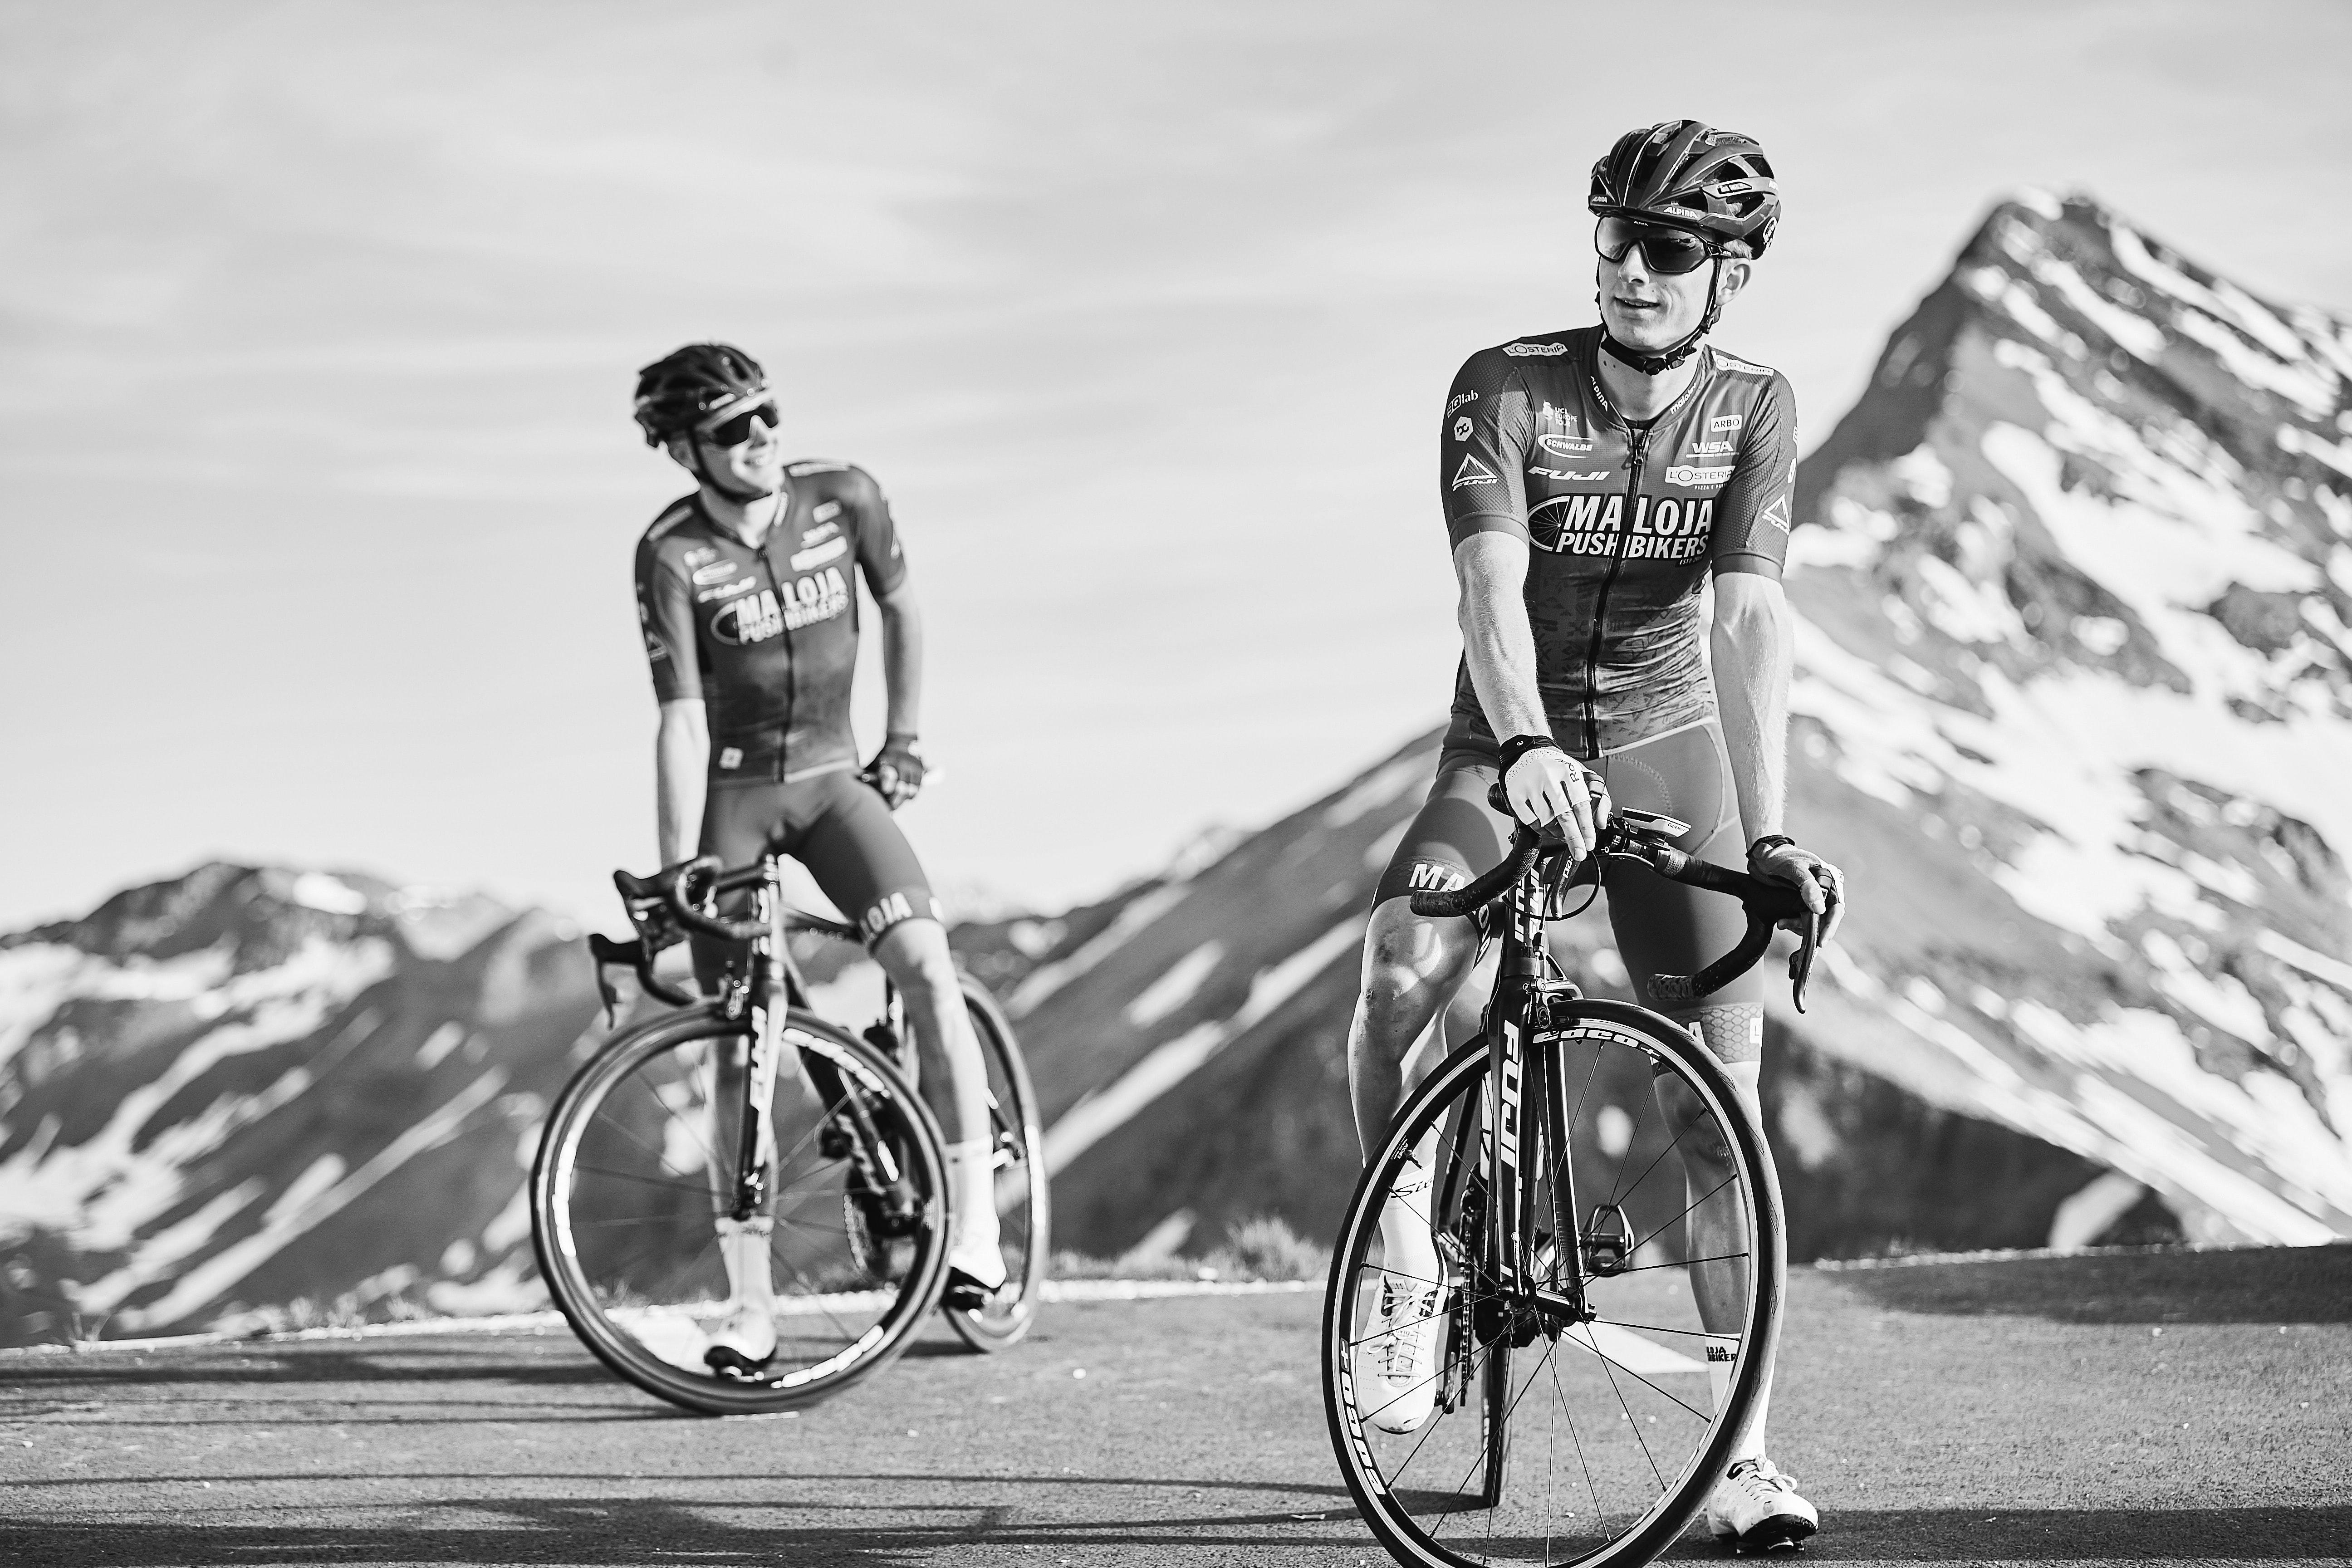
So we are going to use programming languages like Python for both of the above, and much more. Before we embark on our journey to solve a real-life problem, let me take you back to some good memories. You had your vacations in a beautiful hill station. There were snow-capped mountains and lush green valleys. The Mountain slopes were scattered with herds of goats and sheep all around.
There was a river along the valley. Water was so clear that you could see the fish and pebbles in the bottom of it. What a place. You couldn’t stop clicking pictures from your DSLR camera till the memory card and the spare ones too, can’t hold any more photos. Happy and contented with your photography skills and the beauty around you, you came back in a few days. All refreshed and recharged, raring to show what a beautiful place you have been to. You go ahead, open your computer, and copy all the photos from the memory card to your computer. Now you want to share them with your friends on Social media, with your followers on your blog, and also, post them on your website.
Now you realize, that you have so much work in your hands if you want to do all this.
- The Photos are large (Between 8 MB to 40 MB each, or at times even more). You need to resize them all.
- Many of them have the wrong orientation, and you need to rotate them so that they make sense to the viewer.
- In your blog, you can upload only one particular format of photos (say .png or .pdf for example) and your photos are in .jpg format.
- Many of the photos will look amazing in Black and White, especially the long shots and Landscapes.
- How nice will it be if you could create new folders for storing different types of images after processing, using Python? This will automate the complete task.
You know some tools on your computer to do all these tasks, but you need to do them one by one. Also, not one picture by one picture, but one task per picture and so on. How about your computer and python skills comes to your rescue. You know that computer won’t mind a repetitive task. And more so, now you know how to talk to the computer.
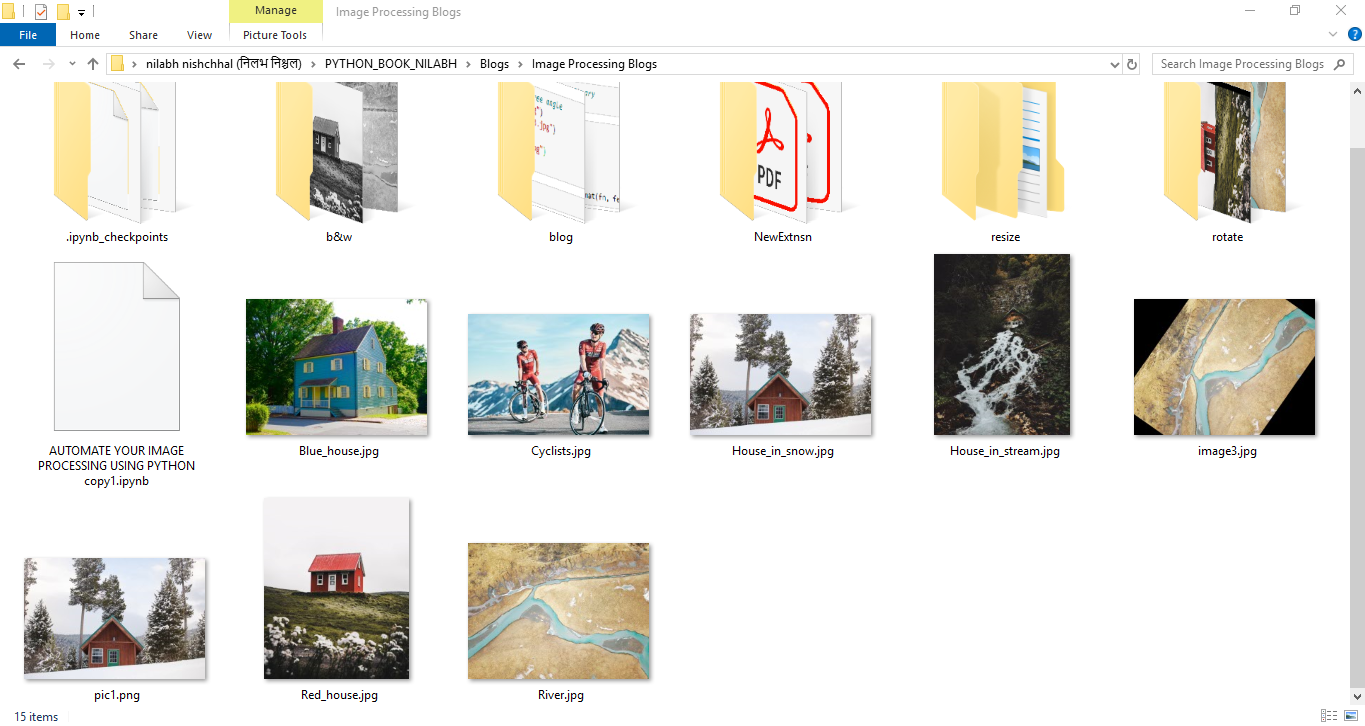
Yes, you know its language. You know Python. So let us write some simple lines to tell the computer to do each of these tasks, on all the photos in the folder. Yes, you heard it right. On all the photos at once. all you need to do is, keep those photos in one folder, on which you want to do a certain operation. You will see in due course of this project, that this provides you much more flexibility than doing it your old way. Let me give you a peep at my folder in which I have kept these photos. Going forward, we will keep coming back to the folder view, to see what additions and modifications we have done along the way.
Note: Throughout this blog, I will be using “Folder” and “Directory” interchangeably. They mean the same, just called by different names in different operating systems.

We will be using two python libraries here. One is Pillow, which is a picture manipulating library and another is os, which is a library to interact with the OS (operating system). Pillow is called by PIL (Python Imaging Library) which adds image processing capabilities to your Python interpreter.
You may need to install PIL if you don’t have it already. os on the other hand is a native python library and comes standard with python.
Let us start by opening your Jupyter Notebook and importing the PIL and os libraries.
from PIL import Image
import os
os.getcwd()
Output:
'C:\Users\nilabhnishchhal\PYTHON_BOOK_NILABH\Blogs\Image Processing Blogs'
It’s a good practice to see which directory (folder in case of windows) we are currently working in. Use the “get current working directory” method for this purpose.
OS is an operating system module of python, which helps in interacting with the Operating system directly. We will need to do that when we access multiple files together in any folder/directory.
Pillow allows us to work with and manipulate images. We are going to use the pillow library here, along with other functions of python. This will help us doing several tasks on the photos we selected. Tasks like opening them here, resizing them, rotating them, modifying their colors, and also saving them back to the folder.
My image files on which I am going to work are in the same folder as the Jupyter file on which I am working. This will help me avoid the necessity to write the full address of the image files all the time. But if you can’t do that, you can always access the images by typing the full path of the image file, wherever it lives on your computer.
# Let us import one image in our Jupyter environment and open that in the notebook itself

image1 = Image.open("House_in_snow.jpg")

image1
Output

If you want to open the image file outside the jupyter notebook, use the .show() method.
image1.show()Let us now gets our hands dirty, and see what all modifications we can do on these images.
Changing File type (Extension)
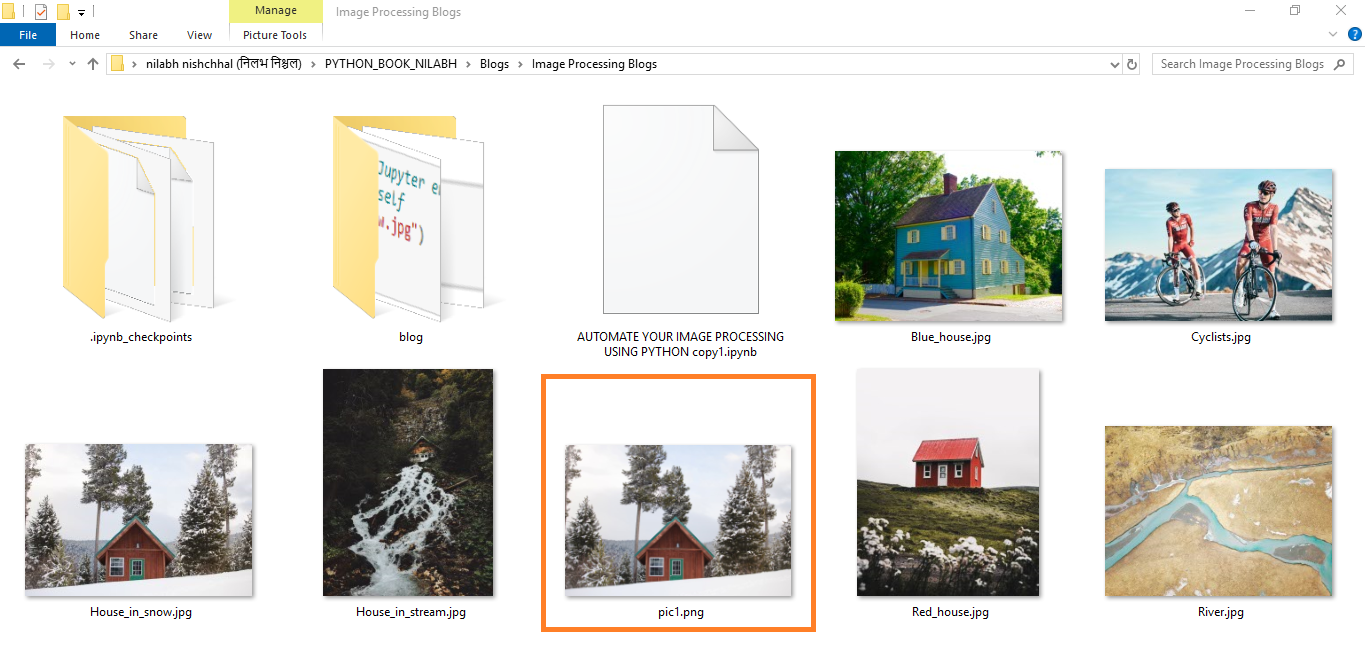
Converting the image from Jpg to Png is simple. All you have to do is save the image file opened in the Jupyter with the new extension (and new name if you wish to, as I am giving name pic1 here).
image1.save("pic1.png")
Notice that a new file with the name you gave to the image above is saved in your current working directory. For me, it’s “pic1.png”, as in the image below.
Well, doing this with one image is simple, but it would be really awesome if we can do that to multiple files, at the same time. To do that, we will use the os module to access the files in the directory. Once we get the list of the files, we will be able to see if the directory contains the files we want to work upon or not. Then comes a neat trick of programming handy. Yes, the good old “loop”. We will identify the file type from its extension and loop over all such files (that have the same extension or same type of files).
# lists all the files and folders in the current working directory
os.listdir()
Output:
['.ipynb_checkpoints',
 'AUTOMATE YOUR IMAGE PROCESSING USING PYTHON copy1.ipynb',
 'blog',
 'Blue_house.jpg',
 'Cyclists.jpg',
 'House_in_snow.jpg',
 'House_in_stream.jpg',
 'pic1.png',
 'Red_house.jpg',
 'River.jpg']
This OS method gives all the files in a directory which ends with a particular extension. This way we may list all files of one type to take action upon. Now as we have a way to access all image files, we will separate the name and extension. This can be done by using another os method, os.path.splitext(), we can separate the name and extension of the files.
for f in os.listdir("."):
    if f.endswith(".jpg"):
        i = Image.open(f)
        fn, fext = os.path.splitext(f)
        print(fn, "&", fext)
Output:
Blue_house & .jpg
Cyclists & .jpg
House_in_snow & .jpg
House_in_stream & .jpg
Red_house & .jpg
River & .jpg
#Looping over the image files
for f in os.listdir("."):
    if f.endswith(".jpg"):
        print(f)
Output:
Blue_house.jpg
Cyclists.jpg
House_in_snow.jpg
House_in_stream.jpg
Red_house.jpg
River.jpg
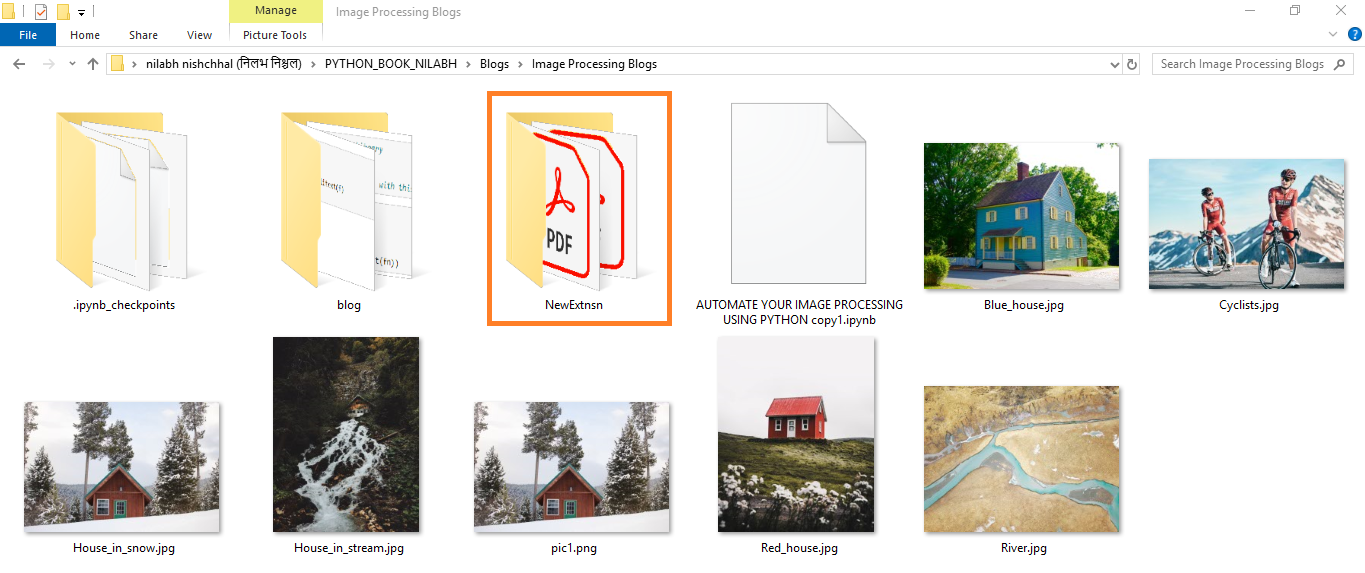
Now when we have separated the name and extension, we can convert our jpeg files in .pdf format, and save the files with the same names and new extensions. You can also save these new files in a different directory. I am going to create a new folder NewExtnsn and save the new files there.
# Creating new Directory using OS library
os.mkdir('NewExtnsn')
# Note: If you already have a directory with this name, you will get error.
for f in os.listdir("."):
    if f.endswith(".jpg"):
        i = Image.open(f)
        fn, fext = os.path.splitext(f)
        i.save("NewExtnsn/{}.pdf".format(fn))
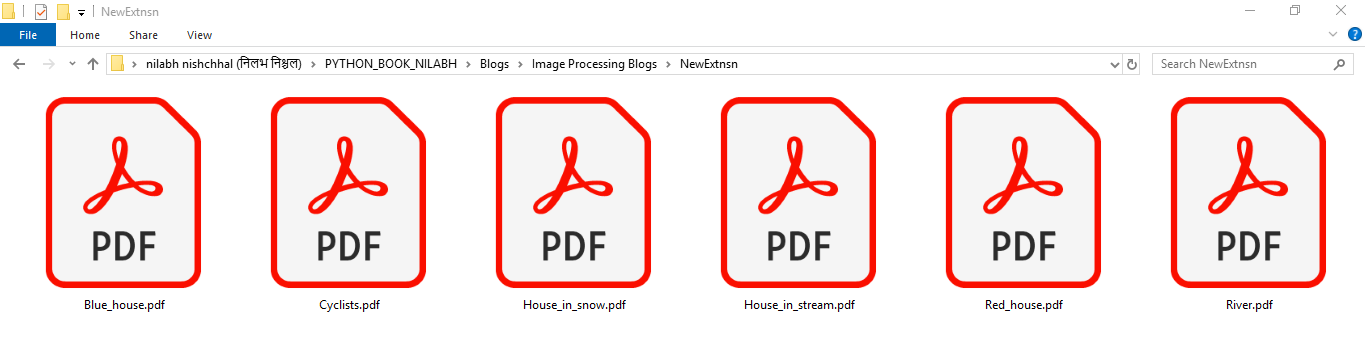
What is the NewExtnsn/{} does there. Remember the print formatting. We used the good old print formatting, to create new file names, and put them in the new directory, for which the address is NewExtnsn/. You need to create a new folder/directory in your working directory first, then use its name in the address. I created a folder with the NewExtnsn name. And as you can see in the image below, all my new pdf files, with the same name as the image files, are appearing there. Notice the path in the address for clarity. In this chapter, for every new kind of file we create, we will save the new files in their separate subfolders or directories. They will be created first, and then accessed in the same way as seen above.
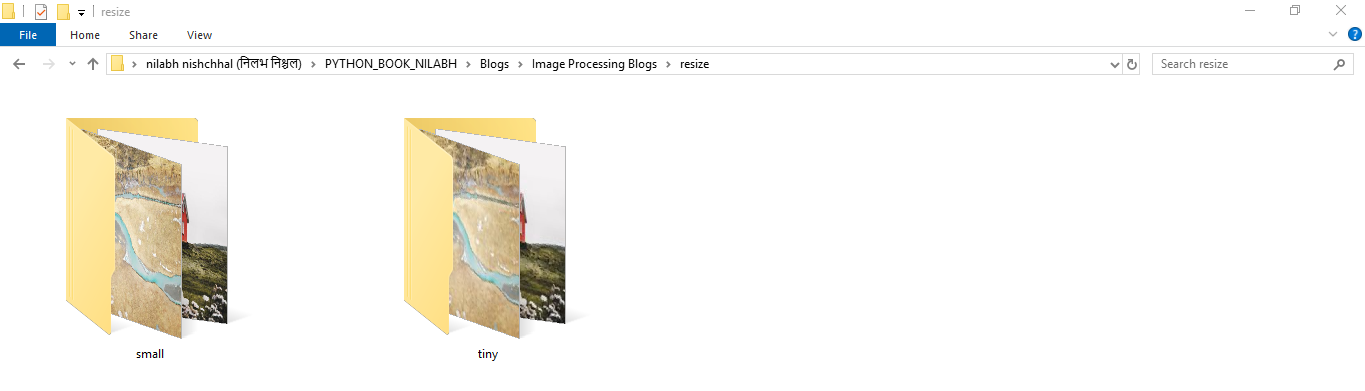
Resizing the photos
We can resize the images in the size as well as the aspect ratio we want. We will make one more folder inside the base folder we are working on, called “resize” and inside that folder, we will have two more folders. I want to have photos for two different purposes, one for posting as postcards on the webpage, and another for smaller thumbnails of those postcards. So I will save them in separate folders. Let’s name the folders “small” and “tiny”. .thumbnail() is the method used to change the size here, and the argument is a tuple of the size we want.
# Creating new multiple Directories using OS library
os.makedirs('resize//small')
os.makedirs('resize//tiny')
# Note: If you already have a directory with this name, you will get error.
size_small = (600,600) # small images of 600 X 600 pixels
size_tiny = (200,200)  # tiny images of 200 X 200 pixels
for f in os.listdir("."):
    if f.endswith(".jpg"):
        i = Image.open(f)
        fn, fext = os.path.splitext(f)
        i.thumbnail(size_small)
        i.save("resize/small/{}_small{}".format(fn, fext))
        i.thumbnail(size_tiny)
        i.save("resize/tiny/{}_tiny{}".format(fn, fext))
Converting to Black and White
There are many conversions pillow or PIL library allows. We will see only one of them and the rest you shall explore on your own. Let me show you how to convert colored images to black and white.
Insert Image code8
image2 = Image.open("Cyclists.jpg")
image2 = image2.convert(mode='L')
image2
Output:
Now let us convert all the images to B&W and save them in a new folder called “b&w”.
Insert Image code9
# Creating new Directory using OS library
os.mkdir('b&w')
for f in os.listdir("."):
    if f.endswith(".jpg"):
        i = Image.open(f)
        fn, fext = os.path.splitext(f)
        im = i.convert(mode = 'L')
        im.save("b&w/{}_bw.{}".format(fn, fext))
Let us have a look inside the “b&w” folder.

Rotating the Images
We take images in both orientations, portrait as well as landscape. And at times, we have quite a good number of images that are not the same orientation that our eyes are used to. So we change them in the photo viewer one by one, and most of the time, when we close the window, they remain in the original orientation, adding to our frustration of doing the same changes all over again next time when you chose to view them or use them in presentation or college. Not only that. Say you wish to rotate your images at some unique angles, like 55 Degrees or 120 Degrees. All image editors are not well equipped to do so, and for those who are, it’s not a very interesting task there as well.
Using the .rotate() method, we can rotate the images to the desired angle, as shown in the example below.
Insert Image code10
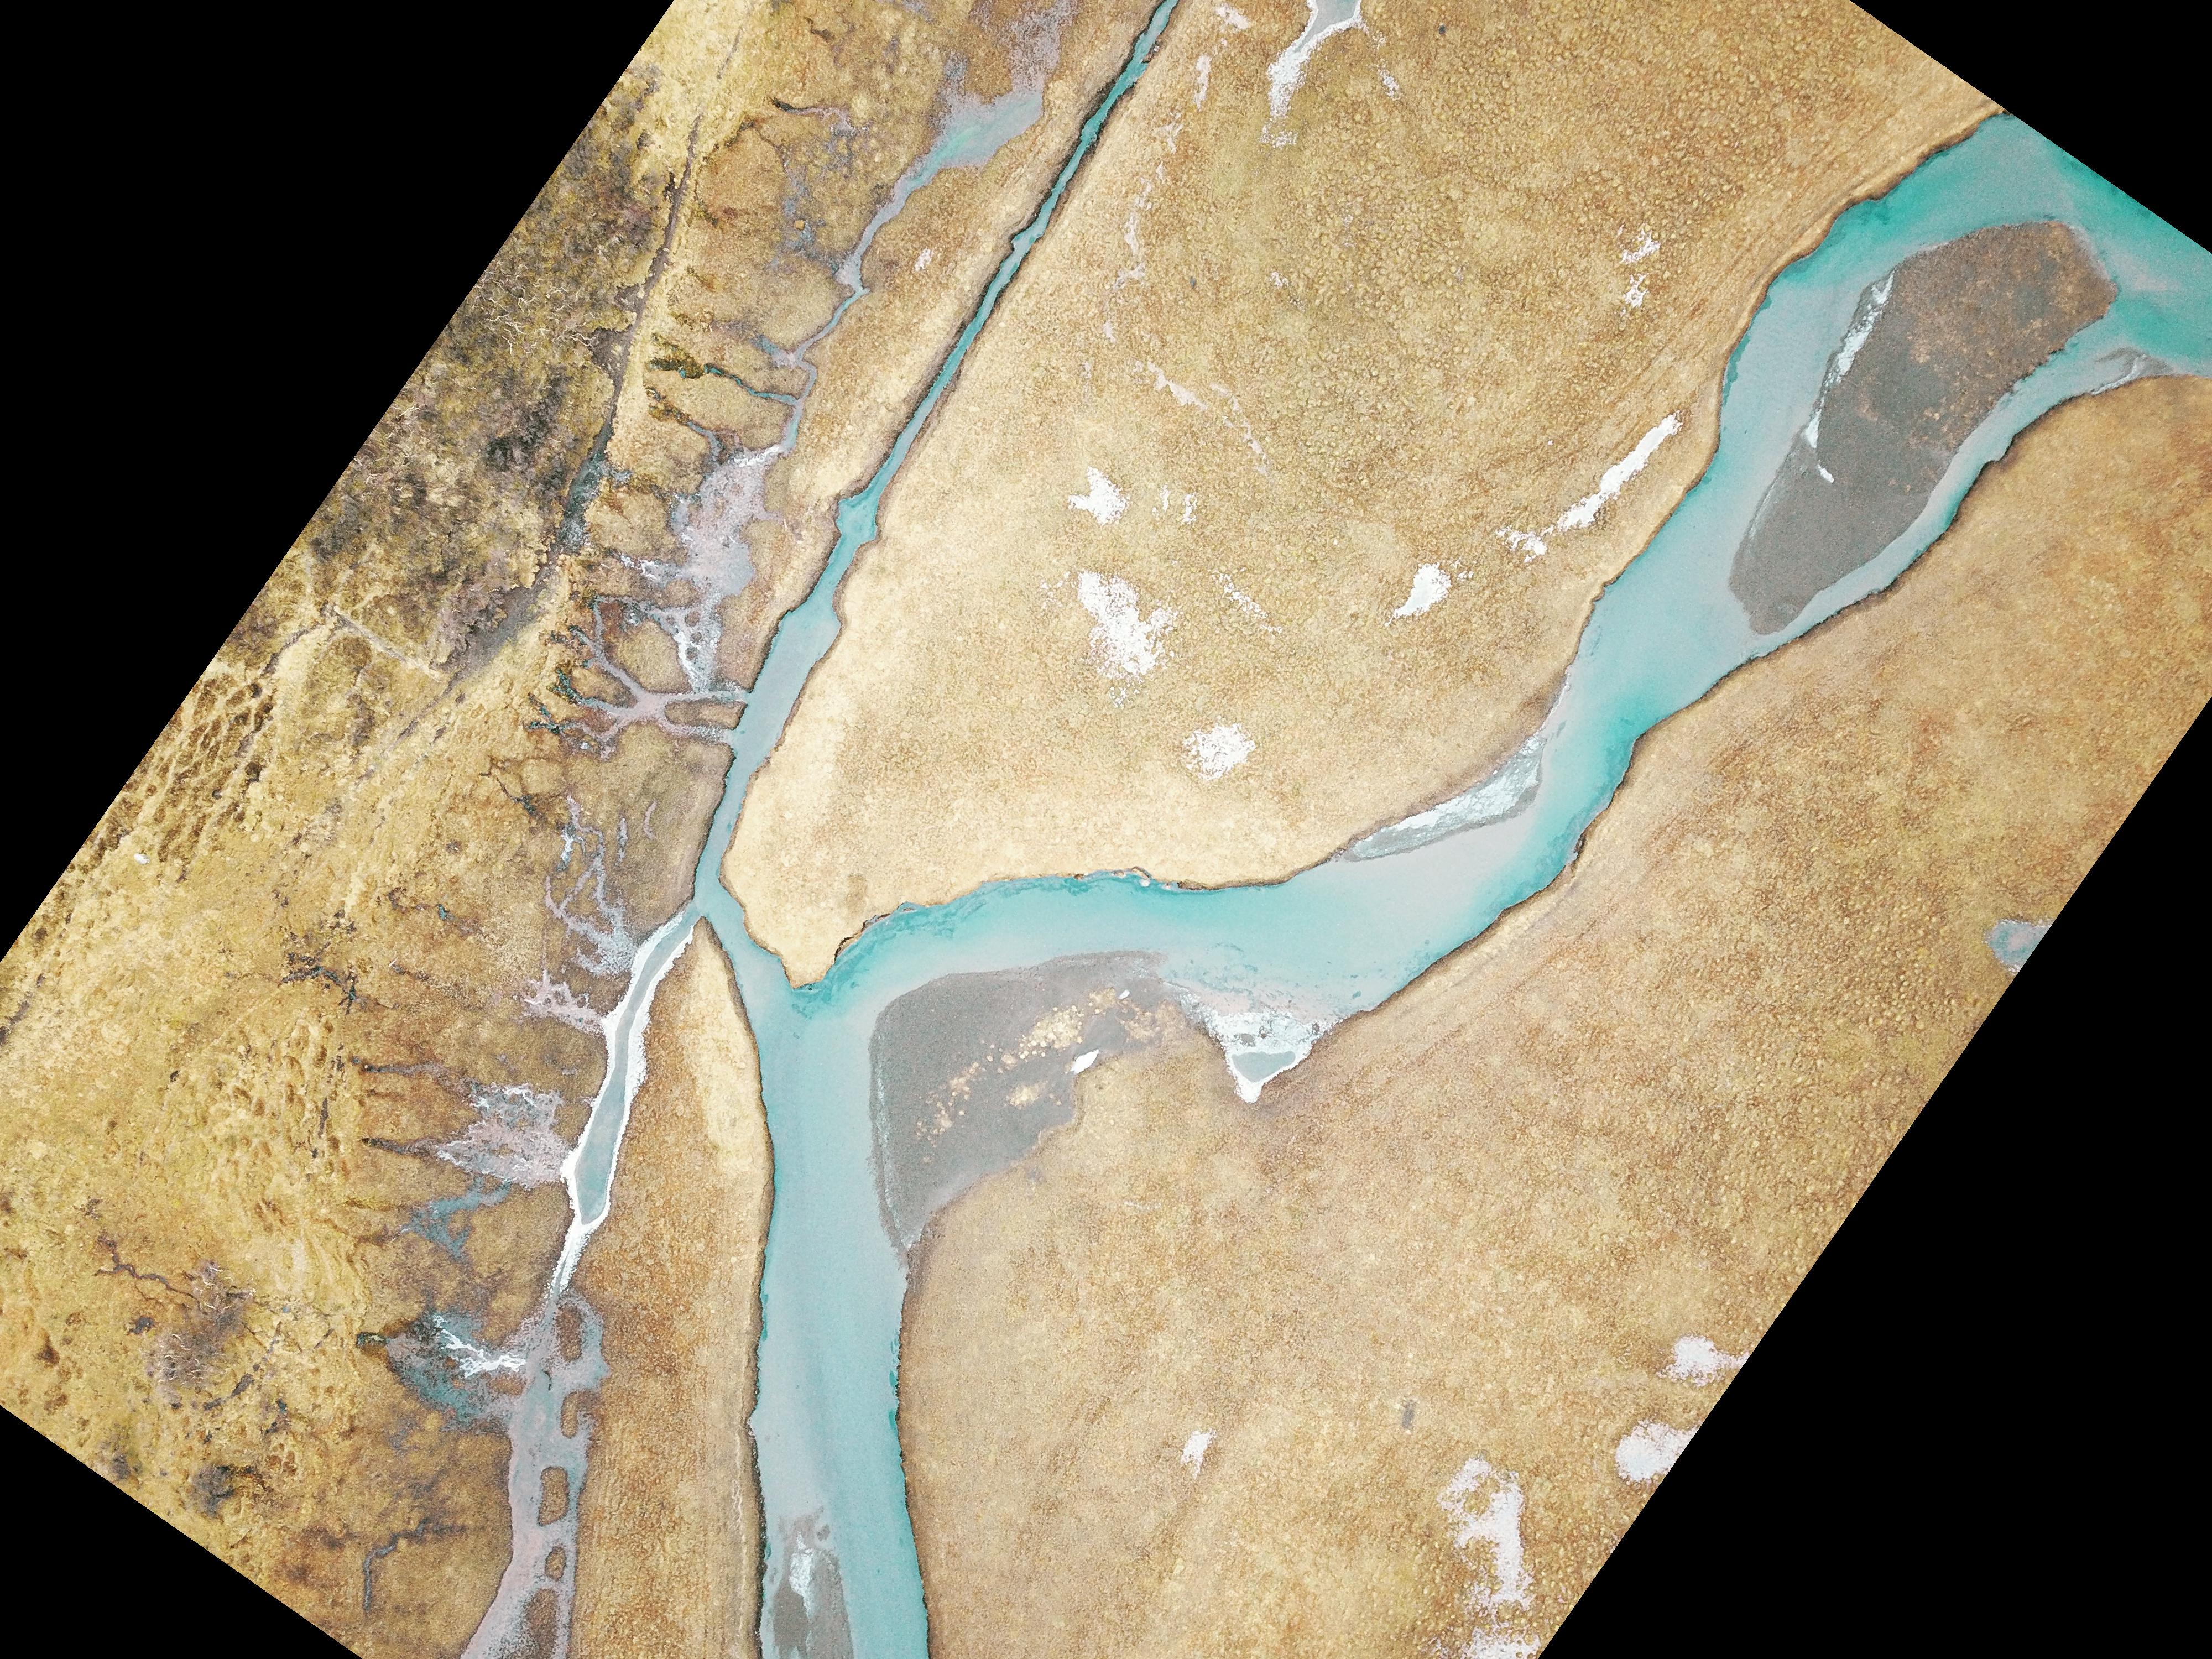
#rotating the image to 55 Degree angle
image3 = Image.open("River.jpg")
image3.rotate(55).save("image3.jpg")
Image3 = Image.open("image3.jpg")
Image3
Output:
Performing the same action on all the images and saving them to the new subfolder “rotate”. But this time we are rotating the images by 90 degrees. You can choose whatever angle you want to. This is much better than just horizontal or vertical alignment.
Fun Tip: In case you want your image upside down, use 180 Degree.
Insert Image code11
# Creating new Directory using OS library
os.mkdir('rotate')
for f in os.listdir("."):
    if f.endswith(".jpg"):
        i = Image.open(f)
        fn, fext = os.path.splitext(f)
        im = i.rotate(90)
        im.save("rotate/{}_rot.{}".format(fn, fext))
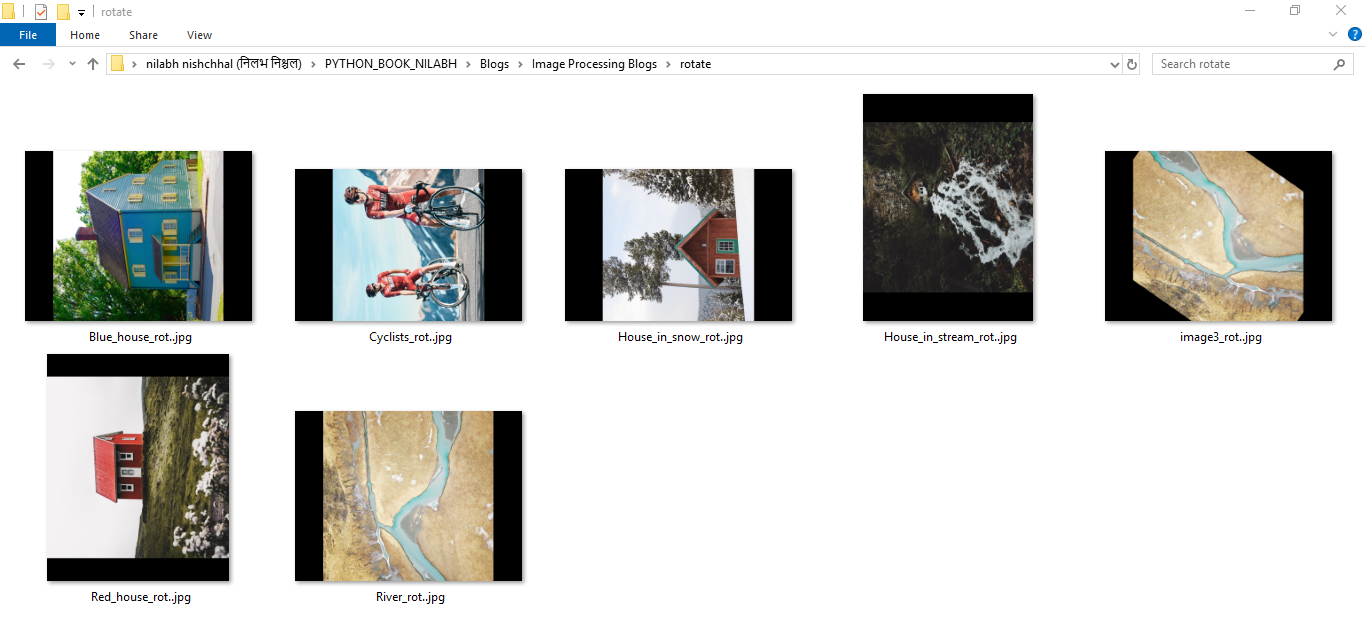
And in the end, let us see the final view of our folder, which is now richer in content from the time we started this blog. Now you have all the new folders you created, and the subfolders, and all the files which were modified and beautified, all at the same time with the least amount of effort.
If this doesn’t impress you yet, try doing it for 100 images at the same time. Or maybe more. Then it will become clearer as to how much effort you are going to save by automating this mundane yet important task.
Summary:
In this article, I tried to introduce two major things to you. One is obvious and the other is implied. The obvious thing is how to use the pillow and os libraries and using them, how to play with your images. The major learning was how to use the looping over files of a particular type and do changes in that. Now the same can be done with any kind of file.
The way we separated the file name and the extension, it can be done for other file types too, and similar operations may apply to them as well. The implied learning in this project was, that you can use Python to make your daily task or your repetitive tasks easy, by automating them. There may or may not be straight forward solution to things, but if you are inclined to find it, there are enough resources at your disposal to find a way out. You can look at the mix and match the learning from my book, PYTHON MADE EASY – Step by Step Guide to Programming and Data Analysis using Python for Beginners and Intermediate Level OR look for similar tasks online or ask your query at “https://stackoverflow.com/”.
The important thing is, to put the machine to work for you. And automate the mundane tasks.
Image Courtesy: Unsplash.
House_in_snow, House_in_stream, Cyclists River, Red_house, Blue_house, Title Image
About the Author: I am Nilabh Nishchhal. I like making seemingly difficult topics easy and write about them. Check out more at https://www.authornilabh.com/. My attempt to make Python easy and Accessible to all is “Python Made Easy”.
The media shown in this article are not owned by Analytics Vidhya and is used at the Author’s discretion.


Hi Nilabh, This is a great article. I have a question on the section where you explained about rotation. The code and concepts helped with rotating all images in a loop by whatever angle we decide. However we may come up with scenarios where some of the images are inverted and we want to rotate only them. So is there a way, we can use python to first identify which image is inverted or not straight. Then rotate them only by required angle (for an inverted image we may have to rotate by 180 degrees) to make it straight in alignment.
Identifying inverted images will get into domain of deep learning and image recognition. That is not the scope of this article. However, I can think of a simple workaround. You as the user can identify in one go which images are inverse or lets say, at 90 degree(By looking at all the images in the folder view). You can take two approaches. 1. Select the images which are of one kind (say inverted) and copy them in one separate folder, and them run the loop in that folder. 2. Otherwise ,you can simply rename all such images with one common identifier, use that identifier to run loop on only those images. I hope this resolves your problem. Thanks for appreciation :))