In this article, we will learn how to watermark multiple images using OpenCV.
Topics to be covered:
- What is a Watermark?
- Resizing images in OpenCV
- Creating Watermark using an image
1. What is a Watermark?
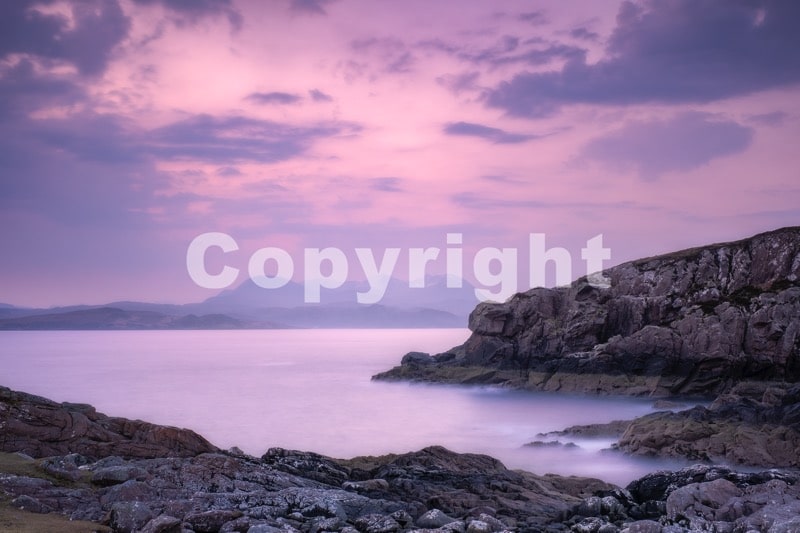
A watermark is a logo, signature, text, or pattern that is intentionally superimposed onto different images and is used to protect the copyright of the images.
Its main purpose is to promote a brand and to make it more difficult to copy or use the original image without the owner’s permission.
Watermarks are often used by organizations, professionals to prevent others from using their content after hosting it online.
So, have you ever thought of adding a watermark to your images? Well, I did.
For example, we write blogs and mention the source of external images. But what about the images you create on your own? Wouldn’t it be nice to leave your imprint on them?
Yay! Let’s get started on this exciting task.
2. Resizing images in OpenCV
Resizing is nothing but scaling the image, which means changing the size of the original image. We can either increase or decrease the size of the image as per the business requirement.
Resizing can be done in several ways.
1. Preserve aspect ratio. The aspect ratio of an image is the ratio of its width to its height.
- Shrink or upscale the size of the image
2. Not preserving the aspect ratio
- Shrink/upscale width only, Shrink/upscale height only
3. Change both width and height to specific values
Sounds great till now, but how do we do it practically? The answer is OpenCV and its resize() function. Read more about the OpenCV resize function from this documentation.
Syntax of cv2.resize() function:
cv2.resize(src, dsize, interpolation)
- src – source image
- dsize – the desired size of the output image
- interpolation – Wikipedia definition: It is a method of constructing (finding) new data points based on the range of a discrete set of known data points.
Refer to this documentation to read more about interpolation flags.
Now, let us take a sample image and resize it. Below is our sample image.
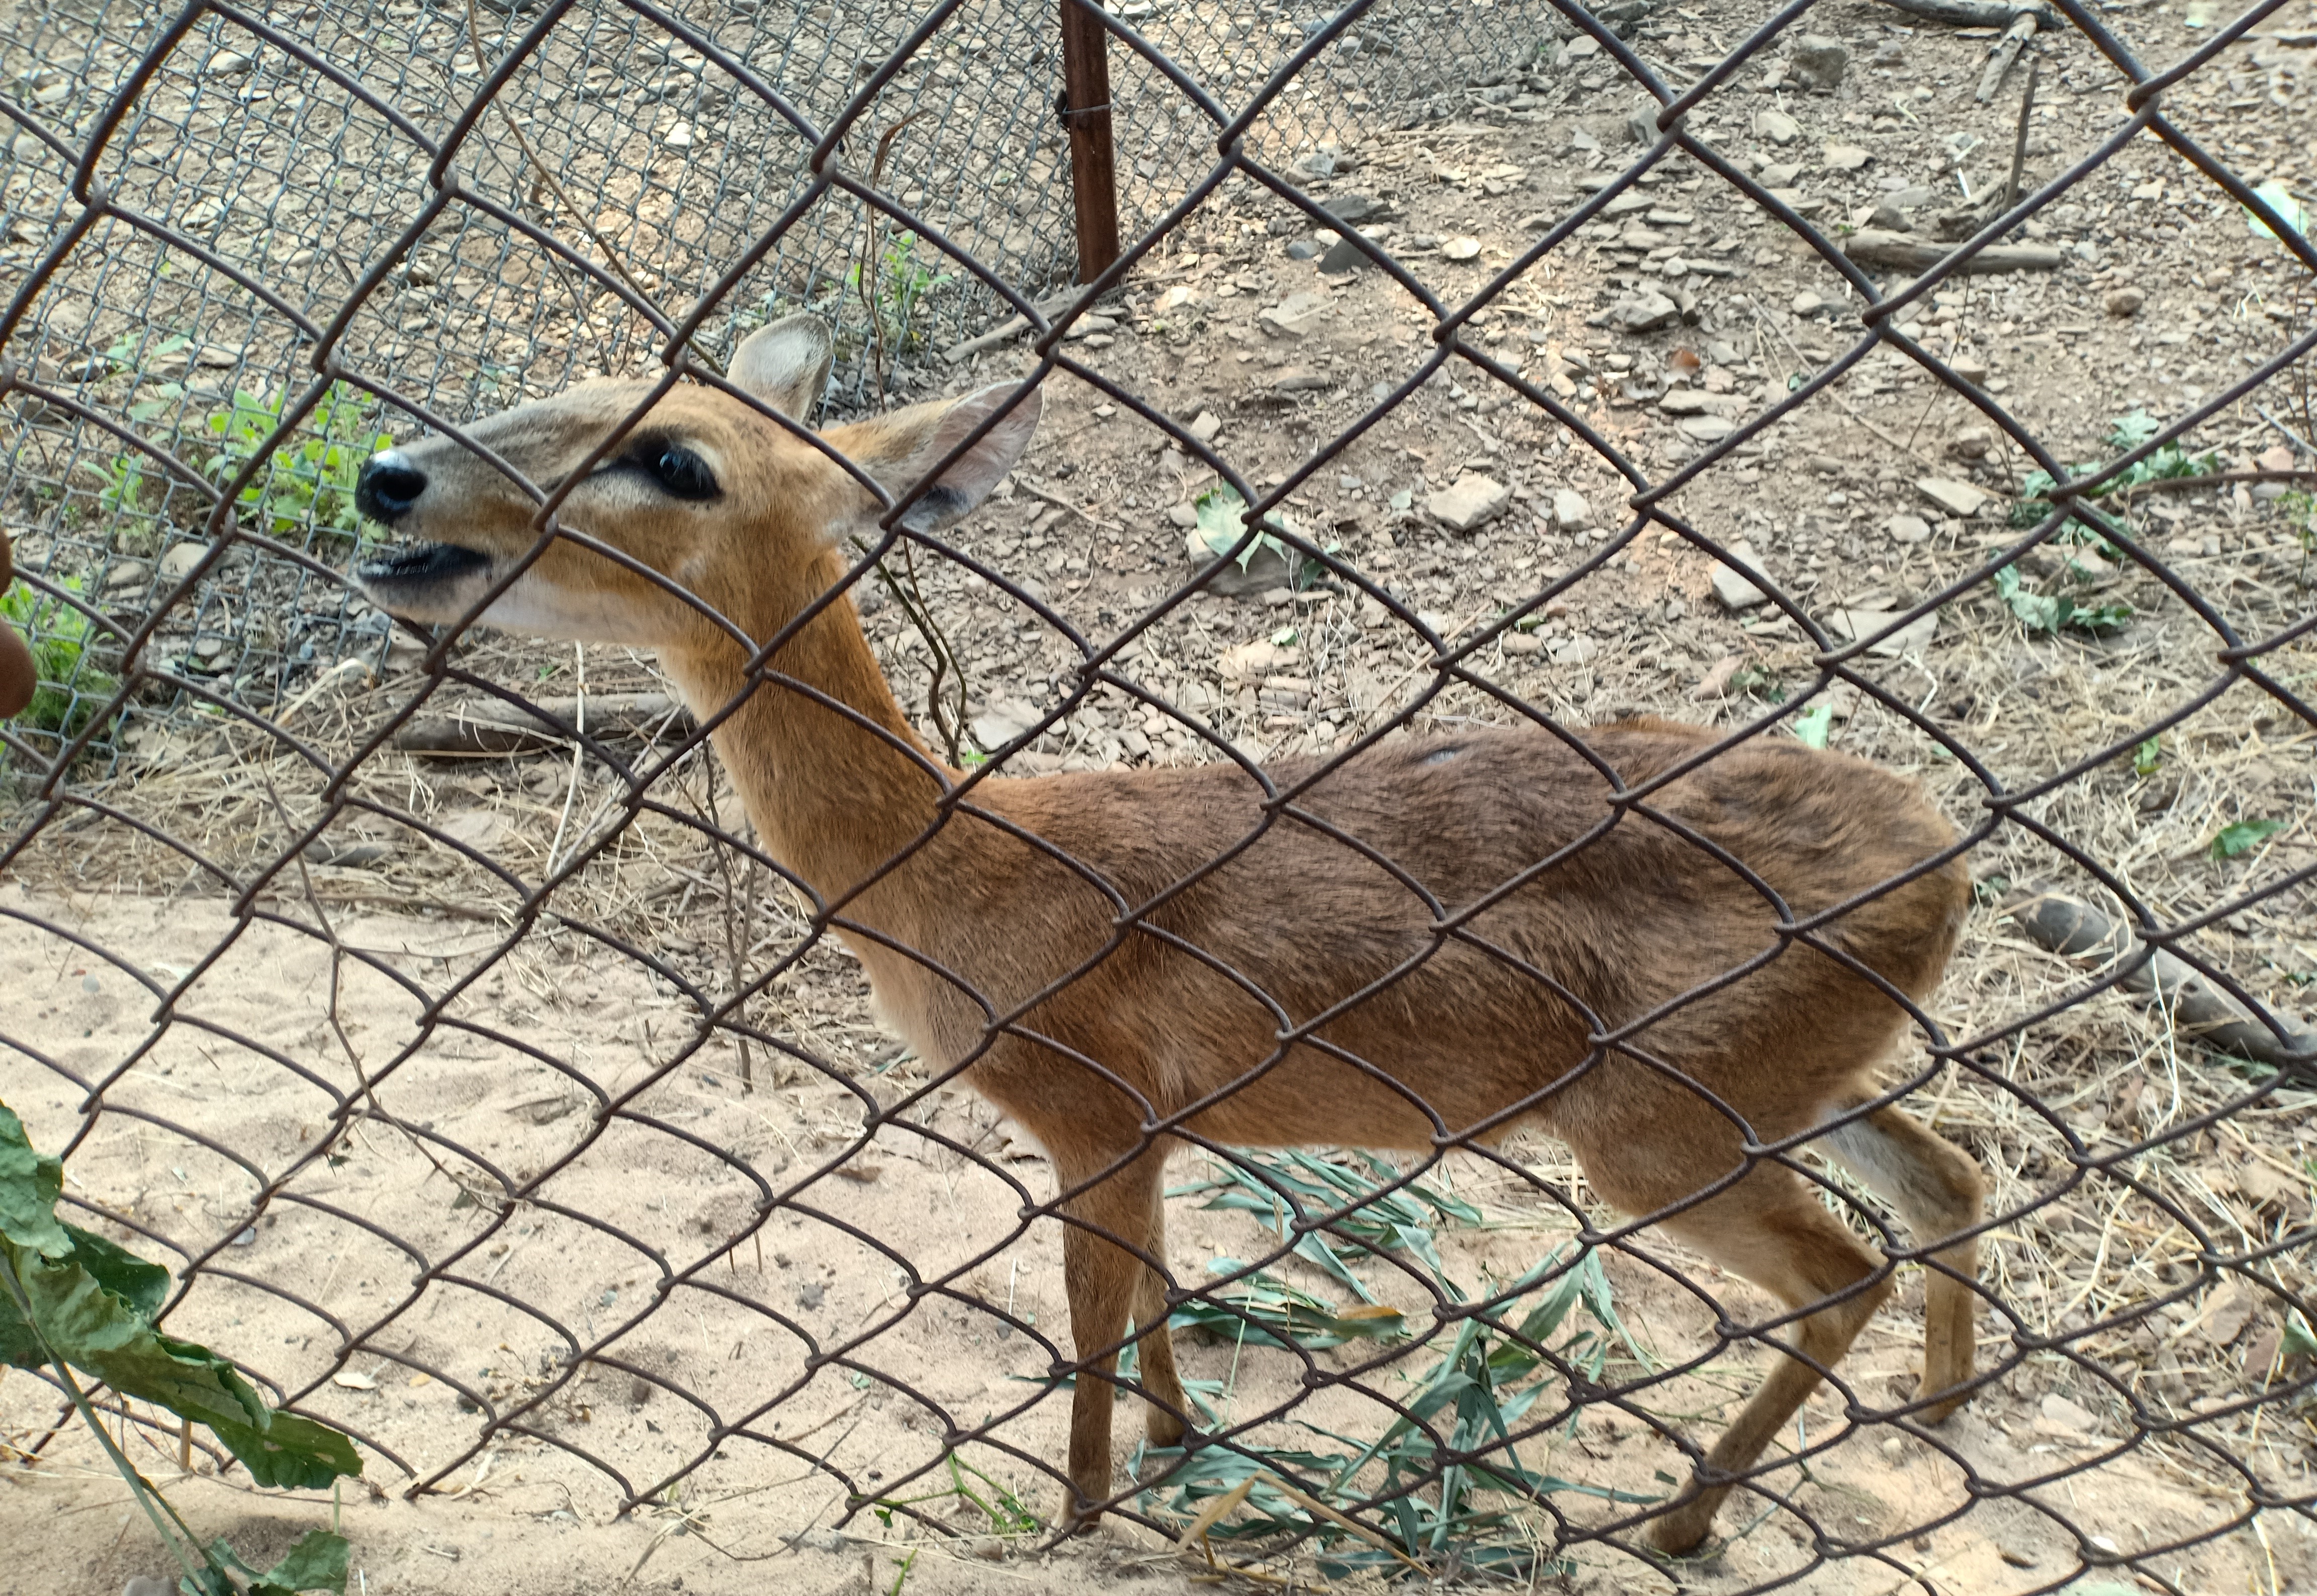
Now, try displaying it using OpenCV.
import cv2
img = cv2.imread('images/deer.JPG')
cv2.imshow("Original Image", img)
cv2.waitKey(0)
cv2.destroyAllWindows()
Below is how our image looks when displayed using OpenCV. As our image is of high-resolution, only some part of it is visible.
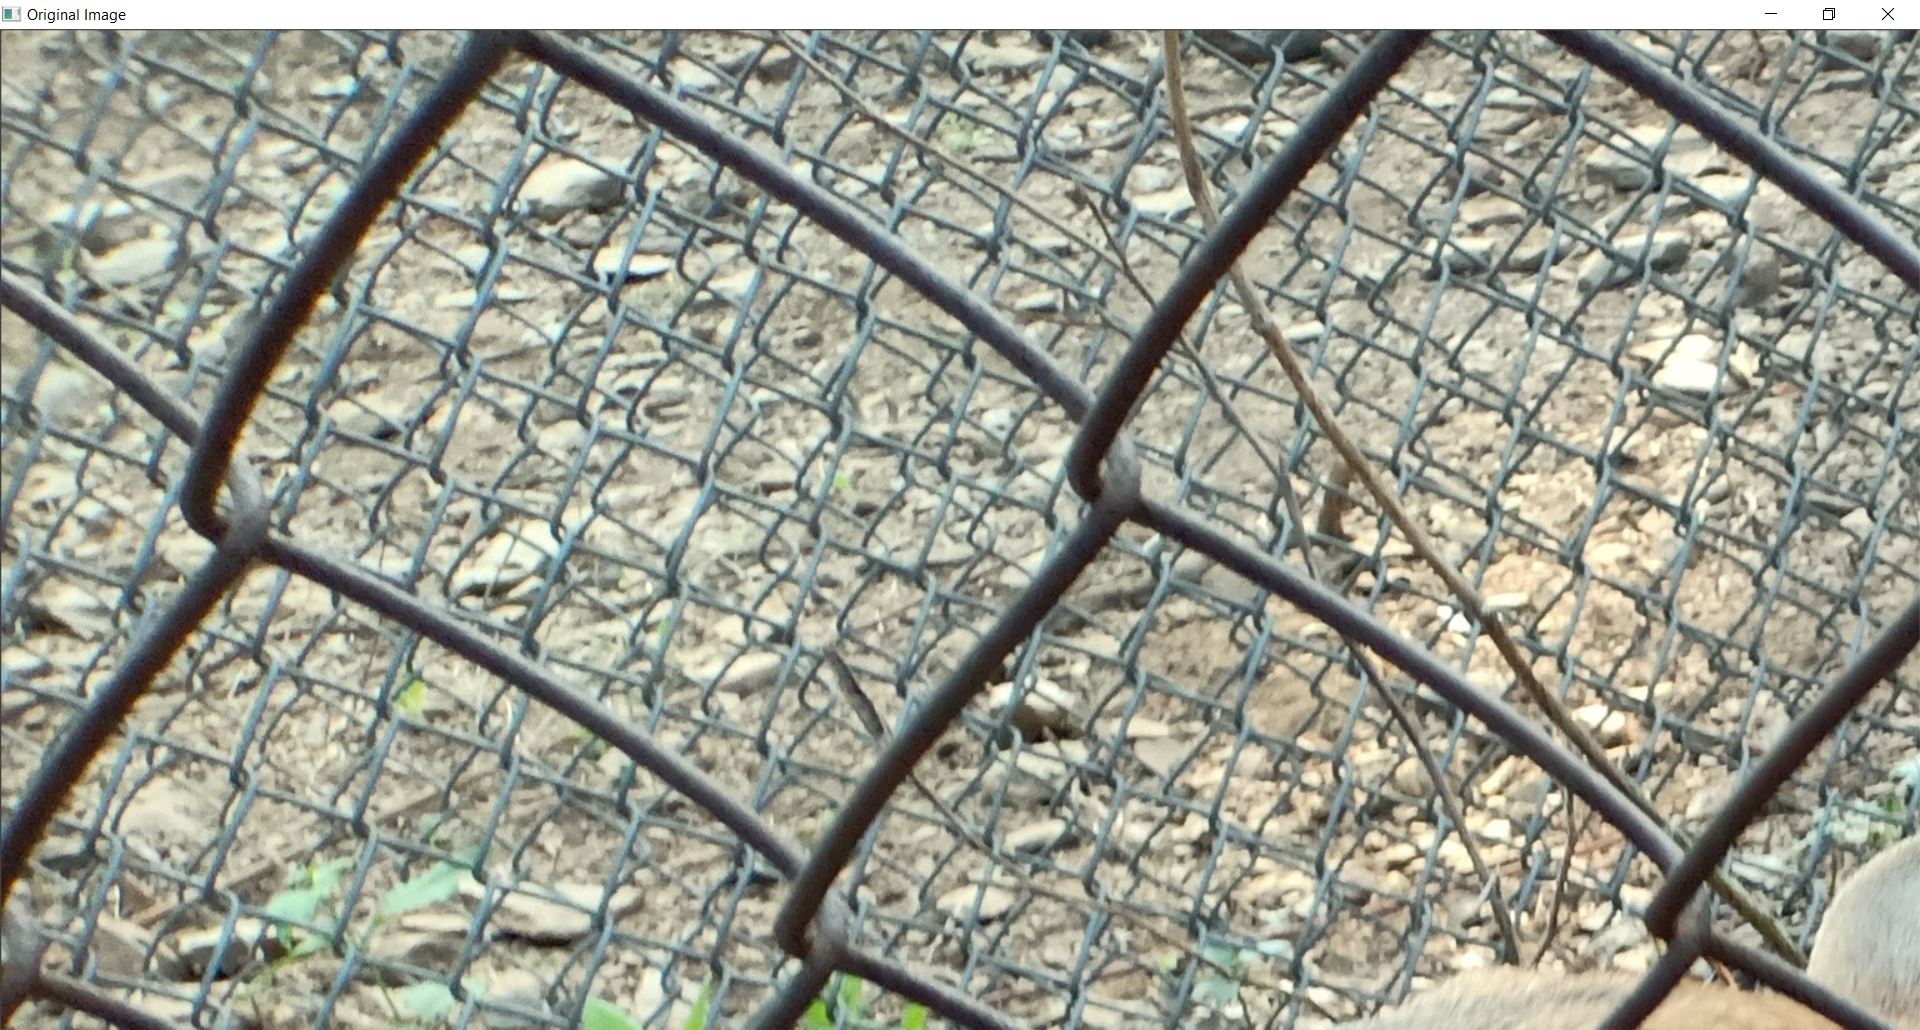
So, there definitely is the need to resize it. We need to decrease the size of it.
Steps to resize an image in OpenCV:
- Read the image using cv2.imread()
- Set the new width and height.
- Create a tuple for the new dimensions
- Resize the image using cv2.resize()
- If required, save the resized image to the computer using cv2.imwrite()
- Display the original, resized images using cv2.imshow()
1. Preserve aspect ratio – downscale the image to 20% of its original size.
(We are reducing the size of the original image to 20% of its original size. So, creating a tuple for the new dimensions by calculating 20% of the original width, 20% of the original height.)
import cv2
img = cv2.imread('images/deer.JPG')
percent_of_scaling = 20
new_width = int(img.shape[1] * percent_of_scaling/100)
new_height = int(img.shape[0] * percent_of_scaling/100)
new_dim = (new_width, new_height)
resized_img = cv2.resize(img, new_dim, interpolation=cv2.INTER_AREA)
filename = 'resized_img_aspect ratio.jpg'
cv2.imwrite(filename, resized_img)
cv2.imshow("Original Image", img)
cv2.imshow("Resized Image", resized_img)
cv2.waitKey(0)
cv2.destroyAllWindows()
The above code saves the resized image and displays the original, resized images.

Well done. We have successfully resized our image by keeping the aspect ratio in mind.
2. Not preserving aspect ratio – Shrink/upscale width only, Shrink/upscale height only
The steps to resize will be the same as above. The only difference is we keep either of the two dimensions unchanged.
import cv2
img = cv2.imread('images/deer.JPG')
new_dim = (img.shape[1], 500) # changes height
resized_img = cv2.resize(img, new_dim, interpolation=cv2.INTER_AREA)
cv2.imshow("Original Image", img)
cv2.imshow("Resized Image", resized_img)
cv2.waitKey(0)
cv2.destroyAllWindows()
Below are the images displayed from the above code.
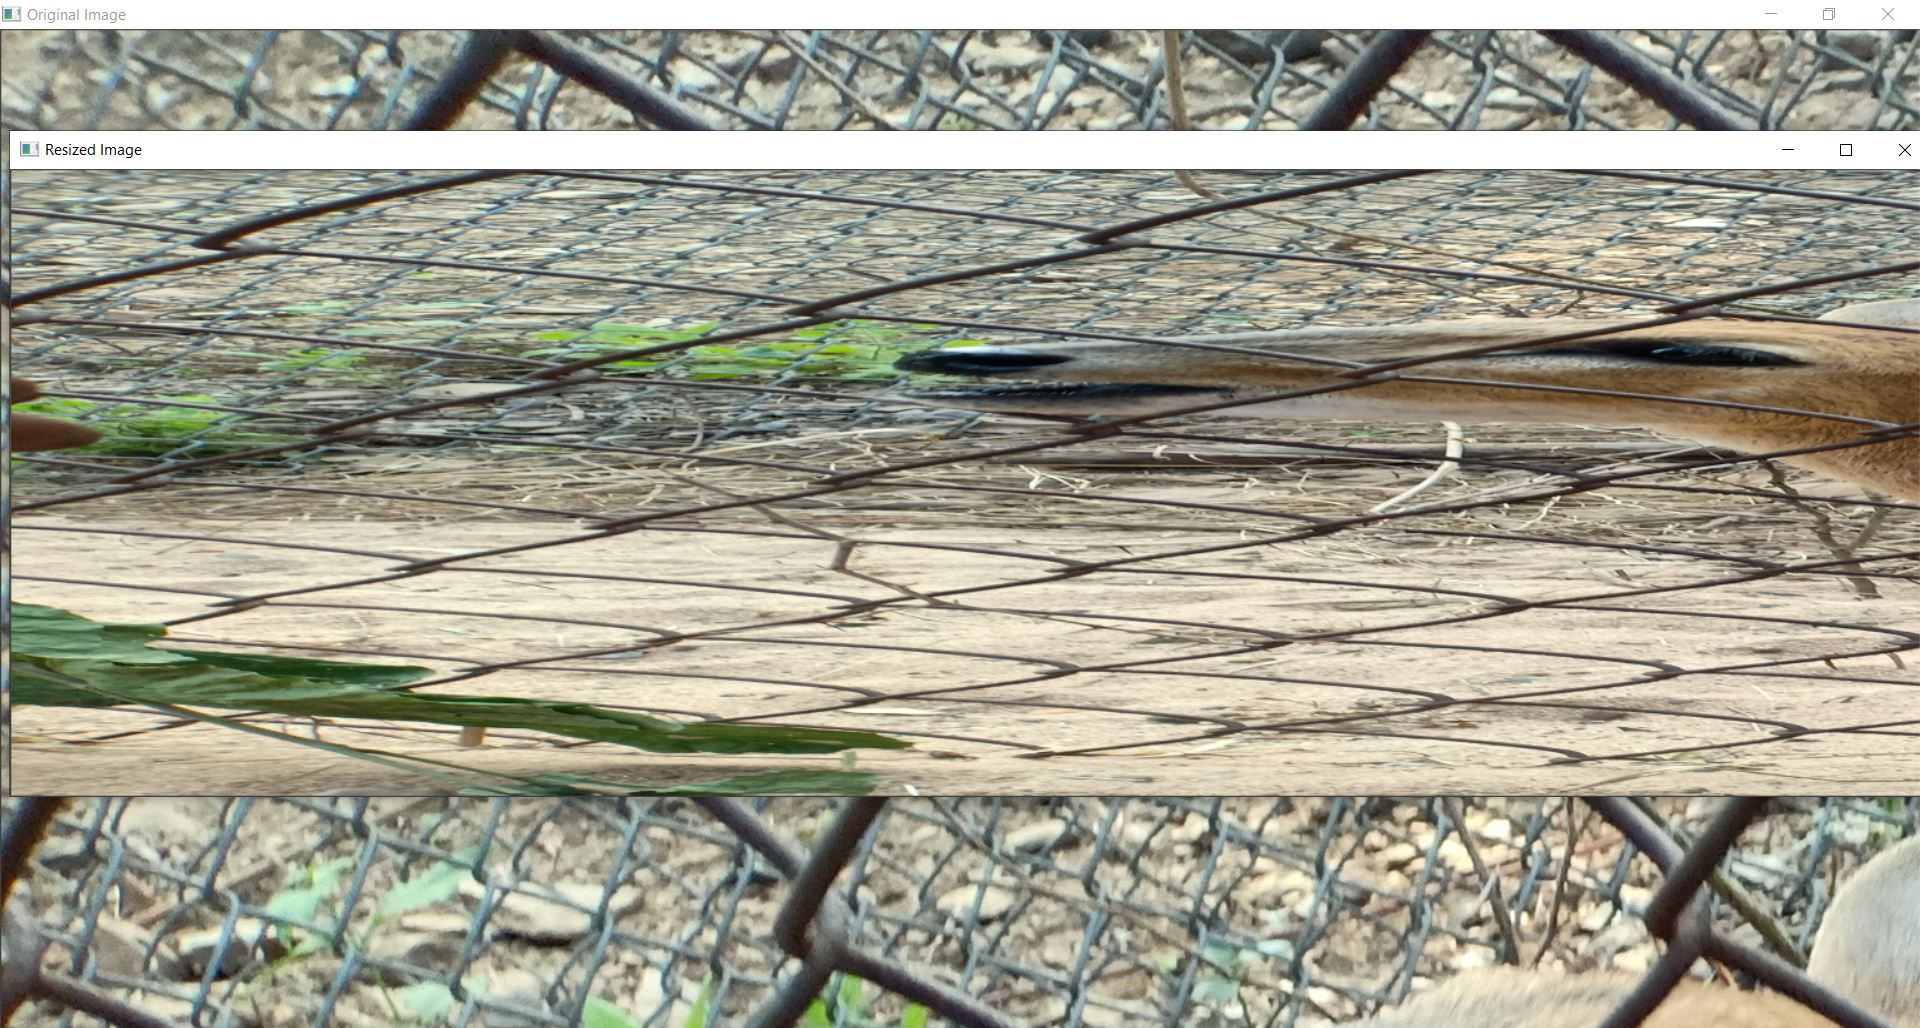
The resized image is distorted and is not the desired output.
3. Change both width and height to specific values
- import cv2
- img = cv2.imread(‘images/deer.JPG’)
- new_dim = (450, 450)
- resized_img = cv2.resize(img, new_dim, interpolation=cv2.INTER_AREA)
- cv2.imshow(“Original Image”, img)
- cv2.imshow(“Resized Image”, resized_img)
- cv2.waitKey(0)
- cv2.destroyAllWindows()
Below are the images displayed from the above code.

This looks a little good, but not as good as the output image with preserved aspect ratio. So I prefer resizing by preserving the aspect ratio.
The next step is to see how to create a watermark.
Creating Watermark using an image
I chose to watermark using the image of my name. Make an image of your name and try it along with me.

Steps to add the watermark at the center of an image:
Read and resize the images (watermark image, Input image) if needed.
import cv2
img = cv2.imread('images/deer.JPG')
watermark = cv2.imread("watermark.PNG")

percent_of_scaling = 20
new_width = int(img.shape[1] * percent_of_scaling/100)
new_height = int(img.shape[0] * percent_of_scaling/100)
new_dim = (new_width, new_height)
resized_img = cv2.resize(img, new_dim, interpolation=cv2.INTER_AREA)

wm_scale = 40
wm_width = int(watermark.shape[1] * wm_scale/100)
wm_height = int(watermark.shape[0] * wm_scale/100)
wm_dim = (wm_width, wm_height)
resized_wm = cv2.resize(watermark, wm_dim, interpolation=cv2.INTER_AREA)
Define the position of the logo according to the new dimensions of the resized input image.
h_img, w_img, _ = resized_img.shape
center_y = int(h_img/2)
center_x = int(w_img/2)
h_wm, w_wm, _ = resized_wm.shape
top_y = center_y - int(h_wm/2)
left_x = center_x - int(w_wm/2)
bottom_y = top_y + h_wm
right_x = left_x + w_wm
Get the Rectangular Region of interest (ROI) and store it to a variable called ‘roi’.
roi = resized_img[top_y:bottom_y, left_x:right_x]
Superimpose the resized watermark onto the ROI using cv2.addWeighted(), and store it to a variable called ‘result’.
result = cv2.addWeighted(roi, 1, resized_wm, 0.3, 0)
Now, add this result to the resized input image
resized_img[top_y:bottom_y, left_x:right_x] = result
Save the resultant watermarked image to the computer
filename = 'watermarked_deer.jpg'
cv2.imwrite(filename, resized_img)
Display the resultant watermarked image
cv2.imshow("Resized Input Image", resized_img)
cv2.waitKey(0)
cv2.destroyAllWindows()
Tada! Below is the resultant watermarked image.
Till now, we learned to watermark a single image. As we aim to watermark multiple images, we need to create a list of all those input images and loop through it. Below are the images I will be using.
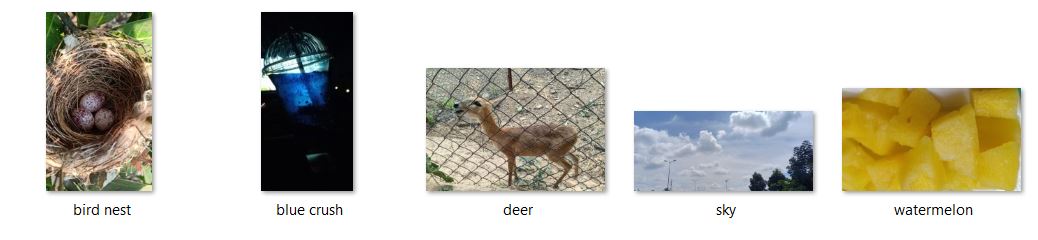
Create a list of input images
import os
folderPath = "images"
imgList = os.listdir(folderPath)
imgList

Code to watermark multiple images
import cv2
watermark = cv2.imread("watermark.PNG")
wm_scale = 40
wm_width = int(watermark.shape[1] * wm_scale/100)
wm_height = int(watermark.shape[0] * wm_scale/100)
wm_dim = (wm_width, wm_height)
resized_wm = cv2.resize(watermark, wm_dim, interpolation=cv2.INTER_AREA)
h_wm, w_wm, _ = resized_wm.shape

for image in  imgList:
    img = cv2.imread(f'{folderPath}/{image}')
    percent_of_scaling = 20
    new_width = int(img.shape[1] * percent_of_scaling/100)
    new_height = int(img.shape[0] * percent_of_scaling/100)
    new_dim = (new_width, new_height)
    resized_img = cv2.resize(img, new_dim, interpolation=cv2.INTER_AREA)
    h_img, w_img, _ = resized_img.shape
    center_y = int(h_img/2)
    center_x = int(w_img/2)
    top_y = center_y - int(h_wm/2)
    left_x = center_x - int(w_wm/2)
    bottom_y = top_y + h_wm
    right_x = left_x + w_wm
    roi = resized_img[top_y:bottom_y, left_x:right_x]
    result = cv2.addWeighted(roi, 1, resized_wm, 0.3, 0)
    resized_img[top_y:bottom_y, left_x:right_x] = result
    filename = os.path.basename(image)
    cv2.imwrite("watermarked images/watermarked_"+filename, resized_img)
    cv2.imshow("Watermarked Image", resized_img)
    cv2.waitKey(0)
    cv2.destroyAllWindows()
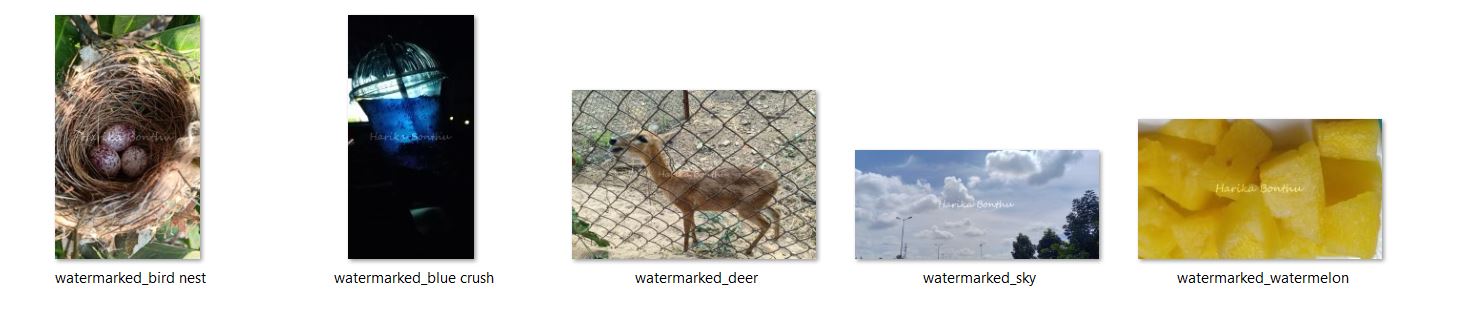
Finally, we are done with watermarking all the input images.
End Notes:
Thank you for reading till the conclusion. By the end of this article, we are familiar with working on some of the OpenCV operations – reading multiple images, resizing, and adding a watermark to them.
I hope you enjoyed reading this article. Try it on your own, and feel free to share it with your study buddies.
References:
Download the code file from this GitHub repo link.
Other Blog Posts by me
Feel free to check out my other blog posts from my Analytics Vidhya Profile.
You can find me on LinkedIn, Twitter in case you would want to connect. I would be glad to connect with you.
For immediate exchange of thoughts, please write to me at [email protected].
Hi, my name is Harika. I am a Data Engineer and I thrive on creating innovative solutions and improving user experiences. My passion lies in leveraging data to drive innovation and create meaningful impact.


Very much helpful article on putting watermarks on images. Thanks for it.