Overview
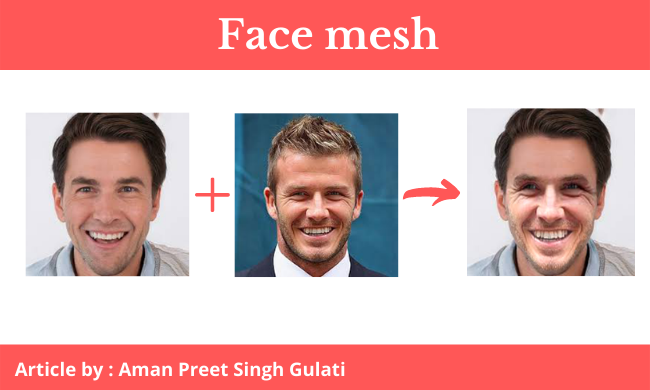
In this article, we will be using OpenCV and dlib to extract faces from a given image and then we will try to mesh both the faces. In short, we will try to mesh the faces from two different images. We will use a pre-trained model to extract landmarks from the faces (68 landmarks detection).
Industrial application of face mesh application
Snapchat: Snapchat is one of the leading apps which is a fun-loving application for today’s generation in which we have seen multiple filters applied on our faces, Similarly this feature can also be added to Snapchat or other leading software of a similar genre to attract more users which in turn help in getting more downloads.
Augmented reality software: AR/VR can also use this particular functionality in some of their use cases to demonstrate and make it more creative.
Importing necessary libraries for Face Mesh Application
import cv2
import numpy as np
import dlib
import requests
from PIL import Image

Installation of the dlib library
This is a bit tricky you have to follow some steps:
- Install visual studio (latest version)- refer to this link.
- In visual studio, one needs to install the CMake package.
- After installation from Visual studio, we have to install it again using – pip install CMake.
- Here comes the last part now, we have to install dlib by – pip install dlib.
Download the pre-trained model shape_predictor
https://github.com/tzutalin/dlib-android/raw/master/data/shape_predictor_68_face_landmarks.dat
Now we will create a function to extract the index from the NumPy array.
# Extracting index from array
def extract_index_nparray(nparray):
    index = None
    for num in nparray[0]:
        index = num
        break
    return index
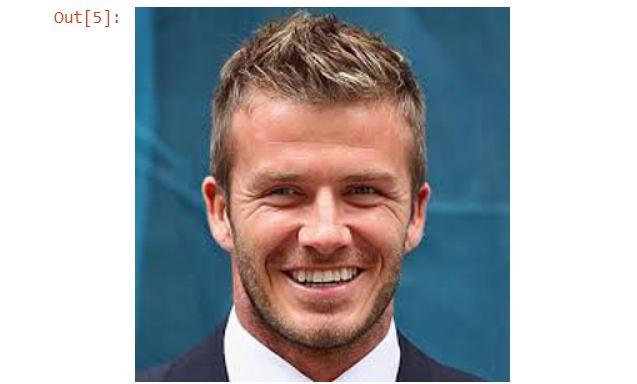
Next, we will load our source image from the internet using a URL and resize it.
# Reading source image form url
image1 = Image.open(requests.get('https://encrypted-tbn0.gstatic.com/images?q=tbn:ANd9GcSx8Pu1tW1uCiZPfj9K1EL6uHxbg3bOKO9XkA&usqp=CAU', stream=True).raw)
image1 = image1.resize((300,300))
image1
Output:
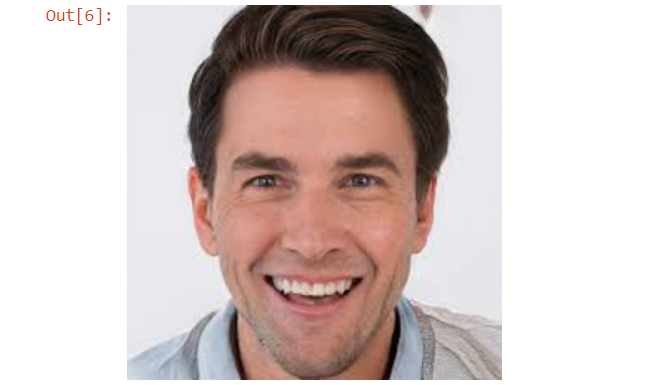
Here we will load our destination image from the internet using a URL and resize it.
# Reading destination image form url
image2 = Image.open(requests.get('https://encrypted-tbn0.gstatic.com/images?q=tbn:ANd9GcTYX1dyl9INRo5cbvDeTILRcZVzfcMsCsE0kg&usqp=CAU', stream=True).raw)
image2 = image2.resize((300,300))
image2
Output:
Now we will convert our images into a NumPy array and use cv2 to convert them into grayscale. We will create an empty image or mask similar to our source image with zeros.
# Converting image to array and converting them to grayscale
img = np.array(image1)
img_gray = cv2.cvtColor(img, cv2.COLOR_BGR2GRAY)
mask = np.zeros_like(img_gray)
img2 = np.array(image2)
img2_gray = cv2.cvtColor(img2, cv2.COLOR_BGR2GRAY)
For creating empty images with zeros, we will first load the Face detector and Face landmarks predictor using dlib and then we will find the height, width, channels.
# Initalizing frontal face detector and shape predictor
detector = dlib.get_frontal_face_detector()
predictor = dlib.shape_predictor("shape_predictor_68_face_landmarks.dat")
height, width, channels = img2.shape
img2_new_face = np.zeros((height, width, channels), np.uint8)
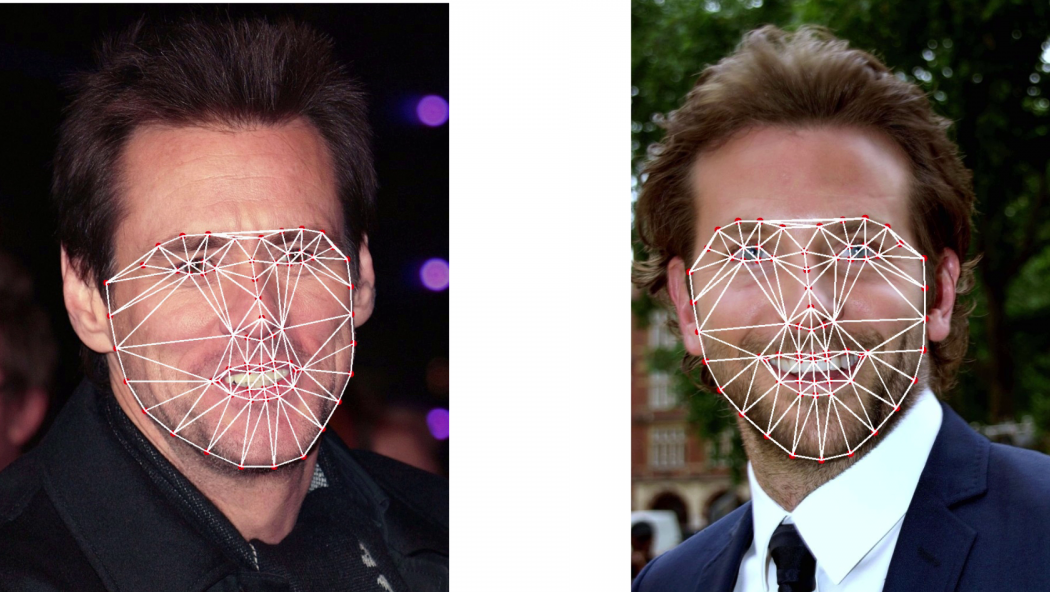
Triangulation of images for Face Mesh Application
First, we need to pass the image to the detector then that object will be used to extract landmarks using predictor. Afterward, storing extracted landmarks (x and y) into the landmarks (list). We’re going to mesh up the face into triangles. This step is the core of our face-swapping. Here we will interchange each triangle with the correspondent triangle of the destination image. The triangulation of the destination image needs to have the same pattern just like that of the triangulation of the source image. This means that the connection of the connecting symbols has to be the same. So after we do the triangulation of the source image, from that triangulation we take the indexes of the (x and y) so that we can replicate the same triangulation on the destination image. Once we have the triangles indexes we loop through them and we triangulate the destination face.
# Face 1
faces = detector(img_gray)
for face in faces:
    landmarks = predictor(img_gray, face)
    landmarks_points = []
    for n in range(0, 68):
        x = landmarks.part(n).x
        y = landmarks.part(n).y
        landmarks_points.append((x, y))

    points = np.array(landmarks_points, np.int32)

    convexhull = cv2.convexHull(points)
    cv2.fillConvexPoly(mask, convexhull, 255)

    face_image_1 = cv2.bitwise_and(img, img, mask=mask)

    # Delaunay triangulation

    rect = cv2.boundingRect(convexhull)
    subdiv = cv2.Subdiv2D(rect)
    subdiv.insert(landmarks_points)
    triangles = subdiv.getTriangleList()
    triangles = np.array(triangles, dtype=np.int32)

    indexes_triangles = []
    for t in triangles:
        pt1 = (t[0], t[1])
        pt2 = (t[2], t[3])
        pt3 = (t[4], t[5])

        index_pt1 = np.where((points == pt1).all(axis=1))
        index_pt1 = extract_index_nparray(index_pt1)

        index_pt2 = np.where((points == pt2).all(axis=1))
        index_pt2 = extract_index_nparray(index_pt2)

        index_pt3 = np.where((points == pt3).all(axis=1))
        index_pt3 = extract_index_nparray(index_pt3)

        if index_pt1 is not None and index_pt2 is not None and index_pt3 is not None:
            triangle = [index_pt1, index_pt2, index_pt3]
            indexes_triangles.append(triangle)
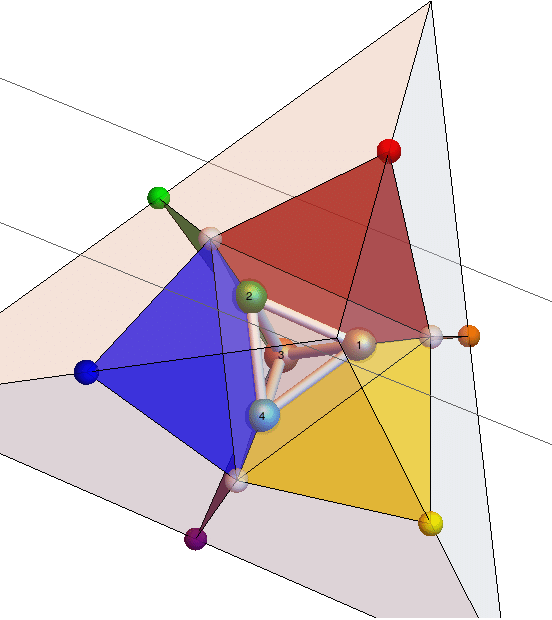
Triangulation pattern – Delaunay Triangulation
Once we have cut and wrapped all the triangles we need to link them together. Then we have to re-build the face using the triangulation pattern, with the only difference that this time we put the wrapped triangle.
# Face will be swapped sucessfully by convex hull partioning
img2_face_mask = np.zeros_like(img2_gray)
img2_head_mask = cv2.fillConvexPoly(img2_face_mask, convexhull2, 255)
img2_face_mask = cv2.bitwise_not(img2_head_mask)
The face is now ready to be replaced.
So we take the new face, and the destination image without face and we link them together.
img2_head_noface = cv2.bitwise_and(img2, img2, mask=img2_face_mask)
result = cv2.add(img2_head_noface, img2_new_face)
Finally, the faces are correctly swapped and now we have to check on colors so that the source image fits the destination image.
On Opencv we have a built-in function called “seamless clone” that does this operation automatically. We need to take the new face (created on the 6th step), take the original destination image, and its a mask to cut out the face, we need to get the middle of the face.
Creating the seamless clone of two faces
(x, y, w, h) = cv2.boundingRect(convexhull2)
center_face2 = (int((x + x + w) / 2), int((y + y + h) / 2))
seamlessclone = cv2.seamlessClone(result, img2, img2_head_mask, center_face2, cv2.NORMAL_CLONE)
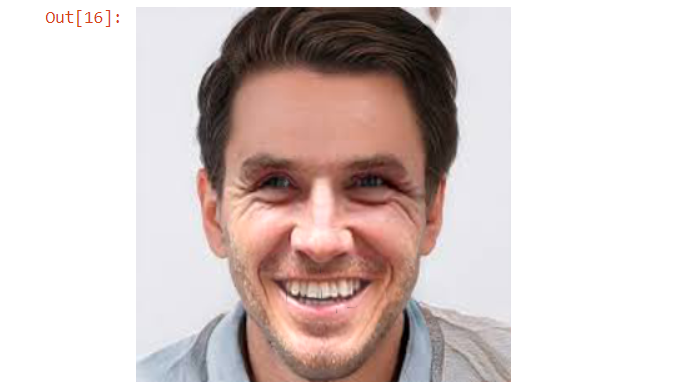
Finally, we will visualize the output NumPy image by converting it into the Image object of Pillow.
# Converting array to image
Image.fromarray(seamlessclone)
Output:
Conclusion
We started with downloading the pre-trained model for face landmarks and downloading the images from the internet on which we will work. Next, we used CV2 and Dlib for preprocessing the images and used different functionalities to make a reach the end which is swapping the face of the destination image with the source image.
Scope
This project can be used for learning and understanding different concepts of computer vision. This project can be used to build Augmented Reality applications like Snapchat, etc.
Okay, so that’s a wrap from my side!
Endnotes
Thank you for reading my article 🙂
I hope you guys will like this step-by-step learning of the Face mesh application using computer vision. Hopefully, in the next article, I’ll be working on the flask-web app until then Happy learning!
Here’s the repo link to this article.
Here you can access my other articles which are published on Analytics Vidhya -Blogathon (link)
If you got stuck somewhere you can connect with me on LinkedIn, refer to this link
About me
Greeting to everyone, I’m currently working in TCS and previously I worked as a Data Science Associate Analyst in Zorba Consulting India. Along with full-time work, I’ve got an immense interest in the same field i.e. Data Science along with its other subsets of Artificial Intelligence such as, Computer Vision, Machine learning, and Deep learning feel free to collaborate with me on any project on the above-mentioned domains (LinkedIn).
Images Sources
- Image 1: https://th.bing.com/th/id/R.17820239375ad0f8b4088a3d321a72aa?rik=cuc2p43UgbwIoA&riu=http%3a%2f%2fwww.learnopencv.com%2fwp-content%2fuploads%2f2017%2f06%2finstall-dlib-on-windows.jpg&ehk=3TU7GRqxkV7eHDMWY92oO3Gunn3QuNVYoktdQNS0QyM%3d&risl=&pid=ImgRaw&r=0
- Images 2: https://www.researchgate.net/profile/Marcelo-Amaral-2/publication/331984027/figure/download/fig1/AS:740388746850305@1553533841532/The-dual-2-complex-for-the-triangulation-level-1-with-four-tetrahedrons-highlighting-the.ppm
The media shown in this article is not owned by Analytics Vidhya and are used at the Author’s discretion.


