Breast Cancer Prediction using EvalML
Introduction
All these inventions and research are reducing human efforts and providing a comfortable life to human beings and nowadays AI is very much popular, each and everyone wants to learn about this technology and many of the big companies are continuously trying to improve these technologies. Machine Learning, Data Science, and Deep Learning fields are very popular subsets of Artificial Intelligence.
Now in the 21st century, this is also called as “Synonym of Success”. I hope this intro is more than sufficient to motivate you to read this beautiful article😅.
What is EvalML?
EvalML is an Automated Machine Learning library which automatically perform lot of machine learning task in few seconds. Whenever you will further read this article you will be shocked, and i am sure that after reading this article your first preference for creating any machine learning model will be EvalML. It builds, optimizes, and evaluates machine learning pipelines automatically. It avoid training, tuning, cross validation, preprocessing, feature engineering, feature selection, and a variety of modeling techniques by hand. It automatically perform all this task.
And one important thing is that, it perform all of this task in few seconds only. You will be shocking that How it is performing all the task in few seconds, whenever we perform all this task manually it took approx. more than 2 to 3 hours. The only reason behind this is due to Data Table. Internally it uses data table instead of Data Frame. Actually the data frame is 20x slower than data table. For more detail about data table you can google it. Now let’s create a model using EvalML, which will predict a person have breast cancer or not.
Let’s look at the beauty of EvalML by solving Breast Cancer Prediction Problem :
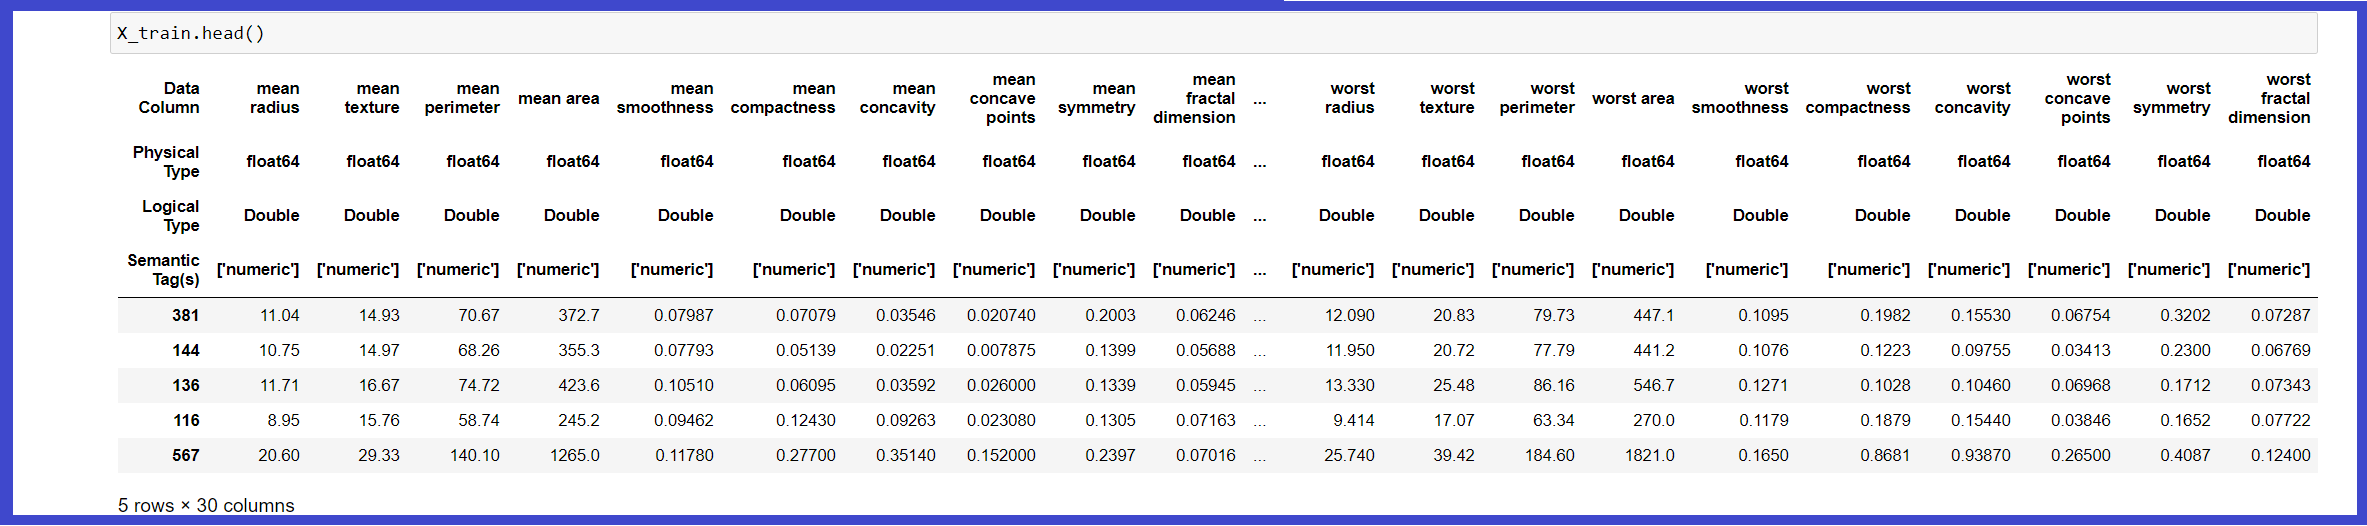
First, we are importing a sample dataset that is already present in the EvalML library. Here we can also take the dataset in form of CSV, excel sheet, or JSON then we will convert it into a data table, so it can easily co-operate with the EvalML library. Whenever we will load the breast cancer dataset, it will get loaded in the form of the data table. Then we are splitting our data into the training and testing part.
You can check out the documentation of the “evalml.preprocessing.split_data()” function and tune different parameters as your requirements and one important thing we have to keep in mind that such type of split is done for the data table, in case of data frame we have to use sklearn library for train test split. Here we have to also mention the type of problem we are solving whether it is binary, multiclass, regression, time series regression, time series binary, or time-series multiclass. You can check out the documentation, what are the parameters we can use here.
Breast Cancer Dataset Description :
In these datasets, real value features are computed for each cell nucleus. Some of the features are :
- a) radius (mean of distances from the center to points on the perimeter)
- b) texture (standard deviation of gray-scale values)
- c) perimeter
- d) area
- e) smoothness (local variation in radius lengths)
- f) compactness (perimeter^2 / area – 1.0)
- g) concavity (severity of concave portions of the contour)
- h) concave points (number of concave portions of the contour)
- i) symmetry
- j) fractal dimension (“coastline approximation” – 1)
The mean, standard error, and “worst” or largest (mean of the three largest values) of these features were computed for each image, resulting in 30 features. For instance, field 3 is Mean Radius, field 13 is Radius SE, field 23 is Worst Radius. All feature values are recoded with four significant digits.
Missing attribute values: none
Class distribution: 357 benign, 212 malignant.
Now Let’s begin, First, you need to install EvalML library, to install it simply write “pip install evalml” in your command prompt or you can also download the wheel file directly from here.
# importing evalml library
import evalml
# loading breast_cancer dataset
X, y = evalml.demos.load_breast_cancer()
# spliting data in training and testing part
X_train, X_test, y_train, y_test = evalml.preprocessing.split_data(X, y, problem_type='binary')
We can also check what kind of problem statement EvalML can solve using a simple one-line of code.
import evalml
# return list of all kind of problem statement that EvalMl can solve.
evalml.problem_types.ProblemTypes.all_problem_types
Now let’s simply run this autoML library that is “EvalML”. Here we are not doing any preprocessing, feature engineering, feature selection, hyperparameter tuning, and a variety of modeling techniques by hand. We are giving this all responsibility to EvalML and I am sure that it won’t make you unhappy.
Now we will implement AutoML search present in evalml library. Autonet is nothing but an Automated Pipeline Search, it will automatically create the best pipeline with the help of preprocessing, feature engineering, feature selection, model selection, and hyperparameter tuning which gives us very good accuracy. Here we have to pass various parameters such as X_train, y_train, and problem type.
This problem_type parameter will help it to search for the best model for a particular problem statement. You can also check out the documentation to learn about different parameters that we can use here and get good accuracy. Whenever we will execute the below code, it will start iterating through various algorithms and it will give us performance based on calculating the loss. For different problem statements, it uses different loss functions to check the accuracy.
from evalml.automl import AutoMLSearch
automl = AutoMLSearch(X_train = X_train, y_train = y_train, problem_type = 'binary')
automl.search()
To get the best model based on its accuracy we will below code :
# return data table of best model bared on their accuracy
automl.best_pipeline
# storing datable in best_pipeline variable
best_pipeline = automl.best_pipeline
To check detailed description about any of the model :
'''it will give a entire description particular model here we are getting detailed description
about our first model, we can change the index of id in below code and check detailed
description about any of the model.'''

automl.describe_pipeline(automl.rankings.iloc[0]["id"])
Now we are checking the accuracy of our test data :
# pass list of objective to find out the score of our test data.
best_pipeline.score(X_test, y_test, objectives = ['auc', 'f1', 'Precision', 'Recall'])
If you want to train your models based on any particular objective such as AUC, f1 score, precision or recall then during AutoMLSearch, you have to use the ‘objectives’ parameter present in AutoMLSearch, we can also give the list of additional objectives in parameter ‘additional_objectives’, which means that after auc you have to focus on f1 score then precision.
Code :
automl_auc = AutoMLSearch(X_train = X_train, y_train = y_train,
                         problem_type = 'binary',
                         objective = 'auc',
                         additional_objectives = ['f1', 'precision'],
                         max_batches = 1,
                         optimize_thresholds = True)

automl_auc.search()
After successfully training your model based on a particular objective check the ranking table and checkout detailed description once which will help you to understood that based on different objectives the model gets changed. Now check out the score of our test data.
We have done all things now its time to save the model in pickel file :
# save model in model.pkl file.
best_pipeline.save("model.pkl")
Now to load the data from pickel file use the below code snippet :
# loading the model saved in pickel file
check_model = automl.load('model.pkl')
# predicting testing data
check_model.predict_proba(X_test).to_dataframe()
According to various experts who are working in fields of AI, Machine Learning, Deep Learning, and Data Science for many years, they always suggest that all automated libraries are not a good practice to become experts in any field. You need to understand each and every flow in deep and it will happen when you will try all steps manually, which is really a best practice.
You can use these libraries as a secondary option, which means first perform all the variety of techniques manually and then to check you have created the best model or not, use these automated libraries. If you will use these libraries in this way then it will definitely help you to learn the actual flow. You can download the notebook from here.
Who am I?
I am Ronil Patil😎, life long learner, passionate about Deep Learning, Machine Learning, and IoT. If you have any query you can connect me on LinkedIn, I will try my best to solve your queries.
The media shown in this article on Breast Cancer Prediction using EvalML are not owned by Analytics Vidhya and is used at the Author’s discretion.


