This article was published as a part of the Data Science Blogathon
In our digital journey, we often encounter designs filled with words representing an idea or conveying a message. They come in various sizes, shapes, colors saying the reader writer’s idea with the frequency or importance by occurring words. This is also known as Word cloud or Tag cloud.
A word cloud is a visualization technique for text data where the most frequent word is shown in the biggest font size. In this post, we will learn how to create a custom word cloud in python.
Let’s start by installing specified packages.
Python offers an inbuilt library called “WordCloud” which helps to generate Word cloud.
We can install this library by using the following command:
! pip install wordcloud
We will also use basic libraries as ‘numpy’, ‘pandas’, ‘matplotlib’, ‘pillow’. if you are new to python, please visit this, it will be really helpful to you.
The below code can be referred to for importing the libraries:
 import numpy as np
 import pandas as pd
 import matplotlib.pyplot as plt
 from PIL import Image
 from wordcloud import WordCloud, STOPWORDS, ImageColorGenerator
As our sample dataset, we will use the Fake News classification dataset from kaggle.
Let’s move on to the code section to generate a word cloud. This section will describe the different parameters to build a custom word cloud image in detail.
The function description is:
Now, Let’s get started with a basic word cloud example:
# Create and Generate a Word Cloud Image
wordcloud = WordCloud().generate(text)
#Display the generated image
plt.imshow(wordcloud, interpolation="bilinear")
plt.figure(figsize=[8,10])
plt.axis("off")
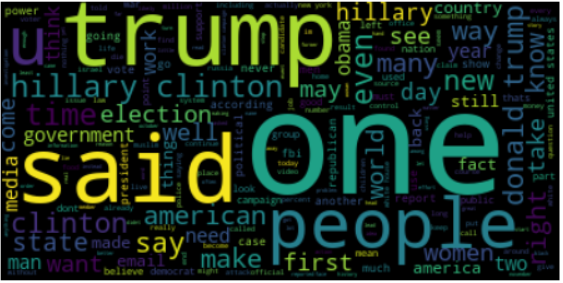
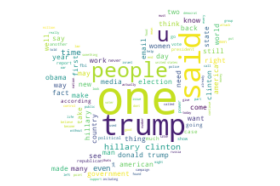
Wow! we have successfully generated our first-word cloud image. It shows that most of the articles/ news data talk about “trump”, “said”, “one”, “people”.
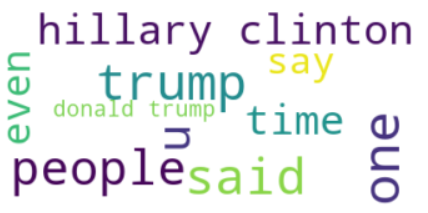
Next, we can change the max_font_size, max_word, and background_color of the word cloud.
#change font_size, max_word and background_color
wordcloud = WordCloud(max_font_size=50, max_words=10, background_color="white").generate(text)
#Display the image
plt.imshow(wordcloud, interpolation="bilinear")
plt.figure()
plt.axis("off")
In the above code, we have changed the parameter of the WorldCloud function.
To display word cloud image .imshow() method of matplotlib.pyplot is used. In the above code, we are using two parameters:
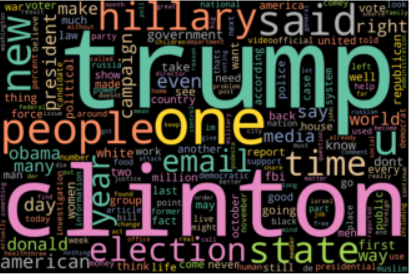
Let’s generate another word cloud with width, height, random_state, background_color, colormap of the word cloud
# Create stopword
stopwords = set(STOPWORDS)
# Generate a word cloud image
wordcloud = WordCloud(width = 3000, height = 2000, random_state=1, background_color='black', colormap='Set2', collocations=False, stopwords = STOPWORDS).generate(text)
# Display the generated image
plt.imshow(wordcloud, interpolation='bilinear')
plt.axis("off")
plt.show()
The description of the following arguments is below
The output of the above code
Moving forward, we are going to create the custom shape word cloud.
To create a custom shape, a masking image is required in PNG format. The design of the word cloud will be generated in this image. We can search it by using keywords such as “masking images for word cloud” on different Search engines. You can also visit this dataset – here, you can explore different custom images.
In this post, we have used ‘cloud.png’ to create the custom image.
To create a custom shape, ‘WordCloud’ function has a mask argument enabling it to take maskable images. We add the ‘cloud.png’ image using the NumPy array and store it as a mask variable. Here we are changing some more arguments to create an attractive word cloud. The arguments description as:
# Generate a word cloud image
stopwords = set(STOPWORDS)
mask = np.array(Image.open("../input/input-img/cloud.png"))
wordcloud = WordCloud(stopwords=stopwords,background_color='white', max_words=1000, mask=mask,contour_color='#023075',contour_width=3,colormap='rainbow').generate(' '.join(df['text_without_stopwords']))
# create image as cloud
plt.figure()
plt.imshow(wordcloud, interpolation="bilinear")
plt.axis("off")
# store to file
plt.savefig("cloud.png", format="png")
plt.show()
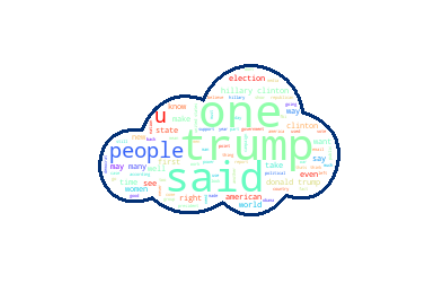
Great!! We have just created a word cloud in the shape of the cloud. It looks like a cloud filled with words. Let’s create another word cloud by using the Twitter logo as our mask image.
# Generate a word cloud image
stopwords = set(STOPWORDS)
mask = np.array(Image.open("../input/input-img/Twitter.png"))
wordcloud = WordCloud(stopwords=stopwords, background_color="white", max_words=1000, mask=mask).generate(' '.join(df['text_without_stopwords']))
# create twitter image
plt.figure()
plt.imshow(wordcloud, interpolation="bilinear")
plt.axis("off")
# store to file
plt.savefig("twitter.png", format="png")
plt.show()
We can also generate a word cloud image in words (combination of the alphabet). Let’s create the next image as the “NEWS” word.
# Generate a word cloud image
stopwords = set(STOPWORDS)
mask = np.array(Image.open("../input/input-img/News_mask.PNG"))
wordcloud = WordCloud(width = 3000, height = 2000, random_state=1, background_color='white', colormap='Set2', collocations=False, stopwords = STOPWORDS,mask=mask).generate(' '.join(df['text_without_stopwords']))
# create coloring from image
image_colors = ImageColorGenerator(mask)
plt.figure(figsize=[20,20])
plt.imshow(wordcloud, interpolation="bilinear")
plt.axis("off")
# store to file
plt.savefig("news.png", format="png")
plt.show()
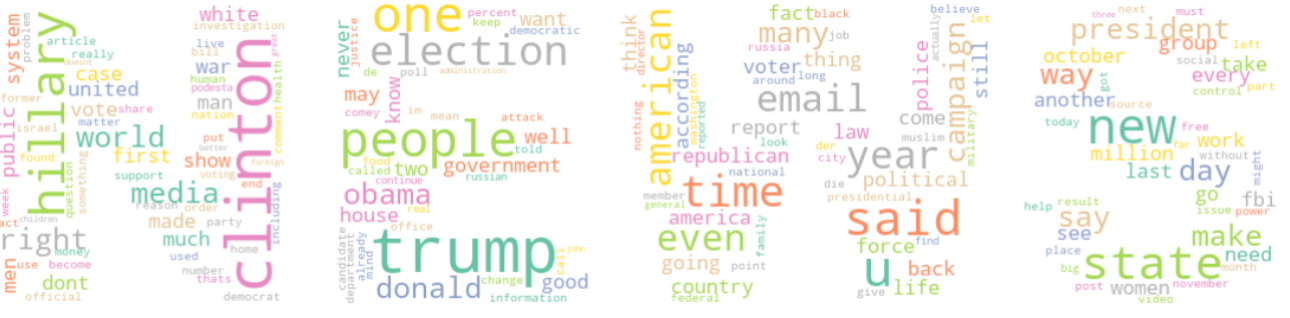
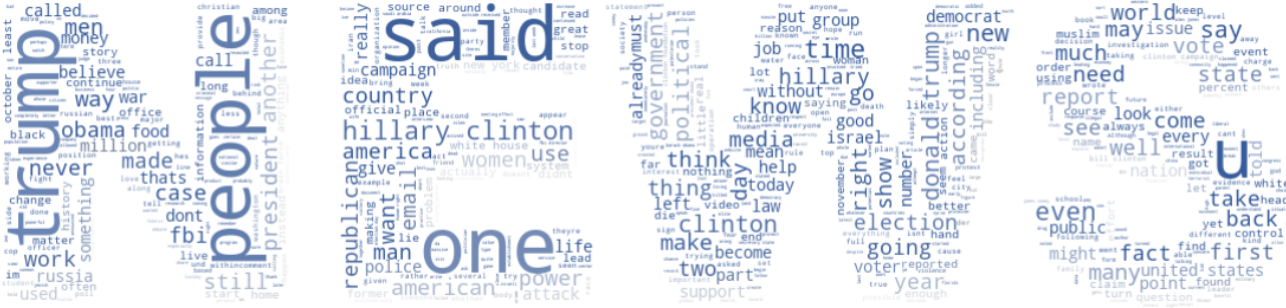
Looks Good! again we create a similar word image with some changes of the parameter.
# Generate a word cloud image
stopwords = set(STOPWORDS)
mask = np.array(Image.open("../input/input-img/News_mask.PNG"))
wordcloud = WordCloud(stopwords=stopwords, background_color="white", mode="RGBA", max_words=1000, mask=mask).generate(' '.join(df['text_without_stopwords']))
# create coloring from image
image_colors = ImageColorGenerator(mask)
plt.figure(figsize=[20,20])
plt.imshow(wordcloud.recolor(color_func=image_colors), interpolation="bilinear")
plt.axis("off")
# store to file
plt.savefig("news1.png", format="png")
plt.show()
We have designed different word cloud images as different shapes. We also learned how to mask the images with any color and shape. You can visit my Account for more code. Please share your feedback in the below comment box.
Lorem ipsum dolor sit amet, consectetur adipiscing elit,


Seen a number of tutorials on wordclouds but your is by far the best because of the examples with non obvious content! One thing I'm not sure I understand though is how to create the PNGs you use as masks. What requirements do they have?