This article was published as a part of the Data Science Blogathon
OpenCV is a python library used for real-time computer vision applications. OpenCV is open source and has huge applications in Image Processing, Machine Learning and Deep Learning. OpenCV can be used for object detection, classification, handwriting analysis and much more.
OpenCV can be integrated with libraries like Numpy and be used for various mathematical calculations.
The main purpose of computer vision is to understand images.
OpenCV: What is it about?
Using OpenCV, we can perform a number of tasks, like-
- Read and Write images
- Image processing
- Capture and save videos
- Feature Detection
OpenCV stands for Open Source Computer Vision Library. It is the most popular library used for Computer vision using Python. OpenCV is free for everyone to use, hence OpenCV is used for a wide variety of projects and applications.
Giving a Cartoon Effect to our Images:
Many apps and websites provide tools to give a cartoon effect to our images. Young generations like this feature and it is very popular over social media as well. In the case of these apps, we just upload our image and an image with the desired effects are returned to us.
But, have you ever wondered, how they work?
To do this, multiple image transformations need to be done. Some important things that need to be considered, while doing this are the edges and colour palette.
Let us proceed with the code.
import cv2
import numpy as np
import matplotlib.image as img
from matplotlib import pyplot as plt
Mainly, we will need OpenCV and NumPy.
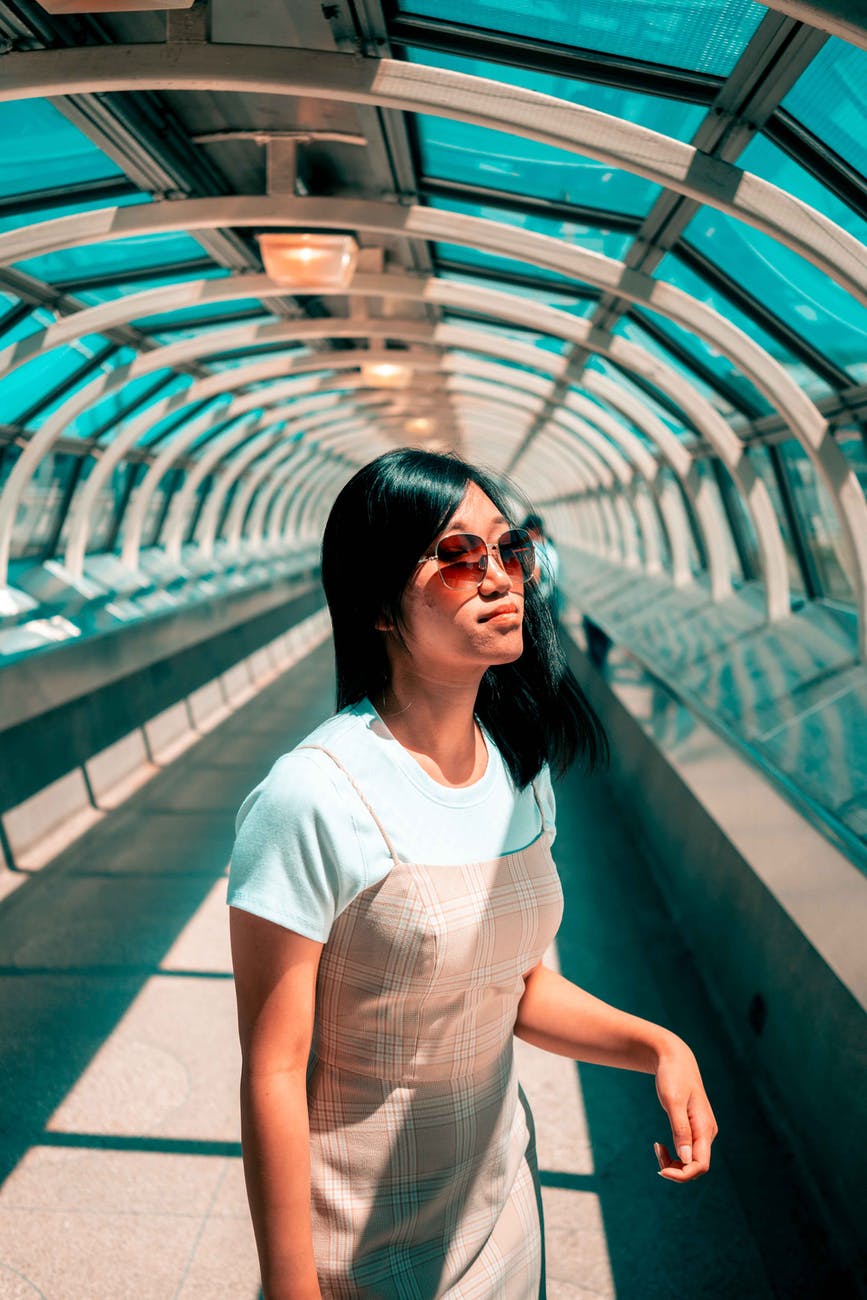
Now, let us read the image.
#reading the image
img = cv2.imread("person.jpeg")
We have taken the image as input.
Let us see what is the image datatype.
#image type
type(img)
Output : numpy.ndarray
So, the image is basically a NumPy array of many dimensions.
Edge Mask
In cartoon effects, often a great emphasis is given to the thickness of the Image edge.
We can detect the edge using cv2.adaptiveThreshold() function.
Before we proceed with edges, we need to convert the image into greyscale. Then, the cv2.medianBlur function is used to reduce the noise of the greyscale image.
Let us proceed with the code:
#Create Edge Mask
def edge_mask(img, line_size, blur_value):
  gray = cv2.cvtColor(img, cv2.COLOR_BGR2GRAY)
  gray_blur = cv2.medianBlur(gray, blur_value)
  edges = cv2.adaptiveThreshold(gray_blur, 255, cv2.ADAPTIVE_THRESH_MEAN_C, cv2.THRESH_BINARY, line_size, blur_value)
  return edges
line_size = 7
blur_value = 7
The line size and blur value is also defined. To emphasize thicker edges, a larger line size is taken.
Let us get the edges.
edges = edge_mask(img, line_size, blur_value)
Now, we save the image.
filename = 'edges.jpg'
# Using cv2.imwrite() method
# Saving the image
cv2.imwrite(filename, edges)
Output:
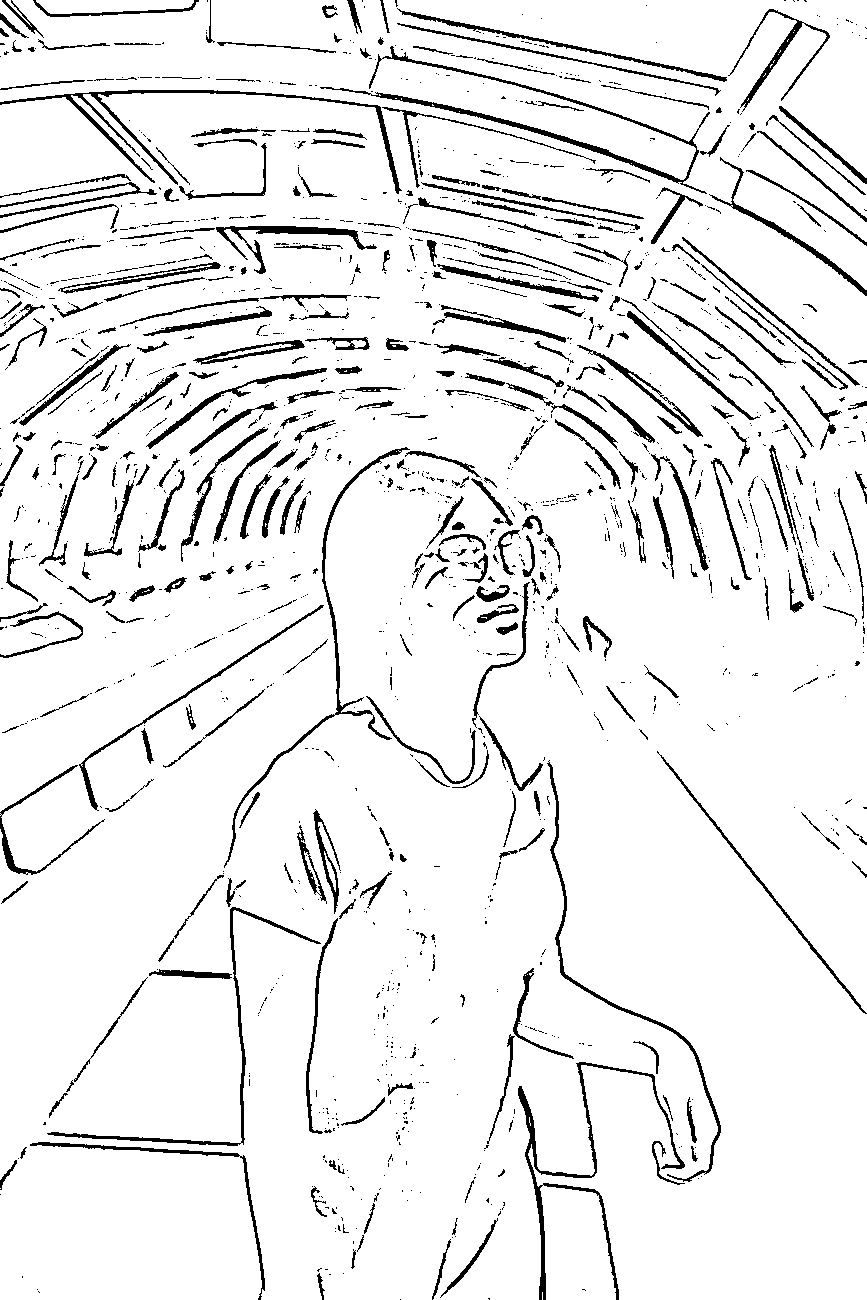
We can see that the edges are detected.
Reducing the Colour Palette
A key difference between photographs and sketches/ cartoons is the number of distinct colours. A cartoon sketch will have far fewer colours as compared to an HD photograph. So, a method named colour quantization is used. This will reduce the number of colours in the photo.
K Means clustering algorithm is used to perform the process. The “k” value is adjusted depending on the number of colours we need.
#colour quantization
#k value determines the number of colours in the image
total_color = 8
k=total_color
In this case, the value of k is taken to be 8.
# Transform the image
data = np.float32(img).reshape((-1, 3))
Next, the image is transformed.
# Determine criteria
criteria = (cv2.TERM_CRITERIA_EPS + cv2.TERM_CRITERIA_MAX_ITER, 20, 0.001)
Now, we implement the K Means.
# Implementing K-Means
ret, label, center = cv2.kmeans(data, k, None, criteria, 10, cv2.KMEANS_RANDOM_CENTERS)
center = np.uint8(center)
result = center[label.flatten()]
result = result.reshape(img.shape)
Let us save the image.
filename = 'colour.jpg'
# Using cv2.imwrite() method
# Saving the image
cv2.imwrite(filename, result)
Output:

Ok, now we see some effects in place.
After the colour quantization is done, we can now reduce the noise in the image. A bilateral filter can be used for this task.
The resultant image will be slightly blurred and image sharpness will be reduced.
blurred = cv2.bilateralFilter(result, d=10, sigmaColor=250,sigmaSpace=250)
Let us save the image, and see how it looks.
#saving the image
filename = 'blurred.jpg'
# Using cv2.imwrite() method
# Saving the image
cv2.imwrite(filename, blurred)
Output:
After this is done, now we do the final cartoon effect.
Final Image
#blurred and edges
cartoon = cv2.bitwise_and(blurred, blurred, mask=edges)
Now, we save the image.
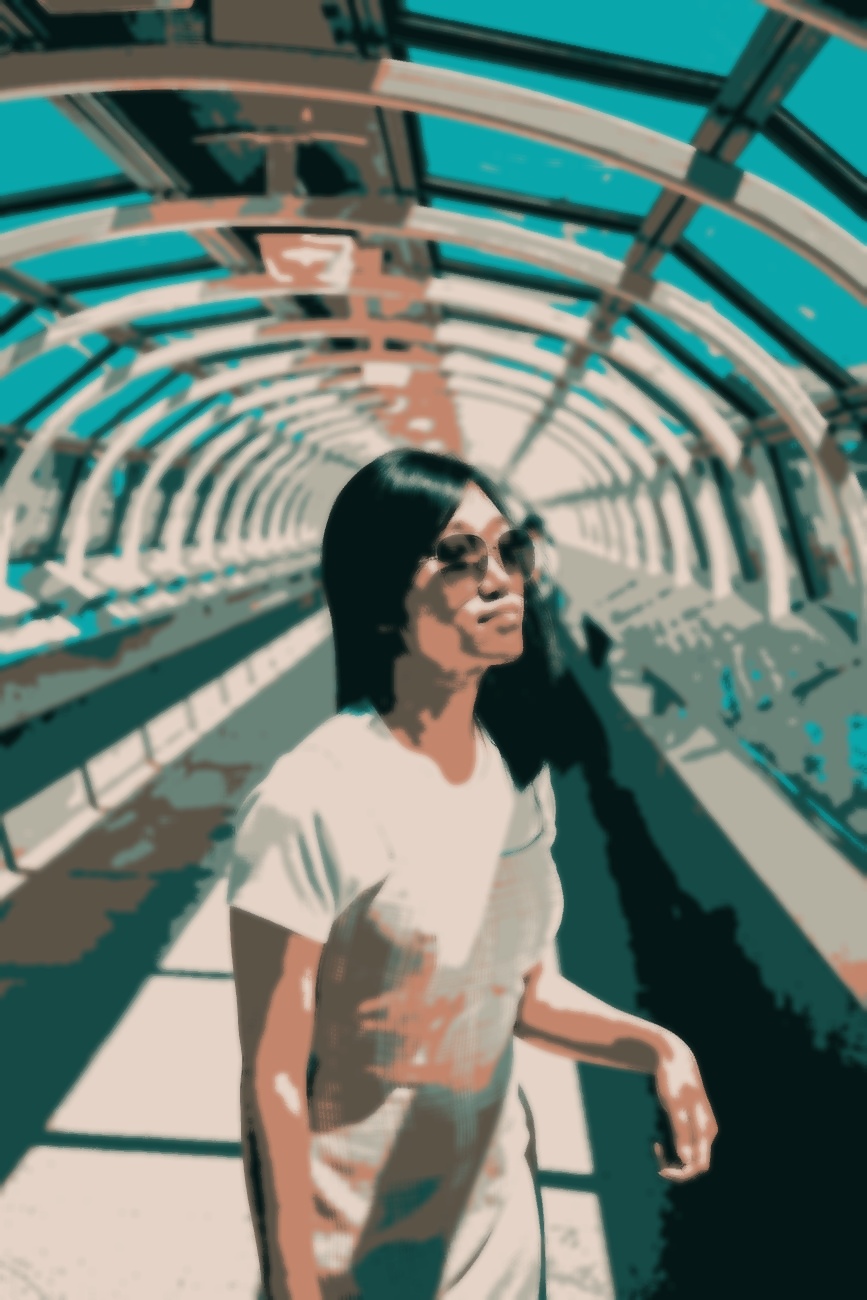
filename = 'cartoon.jpg'
# Using cv2.imwrite() method
# Saving the image
cv2.imwrite(filename, cartoon)
Let us see how the image looks like.

The output is very well done. The image has been given an interesting effect.
OpenCV can work wonders and make interesting image transformations.
Now let us try something else, this time, we shall use contours as well.
Applying Cartoon Effects with Contours
Let us first define the functions properly.
First is the colour quantization function.
#Colour Quantization
def ColourQuantization(image, K=9):
    Z = image.reshape((-1, 3))
    Z = np.float32(Z)
    criteria = (cv2.TERM_CRITERIA_EPS + cv2.TERM_CRITERIA_MAX_ITER, 100, 0.001)
    compactness, label, center = cv2.kmeans(Z, K, None, criteria, 1, cv2.KMEANS_RANDOM_CENTERS)
    center = np.uint8(center)
    res = center[label.flatten()]
    res2 = res.reshape((image.shape))
    return res2
Here, for the KMeans, the value of K is taken at 9.
Let us now define the function for contours.
#to get countours
def Countours(image):
    contoured_image = image
    gray = cv2.cvtColor(contoured_image, cv2.COLOR_BGR2GRAY)
    edged = cv2.Canny(gray, 200, 200)
    contours, hierarchy = cv2.findContours(edged, cv2.RETR_EXTERNAL, cv2.CHAIN_APPROX_NONE)[-2:]
    cv2.drawContours(contoured_image, contours, contourIdx=-1, color=6, thickness=1)
    return contoured_image
In this function, the image is first converted to greyscale, then edges are detected. Finally, the contours are also made.
Now, let us put the function to use.
The following image is used.
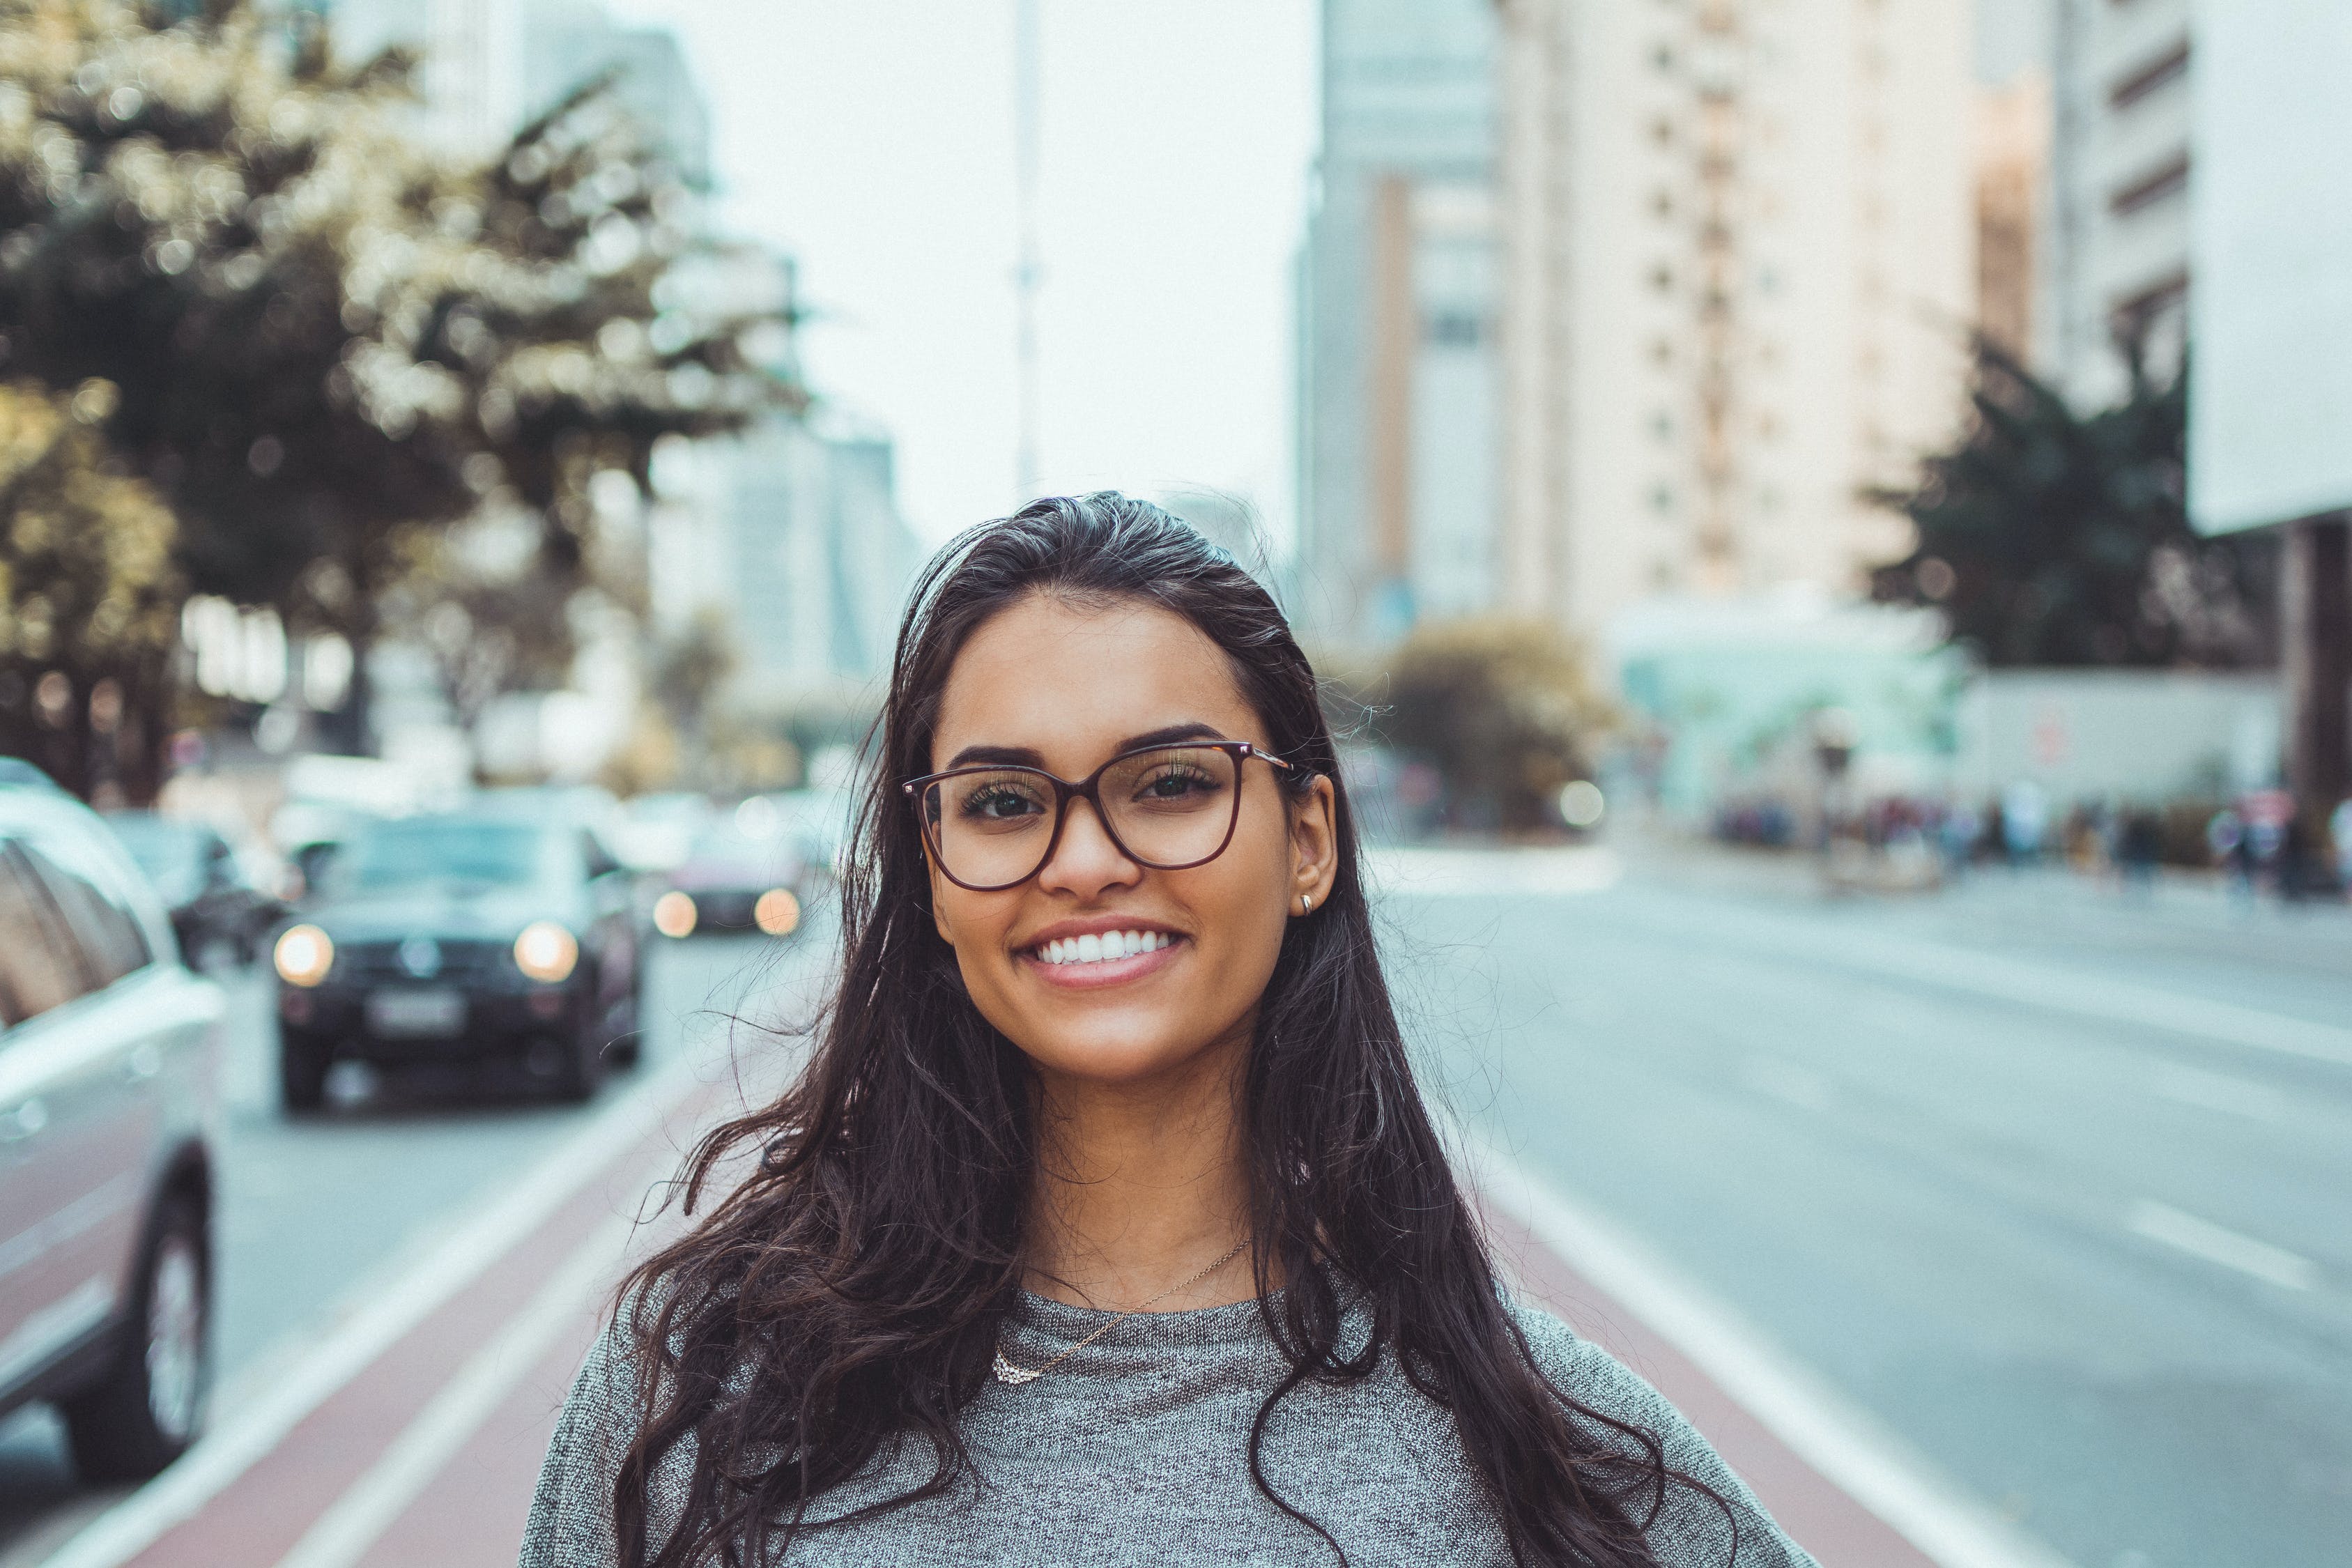
image = cv2.imread("person1.jpeg")
coloured = ColourQuantization(image)
contoured = Countours(coloured)
final_image = contoured
After this, the image is saved.
filename = 'cartoon_final.jpg'
# Using cv2.imwrite() method
# Saving the image
cv2.imwrite(filename, final_image)
Output:
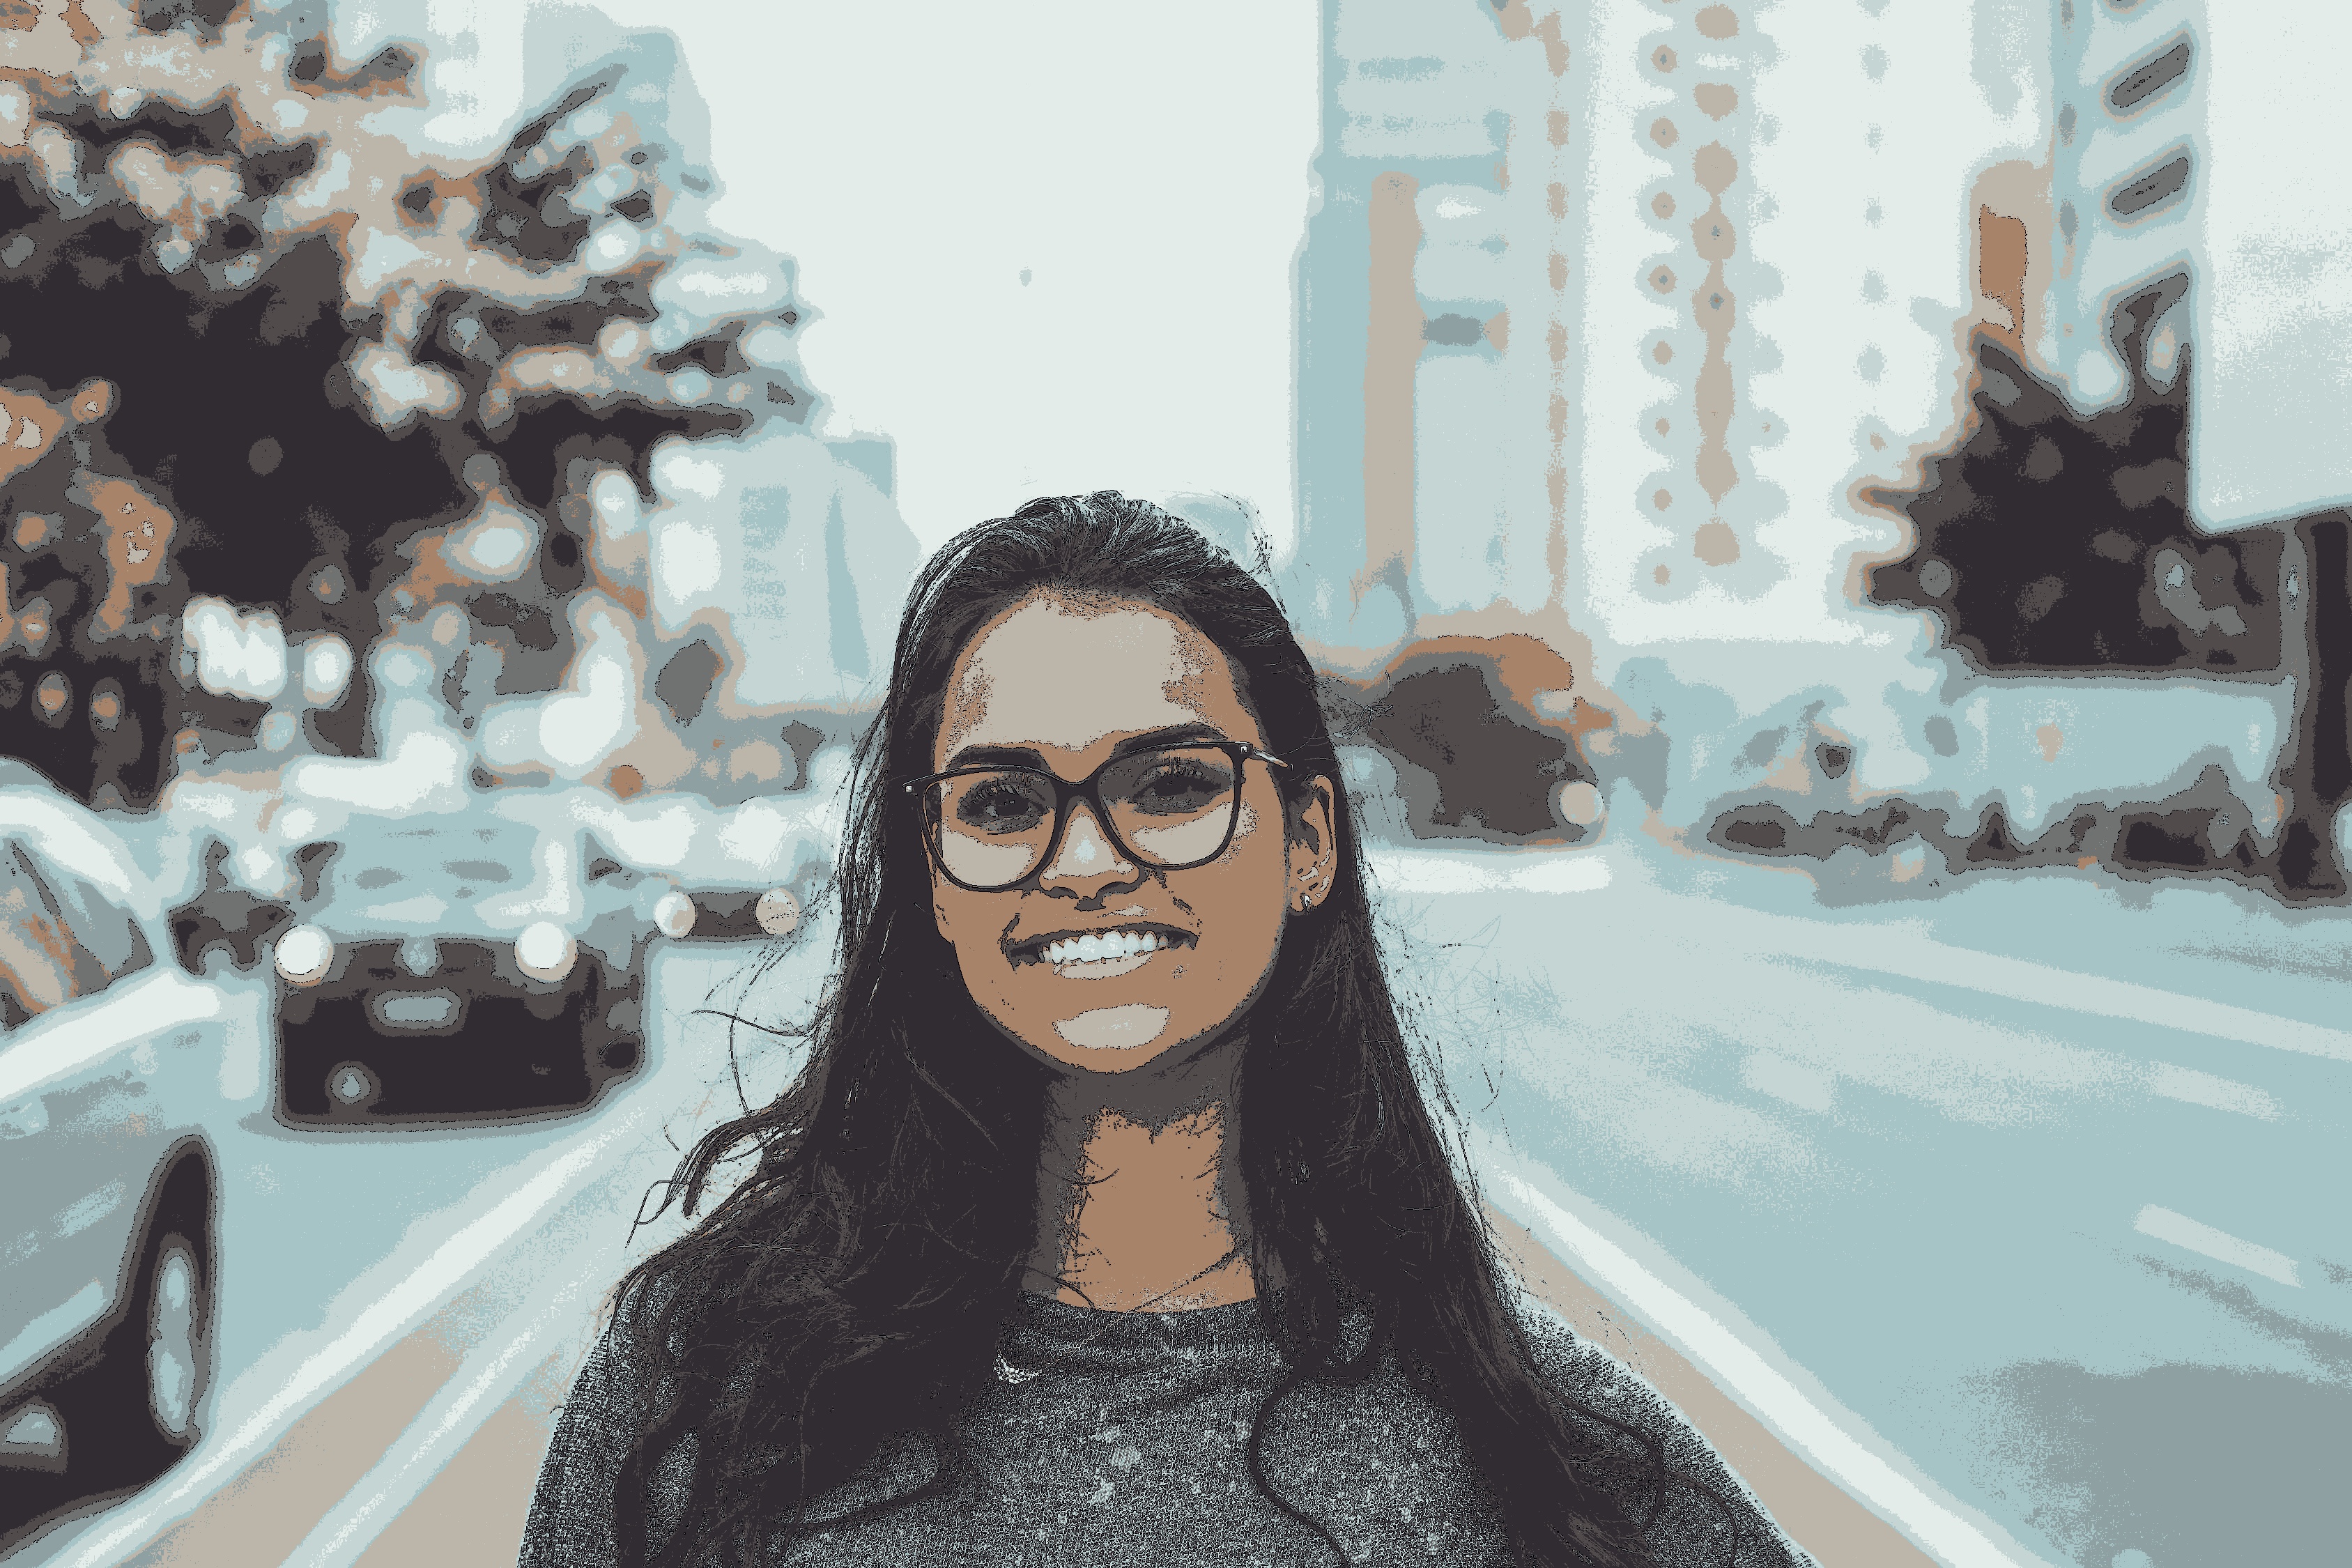
Well, in this case too, the output is quite interesting.
By varying various parameters, the cartoon effect can be modified.
Speaking of uses, currently, these sorts of processing methods are mainly used for social media and artistic purposes. People can make fun edits to their images and post them on social media.
To check out the code, visit this.
Implement fun ways to edit and modify images using the methods in this article.
About me:
Prateek Majumder
Data Science and Analytics | Digital Marketing Specialist | SEO | Content Creation
Connect with me on Linkedin.
My other articles on Analytics Vidhya: Link.
Thank You.
Prateek is a dynamic professional with a strong foundation in Artificial Intelligence and Data Science, currently pursuing his PGP at Jio Institute. He holds a Bachelor's degree in Electrical Engineering and has hands-on experience as a System Engineer at TCS Digital, where he excelled in API management and data integration. Prateek also has a background in product marketing and analytics from his time with start-ups like AppleX and Milkie Way, Inc., where he was involved in growth campaigns and technical blog management. Recognized for his structured thinking and problem-solving abilities, he has received accolades like the Dr. Sudarshan Chakraborty Award for Best Student Performance. Fluent in multiple languages and passionate about technology, Prateek continues to expand his expertise in the rapidly evolving AI and tech landscape.


