This article was published as a part of the Data Science Blogathon.
Introduction
In the modern data world, Lakehouse has become one of the most discussed topics for building a data platform. Enterprises have slowly started adopting Lakehouses for their data ecosystems as they offer cost efficiencies of data lakes and the performance of warehouses.
The core technology behind such Lakehouses is the open table format or storage framework that enables them to have these warehouse-like capabilities. Three main table formats are being used by enterprises and product vendors to provide Lakehouse capabilities. These formats are
- Delta Lake by Databricks (Also open sourced under Linux Foundation)
- Apache Hudi
- Apache Iceberg
In this article, we will explore the Delta format, one of the most popular storage frameworks with a lot of interest generated in recent times. We will do a simple hands-on lab to understand how the delta format works.
What is Delta Lake?
Delta Lake format is an open storage framework that helps you build a trustworthy Lakehouse data platform. It enables cloud object storage like Amazon S3 or Azure ADLS with features like ACID, Time Travel and Schema evolution which are critical for implementing a Lakehouse.
I’ve written a blog earlier that gives complete information about Delta Lake Format, its benefits and what drives it under the hood.
Before we start the lab exercise, please check the prerequisites listed below.
Lab Prerequisites for Delta Lake Exercise
We will be doing the lab using Databricks Notebooks, and the languages used will be Python and SQL. Users should have basic knowledge of the following technologies/platforms.
- Python
- PySpark
- SQL
- Notebooks
Even if you don’t have knowledge of Databricks, that’s fine. You can follow the step-by-step process to implement this lab, and you should be good!
You should set up your lab to perform this exercise as the first activity.
Lab Setup
You can use “Databricks Community Edition” for this lab exercise. The community edition is free to use and provides limited features that can be used for learning purposes.
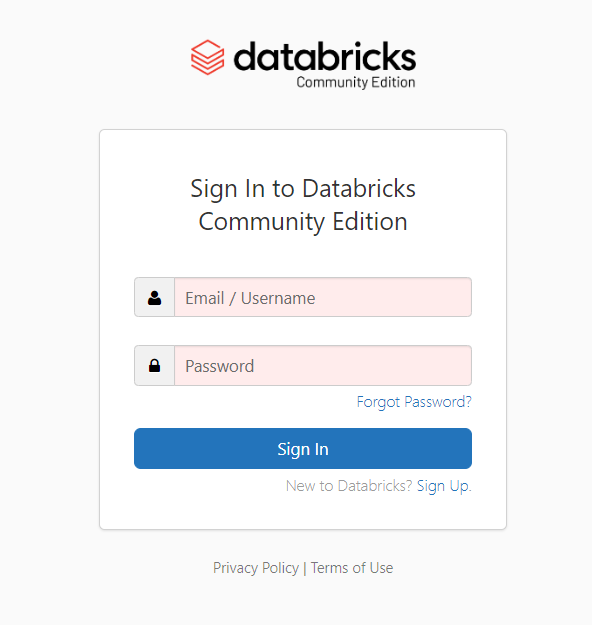
Step #1 – Open an account with Databrick Community Edition
https://community.cloud.databricks.com/login.html
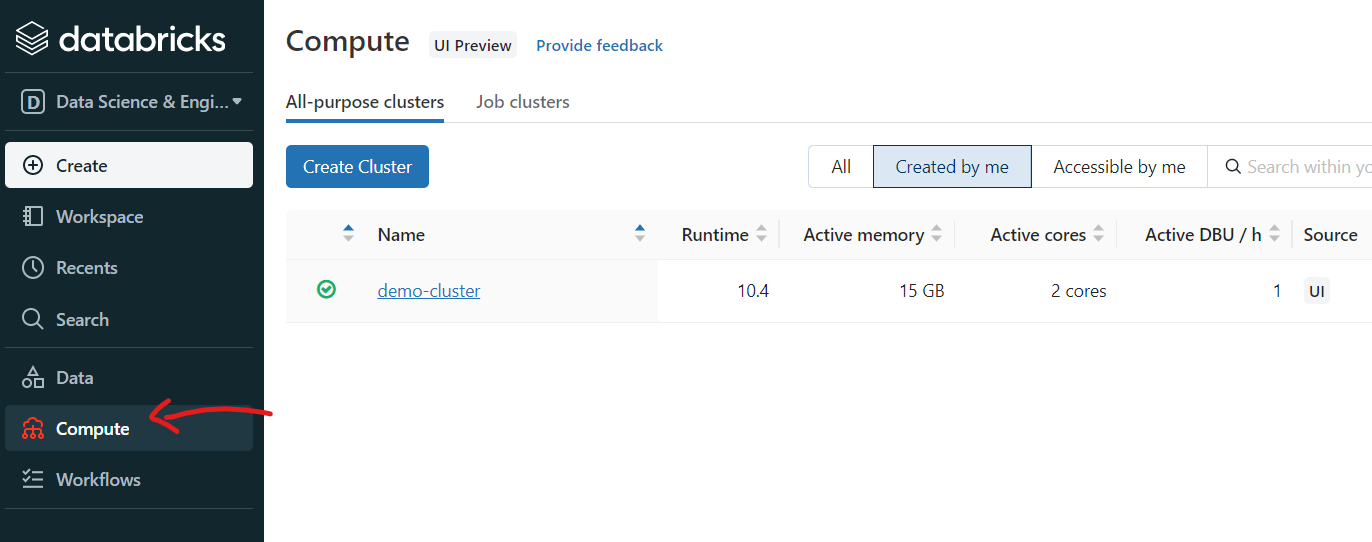
Step #2 – Create a Spark cluster for executing the notebooks
Once you log in to Databricks workspace, you must first create a cluster. This can be done by clicking on the “Compute” tab in the left-hand side pane.
You just have to give the cluster name, and the rest of the details are auto-filled. Leave them as is.
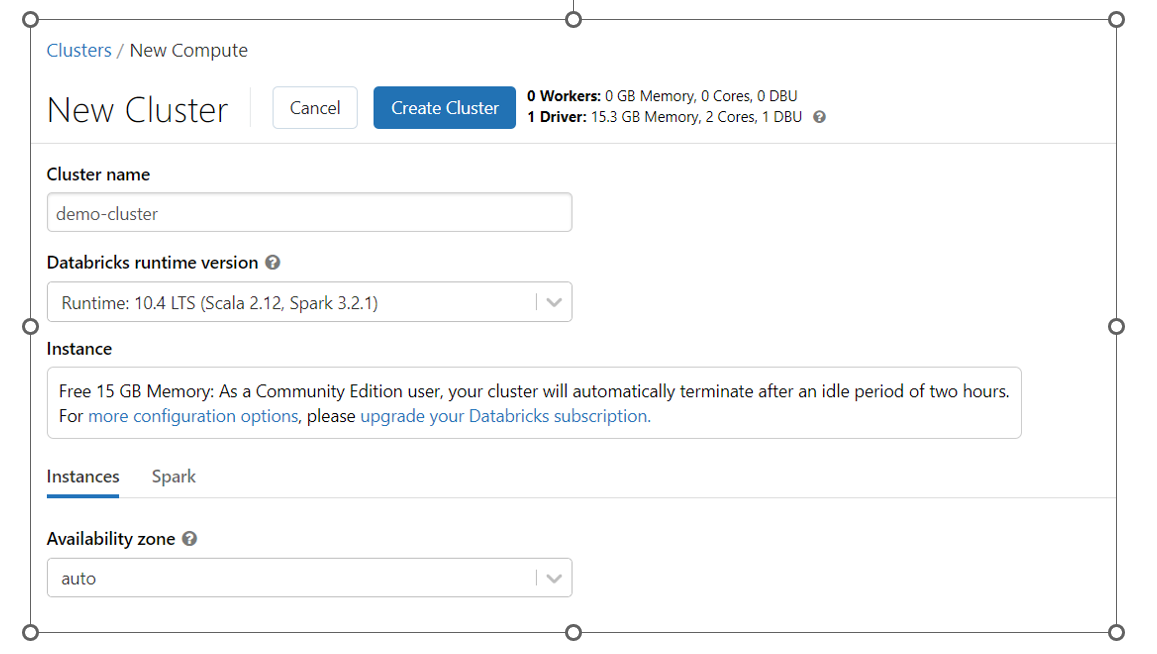
The community edition provides a single node cluster with 15GB RAM, which is good enough for learning purposes.
Step #3 – Create a new notebook
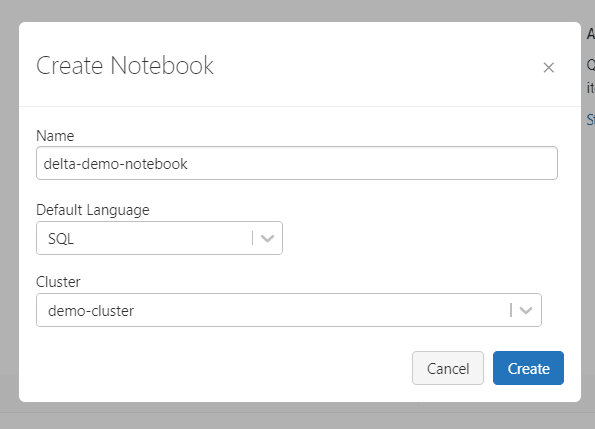
Once the cluster is created (this might take a few minutes), you can create a new notebook by using the “Create >> Notebook” option from the left-hand pane.
Create a new notebook with the default language as SQL. Inside each cell, we can change this to Python or other supported languages as per our requirement.
That’s it. All set! You are ready to do the Lab exercise and explore the delta format.
Let’s get started!
Lab Exercise
Follow these steps in the same sequence to explore and understand the delta format. Every step has notebooks commands that you can execute in your notebook.
Step #1 – Create a delta table
First up – let’s create a simple delta table, the starting point of any delta lake implementation.
CREATE TABLE IF NOT EXISTS avengers
(id int, role string, name string)
When you create a table in Databricks, it is usually created as a delta table. In the above command, we have created a managed/internal table as we have not given any external location.
Step #2 – Inspect the underlying files
Let’s describe the table to get some more info.
describe detail avengers
It will give results similar to the below screenshot

Observe the values in the “format” and “location” columns.
- format: delta. [ default format in Databricks is delta]
- location : dbfs:/user/hive/warehouse/avengers. [This is the default location for managed tables, similar to Hive managed tables in the Hadoop-based eco-system]
Step #3 – Inspect the table location
Now that we have described the table, let’s see what happened at the file level. Did it create any files? Any logs?
%python
display(dbutils.fs.ls("dbfs:/user/hive/warehouse/avengers"))
Note : In the above command “%python” is used to switch to Python language in this cell. If you remember, we created this notebook by using “SQL” as default language. This is called magic command in Databricks notebooks.

You will observe that there are no parquet files, as we have not yet added any data to the table. However, the delta_log folder is created.
What is this delta folder? Does it have any files? Let’s explore it in the next steps.
Step #4 – Inspect the delta file location
Check the contents of the delta folder – does it have any files?
%python
display(dbutils.fs.ls("dbfs:/user/hive/warehouse/avengers/_delta_log/"))
Yes, it has! You will find one JSON and one CRC file, as shown in the screenshot below.

This json file holds the main info related to the commit log. This is where all the magic happens!
Step #5 – Inspect the JSON file from the delta location
Let’s now explore the JSON file within the delta log
%python
display(spark.sql(f"SELECT * FROM json.`/user/hive/warehouse/avengers/_delta_log/00000000000000000000.json`"))
Note – You can directly execute a spark SQL query on the json file directly
If you check the JSON log using the above command, you can see the Schema of the table created in the “metaData” column.

Step #6 – Add new records to the table and inspect the table location
Now let’s insert one new record into the delta table
insert into avengers values
(001, 'Captain America', 'Steve Rogers')
Time to check the table location.
%python
display(dbutils.fs.ls("dbfs:/user/hive/warehouse/avengers"))

You will observe that a new parquet file is finally added! This parquet file represents the data we just added to the table.
Also, check the delta_log folder, you will observe two more files added ‘xxx01.json’ and ‘xxx01.crc’
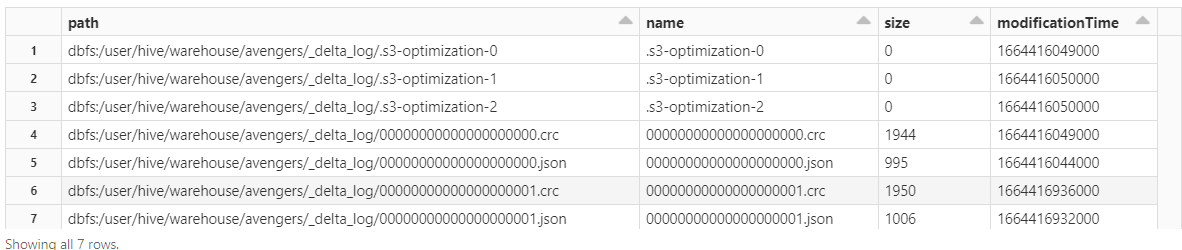
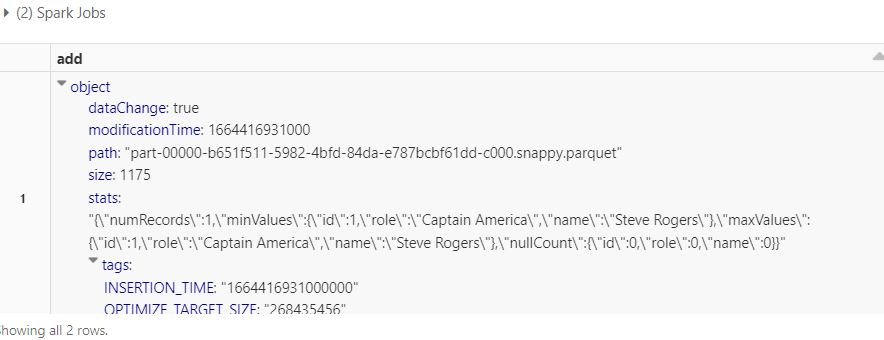
And if you observe the ‘xxx01.json’ file in the delta log, you will see the details of the record inserted in the “add” column.
display(spark.sql(f"SELECT * FROM json.`/user/hive/warehouse/avengers/_delta_log/00000000000000000001.json`"))
Step #7 – Delete the record and check the table
Like Insert, let’s do more operations on the delta table. Let’s delete a record and then check the table contents.
delete from avengers where id=001
select * from avengers;
You will observe there are no records in the table.
Step #8 – Time Travel using Version Number
Now try the same query using the version number
SELECT * FROM avengers VERSION AS OF 1;
You will observe that this query does fetch the record.
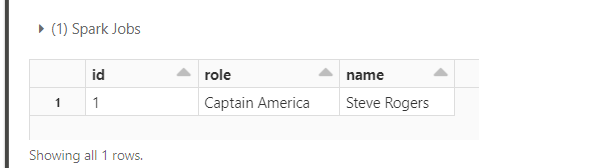
This shows the time travel ability of the Delta format. You can access the older versions of the records by specifying the right version number.
Step #9 – Time Travel using Timestamp
Similarly, you can do time travel using timestamps also. But first, let’s fetch the timestamp when we inserted the record. This can be observed by checking the table history.
DESCRIBE HISTORY avengers;
The table history stores all operations done on the delta table, along with timestamps. D

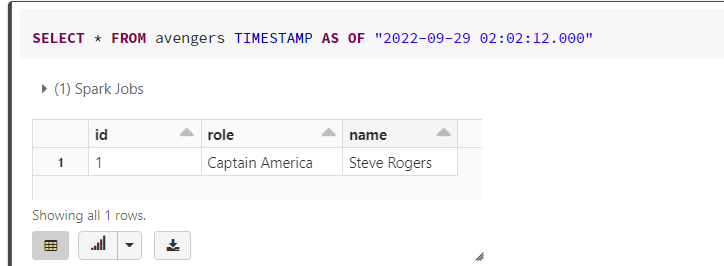
Use this timestamp in the select query to access old data. You will be able to see the one record that was inserted at this timestamp.
SELECT * FROM avengers TIMESTAMP AS OF "2022-09-29 02:02:12.000"
That brings us to the end of the lab. But don’t forget to clean up the data by dropping the delta table you created, as shown in the next step.
Step #10 – Drop the table
drop table avengers;
This will delete the metadata and data files as this is a managed table.
Congratulations, you are now a delta user who understands how delta works and how its Time Travel feature is used! If you want to dive deeper, I suggest you read the blog below by Databricks.
Conclusion
In this tutorial, we learnt how to create a delta table, read the underlying delta logs and use features like time travel.
Here are the key points to remember
- Delta Lake is an open storage format used for implementing Lakehouse solutions.
- Databricks can be used for creating tables using delta formats
- Each delta table creates a transaction log called a delta log.
- Delta log can be leveraged for adding ACID capabilities to data lakes.
- Delta also supports time travel features by using version numbers or timestamps.
I hope this article helps you to get started with the delta format. Keep learning!
The media shown in this article is not owned by Analytics Vidhya and is used at the Author’s discretion.
GT Thalpati
11 Oct, 2022


I've learnt about python and SQL applications