Every dev team has repeatable setup tasks: spinning up a new project, running a deployment checklist, generating a file structure, or typing the same instructions into Claude again and again. Claude Code helps reduce that friction with slash commands, including built-in commands and custom commands you can define for your own workflows.
These commands turn repeated instructions into quick triggers, making day-to-day development smoother and more consistent. In this article, we’ll explore Claude Code slash commands, understand how skills work, and build a few practical custom commands along the way.
Table of contents
What is a Slash command?
A slash command is a short text trigger, starting with “/”, that runs a predefined action instantly, instead of you typing out a full instruction every time. You’ve likely seen this pattern before in tools like Slack, Notion, or Discord, where typing “/” brings up a menu of quick actions. The idea is simple: turn something you’d otherwise explain in a sentence into a single word you can type in seconds.
Built-In Commands in Claude Code
Here are some existing Claude commands and what they do:
- /model: switches the current model (example: Fable 5.1, Haiku 4.5, Sonnet 5)
- /rewind: rolls the session back to an earlier point in the conversation
- /compact: compresses the conversation history to free up context space
- /clear: wipes the current conversation and starts a fresh session
- /context: shows a breakdown of how your context window is being used
You can find more built-in commands here.
What are Skills in Claude Code?
Skills are special instructions stored in a markdown files; it can be configured to only be invoked by the user not by Claude. In legacy syntax, this could be achieved with Custom Slash Commands. This special instruction gets added to the context when invoked, and is meant to be used for tasks that are generally not needed for Claude, it can be something rare like deployment. It lives as a markdown file in .claude/skills/<name>/SKILL.md, and the sub-folder name becomes the command name: so.claude/skills/deploy/SKILL.md becomes /deploy.
Scope of Skills
- Personal scope: stored in
~/.claude/skills/(home directory). Works across all your projects, shows as a personal skill in/skills. - Project scope: stored in .
claude/skills/in the repository. This can be a common shared skill only if the folder is committed via git. (Else it stays local) - Directory scope: stored in
<subdir>/.claude/skills/inside a subfolder of the repository. Loads for sessions started in or below that folder, so it’s useful for a skill that only applies to one folder of a project.
Skill Invocation Demo
Let us define two commands that the model can’t invoke on its own, one to add a skeleton structure to a project, and another to create a frontend script in a specific manner.
Pre-Requisites
Make sure you have VSCode (or any other IDE) and Claude Code CLI installed.
Claude Code CLI can be installed using this command:
- Mac / Linux:
curl -fsSL https://claude.ai/install.sh | bash - Windows (powershell):
irm https://claude.ai/install.ps1 | iex
Note: Make sure you authenticate yourself with the API or your account to use Claude.
Create a new project

- Create a new project and make a
.claude/skills/folder at the root of the project - Define a skill: create a
new_repo/folder inside it with aSKILL.mdfile containing the below text:
---

name: new_repo

description: Add the structure to a new project with backend/, frontend/, and README.md

disable-model-invocation: true

allowed-tools: Bash(ls *) Bash(mkdir *)

---

Create the base project structure in the current working directory:

1. Create a `backend/` folder. If it doesn't already contain anything, add a minimal `.gitkeep` file (or a starter file appropriate to the stack the user mentions, if any) so the folder is tracked.

2. Create a `frontend/` folder the same way.

3. Create a `README.md` at the project root with:
- A title based on the project name (ask the user or infer from context/directory name)
- A one-paragraph description of the project (infer from the task at hand if not explicitly given)
- A "Project Structure" section listing `backend/` and `frontend/` and their purpose
- A "Getting Started" section with placeholder setup instructions for each folder

Do not overwrite existing files or folders — check first with `ls` and only create what's missing. Report back what was created.
This command helps me add a skeleton structure to the repository, this can user-level custom command if you create new projects very often (You’ll have to ensure its sitting at the root of your computer)
Note: Notice that the disable-model-invocation is True, the description of the skill is not visible to the model and it can’t invoke it until you invoke it using run /new_repo.
Open Claude Code
- Fire up the terminal and type claude
- Now you can simply type
/new_repoand you would be able to execute the command

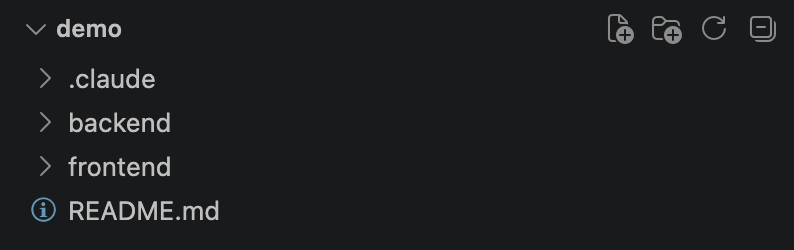
Once, the skill has been executed you would be able to skill that your directory structure has been updated:
Create another skill
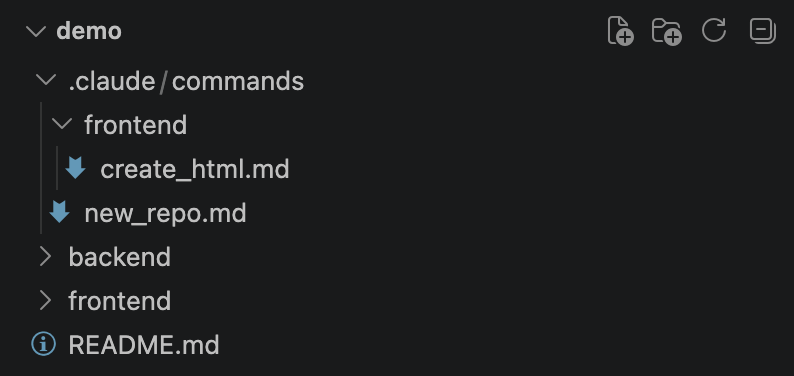
- Create a .
claude/skills/folder inside frontend/ and add acreate_html/sub-folder with aSKILL.mdfile inside it (frontend/.claude/skills/create_html/SKILL.md). - This scopes the skill to the frontend directory, and the folder name becomes the command ->
/create_html.
This ensures the skill operates only in ‘frontend’ directory
2. Add this text in the file:
---

name: create_html

description: Create a standalone HTML file for a given requirement

argument-hint: [requirement]

disable-model-invocation: true

allowed-tools: Write

---

Create a single, standalone HTML file that implements the following requirement:

$ARGUMENTS

Guidelines:

- Output one self-contained `.html` file — inline `<style>` and `<script>`, no build step, no external dependencies unless explicitly requested.
- Keep it functional and minimal: only build what the requirement asks for, no extra scaffolding or unrelated features.
- Use semantic HTML and accessible markup (labels, alt text, ARIA where relevant).
- Make it responsive and readable on both desktop and mobile widths.
- Save the file in frontend/index.html, and report the path back to the user

Run the command

- Open claude in that directory by running this terminal command:
cd frontend && claude - Add the prompt and invoke the command to create the script.
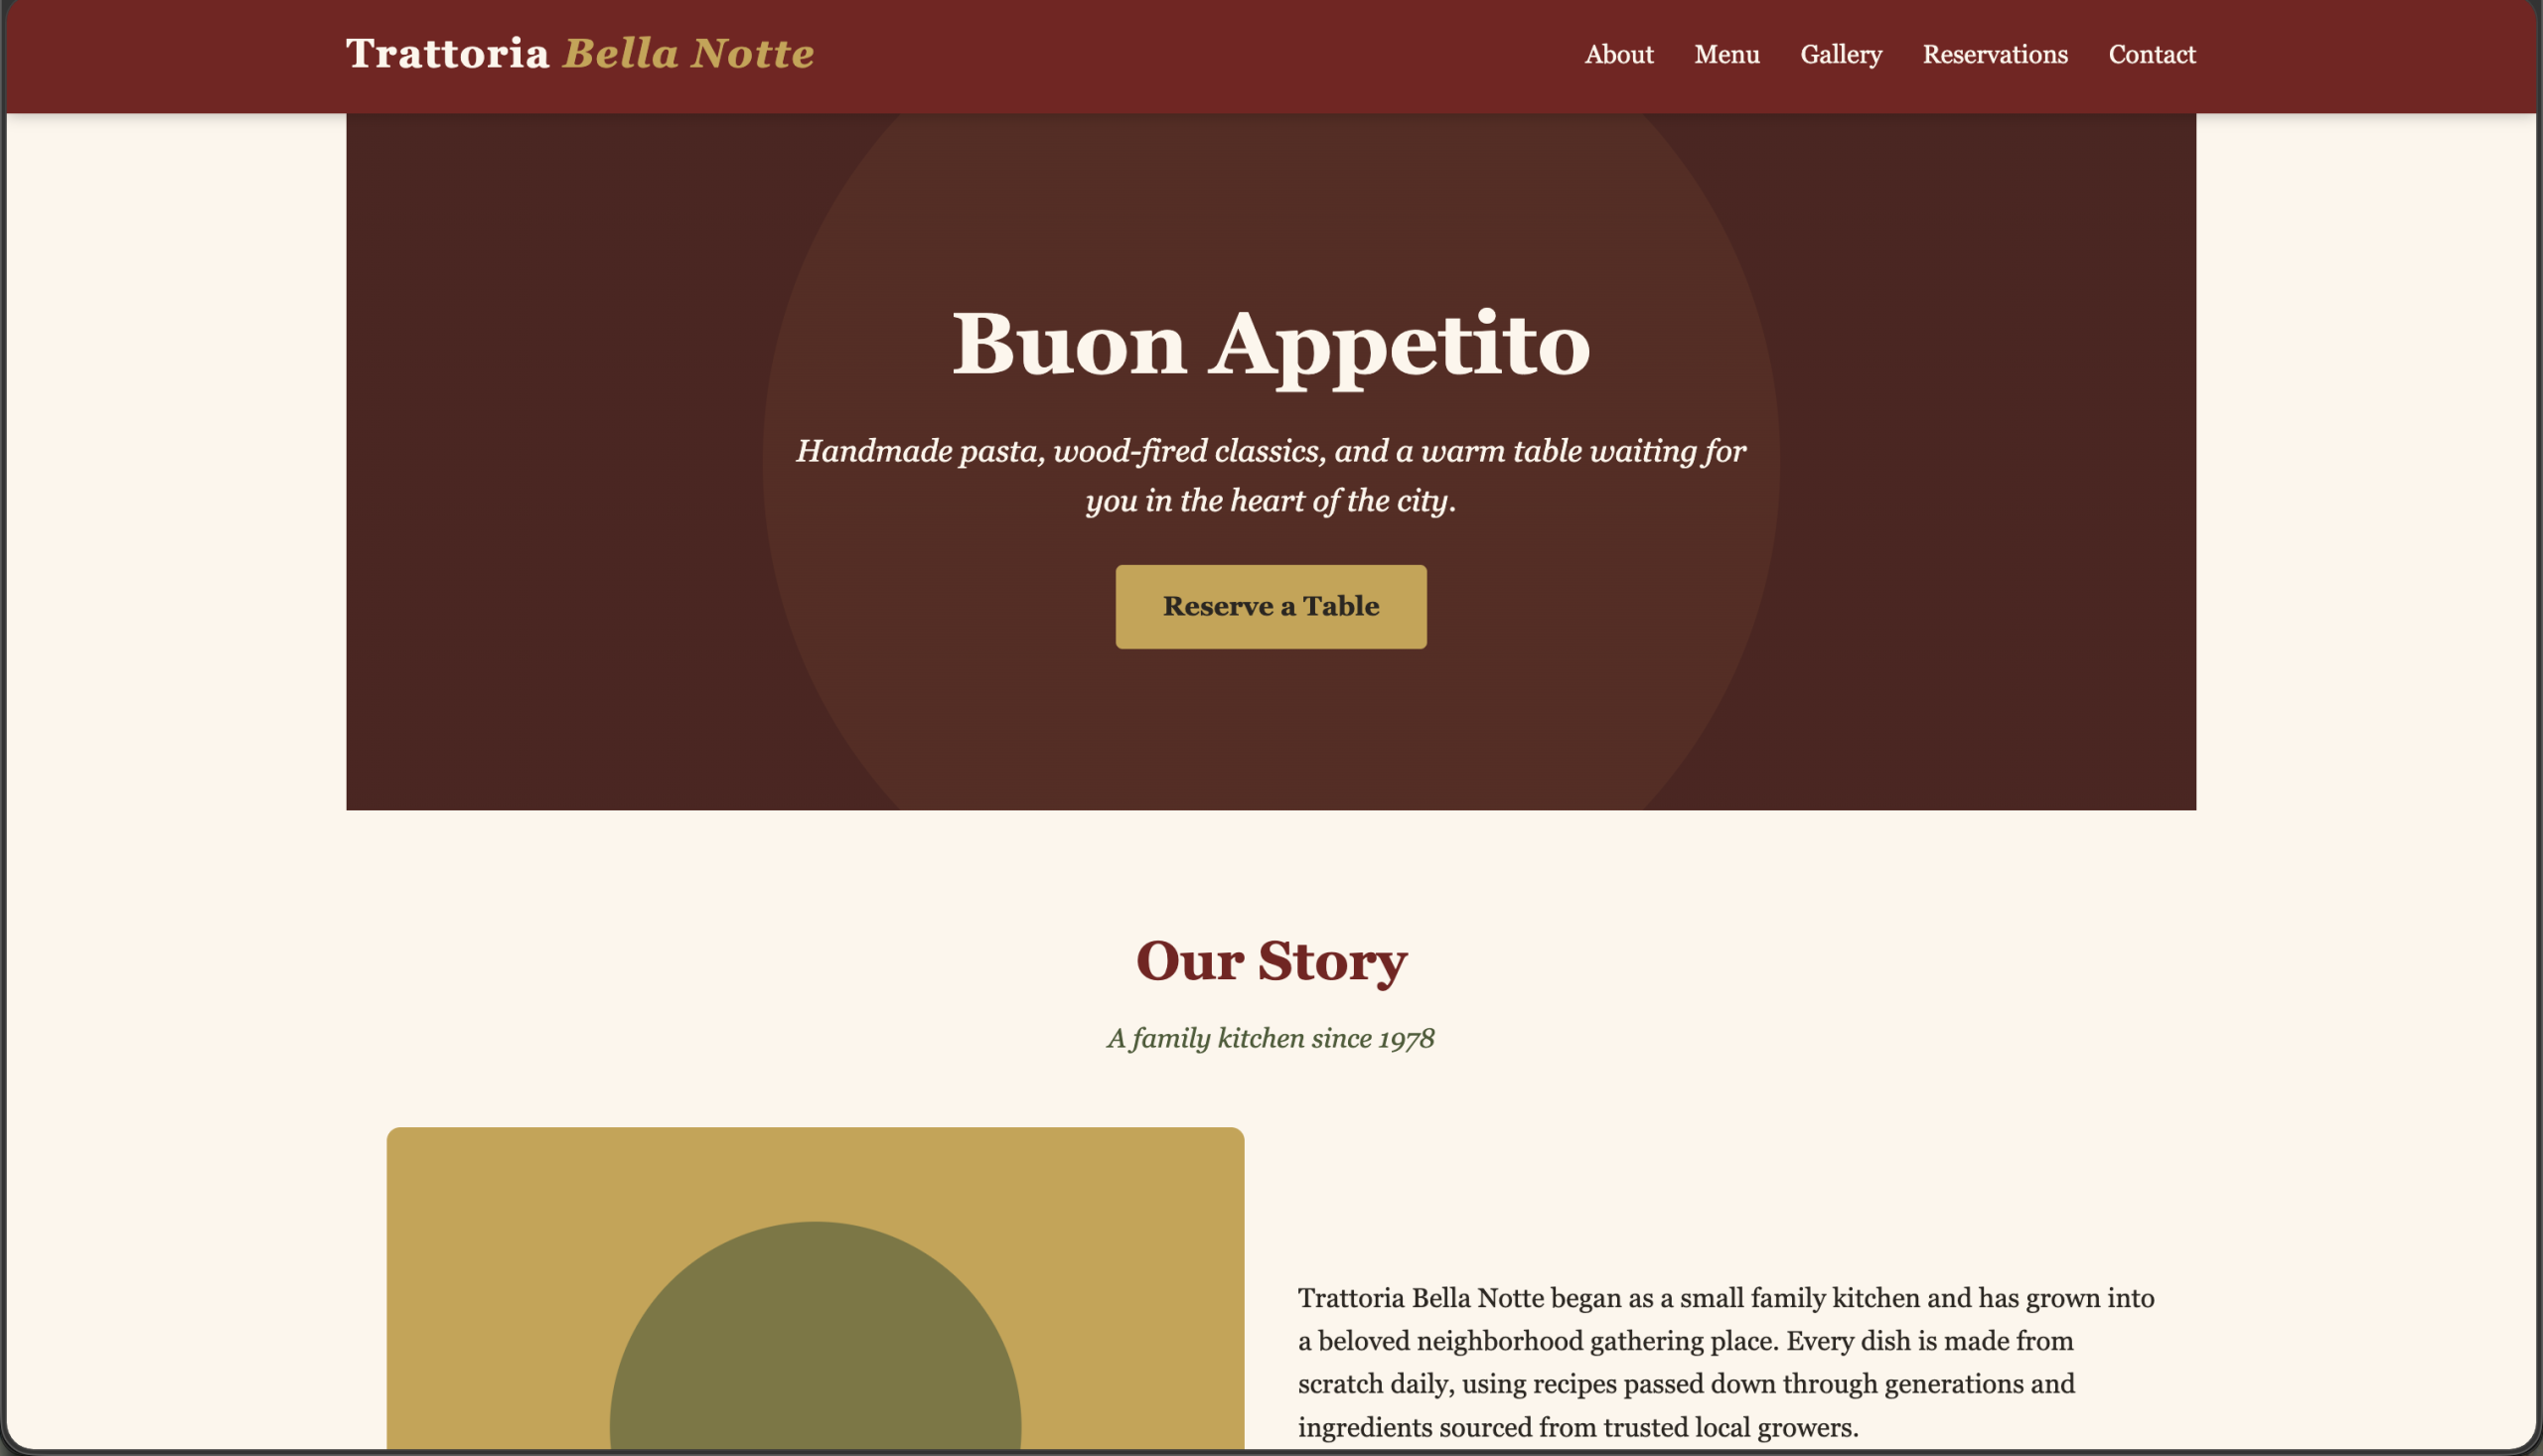
Note: Once claude finishes execution, you can open the HTML and see for yourself what Claude has crafted.
Conclusion
Claude Code Skills help you create commands that give Claude Code users a simple way to save repeatable instructions as markdown files, invoked only by you. Whether scoped personally or per-project, they turn rare, specific tasks like scaffolding a repo or generating a standalone HTML file into short commands, saving time and effort. But the markdown instructions have to be defined clearly for better outputs.
Frequently Asked Questions
Q1: Where should project-scoped skills be stored?
A. In .claude/skills/<skill-name>/SKILL.md inside the repository. It doesn’t have to be at the root; Claude Code checks the folder you start in and every parent up to the repo root.
Q2: Can Claude invoke a skill on its own?
A. Yes, by default. Add disable-model-invocation: true to the frontmatter to make it user-only.
Q3: How do I exit the Claude Code CLI?
A. Type /exit, or press Ctrl+C twice.
Passionate about technology and innovation, a graduate of Vellore Institute of Technology. Currently working as a Data Science Trainee, focusing on Data Science. Deeply interested in Deep Learning and Generative AI, eager to explore cutting-edge techniques to solve complex problems and create impactful solutions.