This article was published as a part of the Data Science Blogathon.
Introduction
Making Machine Learning models these days is turning out to be progressively simple because of many open-source and exclusive based administrations (for example Python, R, SAS). Even though professionals may consistently think that it’s hard to effectively make interfaces to test and share their finished model with associates or partners.
One potential answer for this issue is Gradio, a free open-source Python bundle that assists you with making model UIs which you can easily impart to connect to associates and companions.

What is Gradio?
Gradio is an open-source python library that permits you to rapidly make simple to utilize, adjustable UI parts for your ML model, any API, or any subjective capacity in only a couple of lines of code. It makes it easier to play with your models in your web browser by just drooping and dragging your images, text, or recording of your own voice, etc, and seeing live the output in an interactive way. You can coordinate the GUI straightforwardly into your Python notebook, or you can share the link with anybody.

Gradio helps in building an online GUI in a couple of lines of code which is convenient for showing exhibitions of the model presentation. It is quick, simple to set up, and prepared to utilize, and shareable as the public connection which anybody can get to distantly and parallelly run the model in your machine. Gradio works with a wide range of media-text, pictures, video, and sound. Aside from ML models, it very well may be utilized as should be expected python code embeddings.
Uses of Gradio:
- You can create demos of your machine learning codes that could be useful for your clients/ users/ team members.
- During development, you can interactively debug your models.
- You can get feedback on model performance from users. As a result, you can improve your model easily and faster.
It can be integrated with TensorFlow and PyTorch models for better understanding. In this article, we will examine Gradio with its execution. So let’s get started.
Installation
You can install Gradio via pip. Below code can be used for installation:
pip install gradio
Import the library
The below code can be used for importing the library:
import gradio as gr
Getting started
To quickly give you an idea of how this library works, let’s run the below code as a python script or you can use Python Notebook (Google colab as well):
import gradio as gr
def start(name):
    return "Hello " + name + " ! "
face = gr.Interface(fn=start, inputs="text", outputs="text")
face.launch()
As soon as you run the above code, the below interface will automatically get appears in Python Notebook, or pop in your browser on https://localhost:7860 if you run the python script.

The Interface
Gradio can wrap practically any Python work with a simple-to-utilize interface. That capacity could be anything from a straightforward assessment adding a machine to a pre-trained model. The interface class has three parameters. These are described below:
- inputs: input component type
- outputs: output component type and
- fn: function to wrap
By using these three arguments, we can easily create interfaces for your model and launch them in the browser or Python Notebook.
Customizable Components
We can create customized components according to our requirements. For example, if we want to see large text and some text hint, then we can pass different parameters in the inputs parameter of the Interface class. Gradio offers a large number of customizations. Check the below code:
import gradio as gr
def start(name):
         return "Hello " + name + " ! "
face = gr.Interface( fn=start,inputs=gr.inputs.Textbox(lines=2, placeholder="Name Here… "), outputs="text")
face.launch()
Examples of Customizations are shown below:


Slider:
For more information on customizations, check this Link
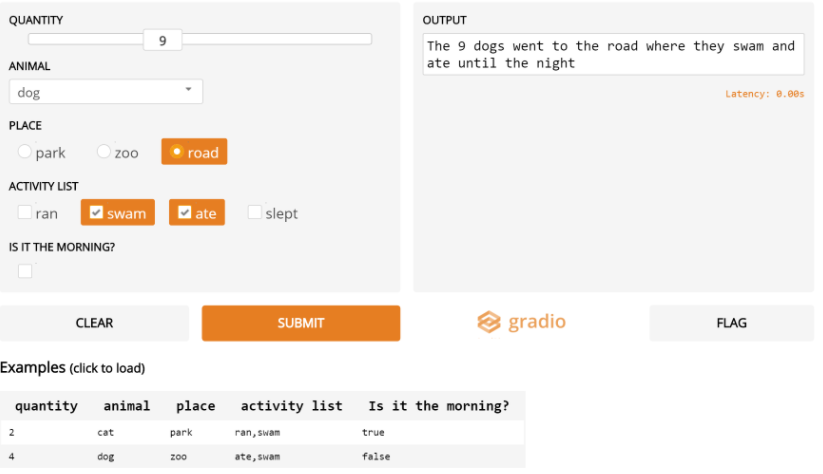
Multiple Inputs And Outputs
Suppose we had a considerably more complex function, with numerous information sources and yields. In the model underneath, we have a capacity that takes a string, boolean, and number, and returns a string and number. Investigate how we pass a rundown of info and yield segments. Check
the below code:
import gradio as gr
def start(name, morning_is, temp):
            msg = "Good morning" if morning_is else "Good evening"
            greeting = "%s %s. It is %s degrees today" % (msg, name, temp)
            cels = (temp - 32) * 5 / 9
            return greeting, round(cels, 2)
face = gr.Interface(fn=start, inputs=["text", "checkbox", gr.inputs.Slider(0, 100)], outputs=["text", "number"])
face.launch()
Output:
Working With Images
Now let’s work with images. The Image input Interface takes a NumPy array of some specified size, having a shape (width, height, 3), here the last dimension represents the RGB values. It will return an image in the form of a NumPy array. Moreover, the Input interface comes up with an EDIT button which opens a tool that is being used for cropping, rotating, flipping, and applying filters to an image. Isn’t it fabulous, right? We’ve discovered that controlling pictures in this manner will frequently uncover covered-up imperfections in a model. The below image shows how this tool works:

Working With Machine Learning
After you’re comfortable with the rudiments of the Gradio library, you’ll likely need to give it a shot like a machine learning model. We should see Gradio working with a couple of machine learning models.
Image Classification using TensorFlow
First, in machine learning exemplary, we are starting with image classification. We are starting with the Inception Net Image Classifier, which is loaded with the help of TensorFlow. We know, then this is an image classification problem, we are using the Image input interface. This Image input interface gives you a nice test Inception Net interface where you can drag and drop images and also allows us to use edit images by clicking on the EDIT button. The output would be a dictionary of labels and their corresponding confidence scores. Check the below image:
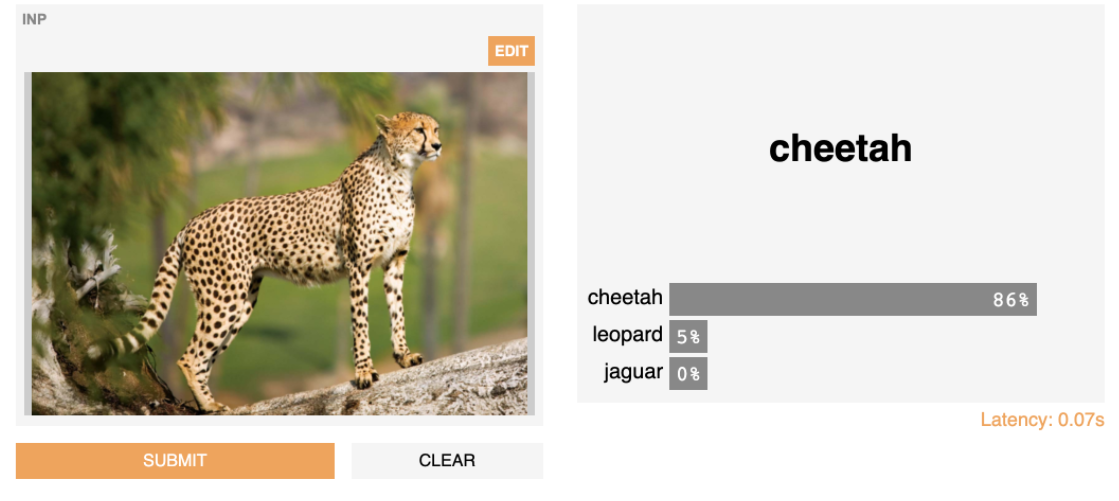
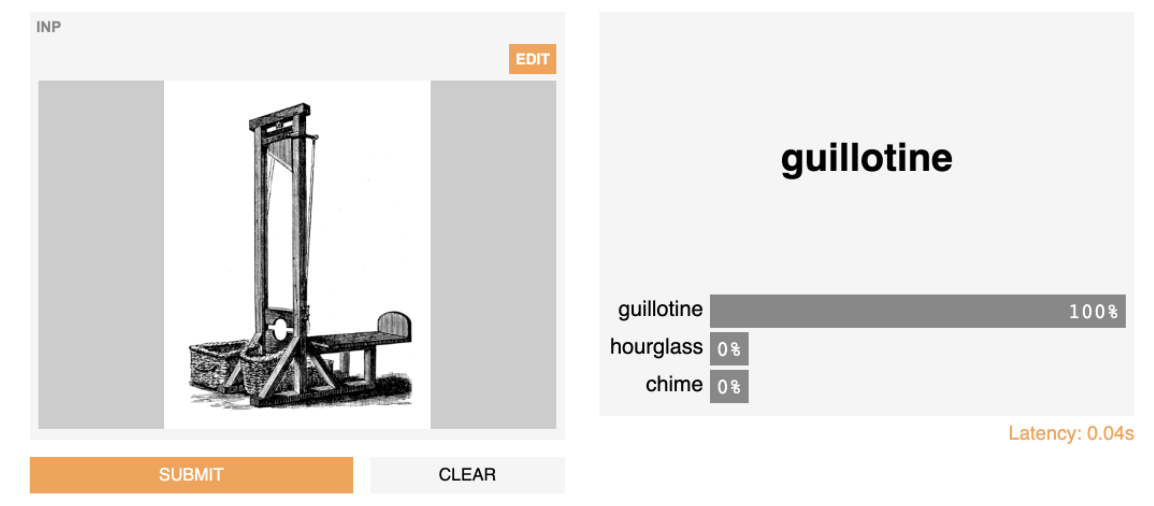
Image Classification using PyTorch
Let’s now use a similar model, ResNet but we are using PyTorch this time. Check the below image:
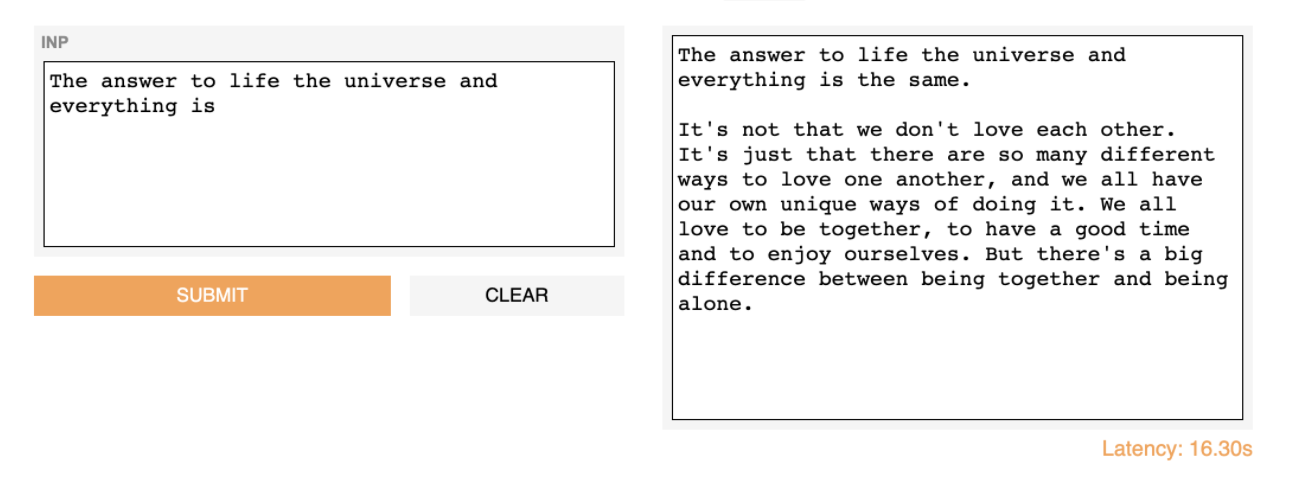
Text Generation with Transformers (GPT-2)
Now let’s work with some text. We are using a text generation model called GPT-2. And in this case, we are using Text Text Interface. You have to just write some input and it will automatically show output in the Output box. Check the below image:
Some More Examples:
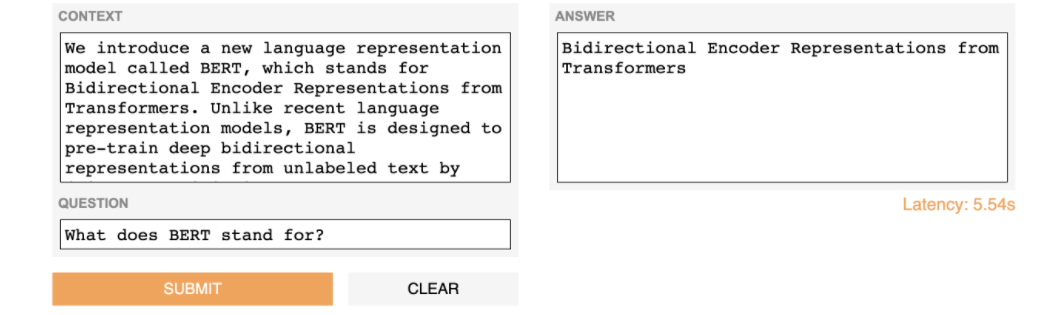
Answering Questions With BERT-QA
Titanic Survival Model
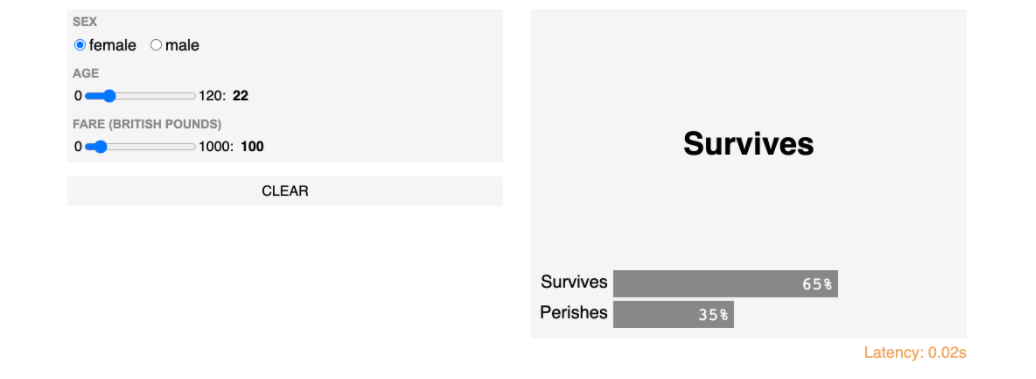
Image classification with Interpretation
For more information, check official documentation: Link
Final Note
You can check my articles here: Articles
Thanks for reading this article and for your patience. Do let me in the comment section about feedback. Share this article, it will give me the motivation to write more blogs for the data science community.
Email id: gakshay1210@gmail.com
Follow me on LinkedIn: LinkedIn
The media shown in this article are not owned by Analytics Vidhya and is used at the Author’s discretion.


