This article was published as a part of the Data Science Blogathon
Introduction
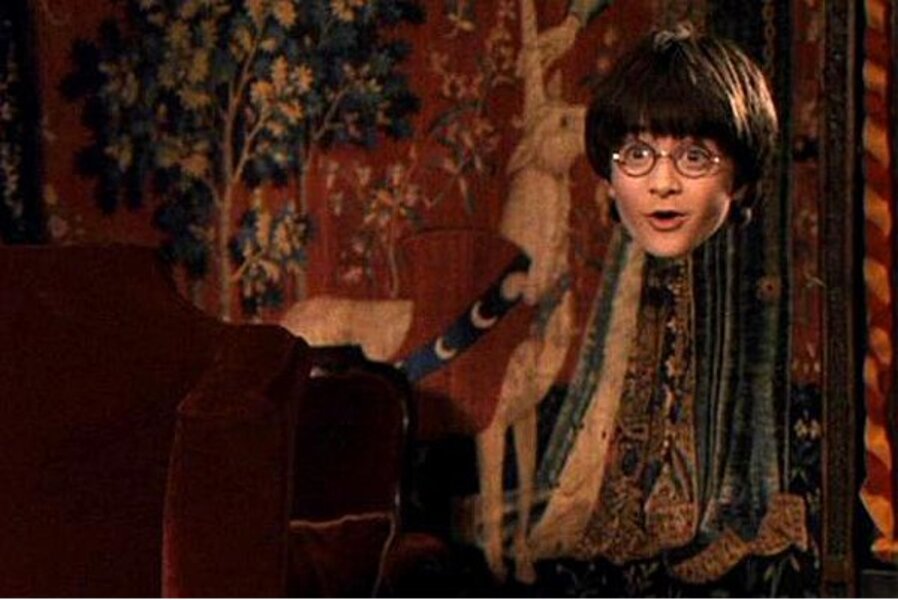
“When you are not a magician but still can do magic with some lines of code”.
Hello, Everyone Today we are going to do magic by writing the code in our code editor. So you have heard about Harry Potter’s Invisible Cloak and wish to have one and go wherever you want to go and Experience what it feels like to be Invisible.
Magician == Coder
So, Let’s make our own Invisible Cloak with Computer Vision.
source of the Image:
Note: So if you want to do this project there are some things that you need to know before starting this project.
You need to know the basics of Python and OpenCV and if you don’t know do not worry we will cover all things easily and It is beginner-friendly.
If You want to see code directly then here is the source code – Source code for the Project.
Now let’s start the Project so firstly you need to select your cloak and there are conditions for choosing these clothes like.
A Quick Peek To what we are making
Prerequisites for the cloth:
- Choose a cloth of one color only and suppose the color of the cloth is red then ensure that your background does not contain any red color. Because if the background contains that color then it will cause problems.
- In this project, we are using red color cloth but you can make any color we just have to change the values for the visibilities of the color and it can be changed easily.
Now After choosing the cloth we need to select IDE for this Project and install some of the Libraries to make this work.
So in this project, we are using VS code for making this Project but you can choose whatever you want it is up to you.
Now we need all the Libraries Install on our device so that we can start coding this Project
There are 3 things which we need on our system
- Python version 3.0.0 or above
- OpenCV(To install this we need to run a command which is discussed in further part)
- Numpy(to handle all the operations)
Source Code: https://github.com/puranjay123/Invisible-Cloak-openCV
To install OpenCV, run the command in your terminal
pip install opencv-python
To install Numpy, run this command on your terminal
pip install numpy
For writing code for a project, it is always good to have a plan or an Algorithm which containing all the things you are planning to do.
Algorithm:
- firstly Import the Libraries that we can use to make the project.
- using a webcam to capture the live feed of the person and the background.
- Capturing the background firstly we have to capture the background so that if the cloth comes in it shows the background.
- Setting the values for the Cloak that the cloth we selected we have to now set the values for it.
- making 2 masks and applying them to the frame.
- combining the mask and showing it simultaneously
- Displaying the final output
Don’t worry if you are not getting the algorithm we will get to it slowly and it will be a lot easier on the implementation.
So, now let us start the Implementation of this Project.
Step 1: Importing the Libraries
# Import Libraries
import numpy as np
import cv2
import time
Now we have Imported the Libraries we now have to use VideoCam on your device to work.
So to take the webcam feed, we use VideoCapture Function It used by the default webcam.
Step 2: Using the WebCam to take the Video Feed
#To use webcam enter 0 and enter the video path in double-quotes.
cap = cv2.VideoCapture(0)
time.sleep(2)
background = 0
In the time function, we have used the value so that the video can be captured in the first 2 seconds after running the program.
Step 3: Capturing the Background
Capturing the Image of the background in the first two seconds.
for i in range(50):
    ret, background = cap.read()
Now Capturing the video and converting it into HSV format.
Step 4: Capturing the video feed using Webcam
while(cap.isOpened()):
    ret, img = cap.read()
    if not ret:
        break
    hsv = cv2.cvtColor(img,cv2.COLOR_BGR2HSV)
Condition for this is when only the webcam is opened it will only run else the code will not run in the background without the webcam Now we have to take the values of the red color cloth to take any values and change till then the red color will start to disappear from the frame.
Step 5: Setting the values for the cloak and making masks
#all this Comes in the while loop
    lower_red = np.array([0,120,70])
    upper_red = np.array([10,255,255]) # values is for red colour Cloth
    mask1 = cv2.inRange(hsv, lower_red,upper_red)
    lower_red = np.array([170,120,70])
    upper_red =  np.array([180,255,255])
mask2 = cv2.inRange(hsv,lower_red,upper_red)
#Combining the masks so that It can be viewd as in one frame
    mask1 = mask1 +mask2
#After combining the mask we are storing the value in deafult mask.
Now a lot is happening in Step 5, in this part, we are trying to set the values for our cloth so that when we run our program we will eliminate these colors like in above we mentioned the cloth is of red color so we are setting the color for this cloth so that when we make mask it will simply be removed from the screen and instead of this the only color it shows the background which we captured in step 3.
Now we have to set the values of the color of the cloth that we picked so here we pick RGB format of red color so you can choose any color cloth and change those values
Step 6: Using Morphological Transformations to remove noise from the cloth and unnecessary Details.
To learn in-depth about Morphological Operations you can refer to this: Morphological Operations.
mask1 = cv2.morphologyEx(mask1,cv2.MORPH_OPEN,np.ones((3,3),np.uint8), iterations = 2)
mask1 = cv2.morphologyEx(mask1, cv2.MORPH_DILATE,np.ones((3,3),np.uint8), iterations = 1)

mask2 =cv2.bitwise_not(mask1)
Morhological transfromations- cv2.MORPH_CLOSE simply removes unnecessary details that are not required like in this project the noise is small black holes appear on the screen cv2.MORPH_OPEN will remove the white region on the boundary of the cloth that is not required.
Step 7: Combining the masks and showing them in one frame
res1 = cv2.bitwise_and(background,background,mask=mask1)
#The basic work of bitwise_and is to combine these background and store it in res1


    res2 = cv2.bitwise_and(img,img,mask=mask2)
    final_output = cv2.addWeighted(res1,1,res2,1,0)
    cv2.imshow('Invisible Cloak',final_output)
    k = cv2.waitKey(10)
    if k==27:
        break
cap.release()
cv2.destroyAllWindows()

# so if user want to quit the program they can press Escape key the 27 is the code for escape key in

#ASCII vode values
PROJECT AFTER Deployment.
Note: In this Video, the cloth that is used is of red color but you can
change the hue of the color.
So what is happening in step 7 is we have taken a bitwise operation stored in res1 which is used to combine the mask which we have made and store it in the res1 variable.
We have used cv2.addWeighted which is used to a sharp image.
Important note: When you try to run this it takes 2 seconds to capture we selected in Step 2 time frame
the background so try not to be in the frame in the first 2 seconds and then you can simply test out your project.
Conclusion: In this project, we have implemented simple masking techniques and Morphological Operations to get the colored cloth out of the frame and instead of that, we are showing the background.
If you liked this blog do consider following me on Linkedin and Github.
I post regularly on Linkedin about Machine learning and Python.


