The majority of people build machine learning models in an experimental or research setting, which is appropriate for exploration. It is not until you start to deploy it within real applications that you’ll see the actual value, for instance, a web application requesting predictions from your model, or a backend application needing to make real-time decisions based on your trained model. You want a simple, reliable way to expose your trained machine learning model as a web service, that is to say, an API.
The FastAPI is a perfect choice for this task.
Table of contents
- What is FastAPI?
- Deploying An ML Model With FastAPI Hands-On Tutorial
- Step 1: Project setup
- Step 2: Train and save a simple ML model
- Step 3: Create a FastAPI program that will deliver the predictions of your model
- Step 4: Running and testing the API locally
- Common Errors and Fixes
- Conclusion
- Frequently Asked Questions
What is FastAPI?
FastAPI is a Python web framework that is designed to help developers build RESTful APIs. It is fast, simple, and has many features included by default, such as automatic generation of API documentation. FastAPI also plays nicely with Python’s existing libraries for data processing and is therefore an ideal option for machine learning projects.
The key advantages of utilizing FastAPI are:
- Fast Performance: FastAPI is one of the fastest available web frameworks for the Python programming language, as it was built upon two popular libraries: Starlette and Pydantic.
- Easy Development and Maintenance: Writing clean APIs with FastAPI requires minimal code thanks to the automated capabilities of FastAPI, which include automatic validation, serialization, and input checks.
- Built-In API Documentation: All APIs built with FastAPI automatically include a built-in Swagger interface at the URL endpoint
/docs. These allow users to test their API endpoints directly from their web browser. - Ideal for Machine Learning Models: By using FastAPI, the users may define their input schema for their machine learning models, expose the model’s endpoint for a prediction, and just share the location of the saved file of the model so it can be loaded into memory upon application startup. All that backend work is taken care of by FastAPI. Therefore, FastAPI has gained immense popularity among developers who deploy machine learning models.

This figure depicts a prediction request’s flow through the system: data is sent by a user to the FastAPI application, which loads the trained machine learning model and runs the inference. A prediction is produced by the model, and this result is returned by the API in JSON format.
Deploying An ML Model With FastAPI Hands-On Tutorial
Below, you will find a completely hands-on guide for building machine learning model web APIs. But before that, let’s see the folder structure.
Folder Structure
The folder structure helps in organizing the project files into a simple structure; this makes the identification of where each part of the application belongs easier.

Now, let’s see what each part does
- main.py
Runs FastAPI, loads the trained model, and exposes the prediction endpoint. - train_model.py
Creates and saves the machine learning model that FastAPI will load. - models/
Stores trained model artifacts. This folder will be created if it does not already exist. - requirements.txt
Not required but recommended so others can install everything with one command. - .venv/
Contains your virtual environment to keep dependencies isolated.
Step 1: Project setup
1.1 Create Your Project Directory

Create the project directory where all of your code, files and resources for this project will be located.
1.2 Create a virtual environment
A virtual environment isolates your dependencies for your project from other projects on your computer.
python -m venv .venvActivate it:
Windows
.venv\Scripts\activatemacOS/Linux
source .venv/bin/activateWhen your environment is up and running, you should see “(.venv)” ahead of the terminal.
1.3 Install required dependencies
Below is a list of Python libraries we will be using in our FastAPI web server:
- FastAPI (the main framework for building web APIs)
- Uvicorn (the ASGI web server for hosting FastAPI applications)
- Scikit-Learn (to be used as a model trainer)
- Pydantic (for automatic input validation)
- Joblib (to persist saving/loading ML models)
Install them:
pip install fastapi uvicorn scikit-learn pydantic joblib Step 2: Train and save a simple ML model
For this demonstration, our classifier will be trained on the classic Iris dataset and the model will be saved to disk. The saved model will then be loaded into our FastAPI web application.
To train and save our model, we’ll create a file called train_model.py:
# train_model.py
from sklearn.datasets import load_iris
from sklearn.model_selection import train_test_split
from sklearn.ensemble import RandomForestClassifier
import joblib
from pathlib import Path

MODEL_PATH = Path("models")
MODEL_PATH.mkdir(exist_ok=True)
MODEL_FILE = MODEL_PATH / "iris_model.joblib"

def train_and_save_model():
iris = load_iris()
X = iris.data
y = iris.target

    X_train, X_test, y_train, y_test = train_test_split(
    X, y, test_size=0.2, random_state=42, stratify=y
)

    clf = RandomForestClassifier(
        n_estimators=100,
        random_state=42
)
    clf.fit(X_train, y_train)

accuracy = clf.score(X_test, y_test)
print(f"Test accuracy: {accuracy:.3f}")

    joblib.dump(
    {
        "model": clf,
        "target_names": iris.target_names,
        "feature_names": iris.feature_names,
    },
    MODEL_FILE,
)
print(f"Saved model to {MODEL_FILE.resolve()}")

if __name__ == "__main__":
    train_and_save_model()
Install joblib if needed:
pip install joblibRun the script:

Once the model has been successfully trained, you should see the accuracy printed to the terminal and a new model file will also be created which will be used for loading in FastAPI.
Step 3: Create a FastAPI program that will deliver the predictions of your model
In this step, we will create an API that can
- Load the trained Machine Learning model on start up
- Create an input schema that can be used to validate the data sent to the API
- Call the /predict endpoint defined in the previous step to create an output based on the model’s predictions.
Create main.py:
# main.py
from fastapi import FastAPI
from pydantic import BaseModel, Field
from typing import List
import joblib
from pathlib import Path

MODEL_FILE = Path("models/iris_model.joblib")

class IrisFeatures(BaseModel):
    sepal_length: float = Field(..., example=5.1)
    sepal_width: float = Field(..., example=3.5)
    petal_length: float = Field(..., example=1.4)
    petal_width: float = Field(..., example=0.2)

class PredictionResult(BaseModel):
    predicted_class: str
    predicted_class_index: int
probabilities: List[float]

app = FastAPI(
title="Iris Classifier API",
description="A simple FastAPI service that serves an Iris classification model.",
version="1.0.0",
)

model = None
target_names = None
feature_names = None

@app.on_event("startup")
def load_model():
global model, target_names, feature_names

if not MODEL_FILE.exists():
    raise RuntimeError(
            f"Model file not found at {MODEL_FILE}. "
            f"Run train_model.py first."
    )

artifact = joblib.load(MODEL_FILE)
model = artifact["model"]
    target_names = artifact["target_names"]
    feature_names = artifact["feature_names"]
    print("Model loaded successfully.")

@app.get("/")
def root():
return {
    "message": "Welcome to the Iris ML API",
    "predict_endpoint": "/predict",
    "docs": "/docs",
}

@app.post("/predict", response_model=PredictionResult)
def predict(features: IrisFeatures):
if model is None:
    raise RuntimeError("Model is not loaded.")

X = [[
        features.sepal_length,
        features.sepal_width,
        features.petal_length,
        features.petal_width,
]]

    proba = model.predict_proba(X)[0]
    class_index = int(proba.argmax())
    class_name = str(target_names[class_index])

return PredictionResult(
        predicted_class=class_name,
        predicted_class_index=class_index,
    probabilities=proba.tolist(),
)
This file contains all of the code that will allow the Machine Learning model to function as a web app.
Step 4: Running and testing the API locally
4.1 Start the server
Run:
uvicorn main:app –reload 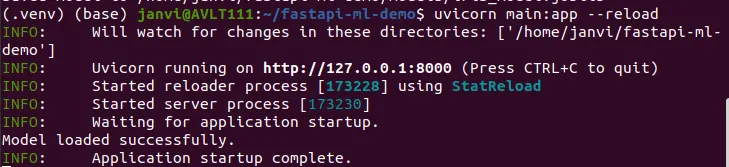
The app starts at: http://127.0.0.1:8000/

4.2 Testing the API using the interactive documentation provided by FastAPI
FastAPI provides built-in Swagger documentation at: http://127.0.0.1:8000/docs
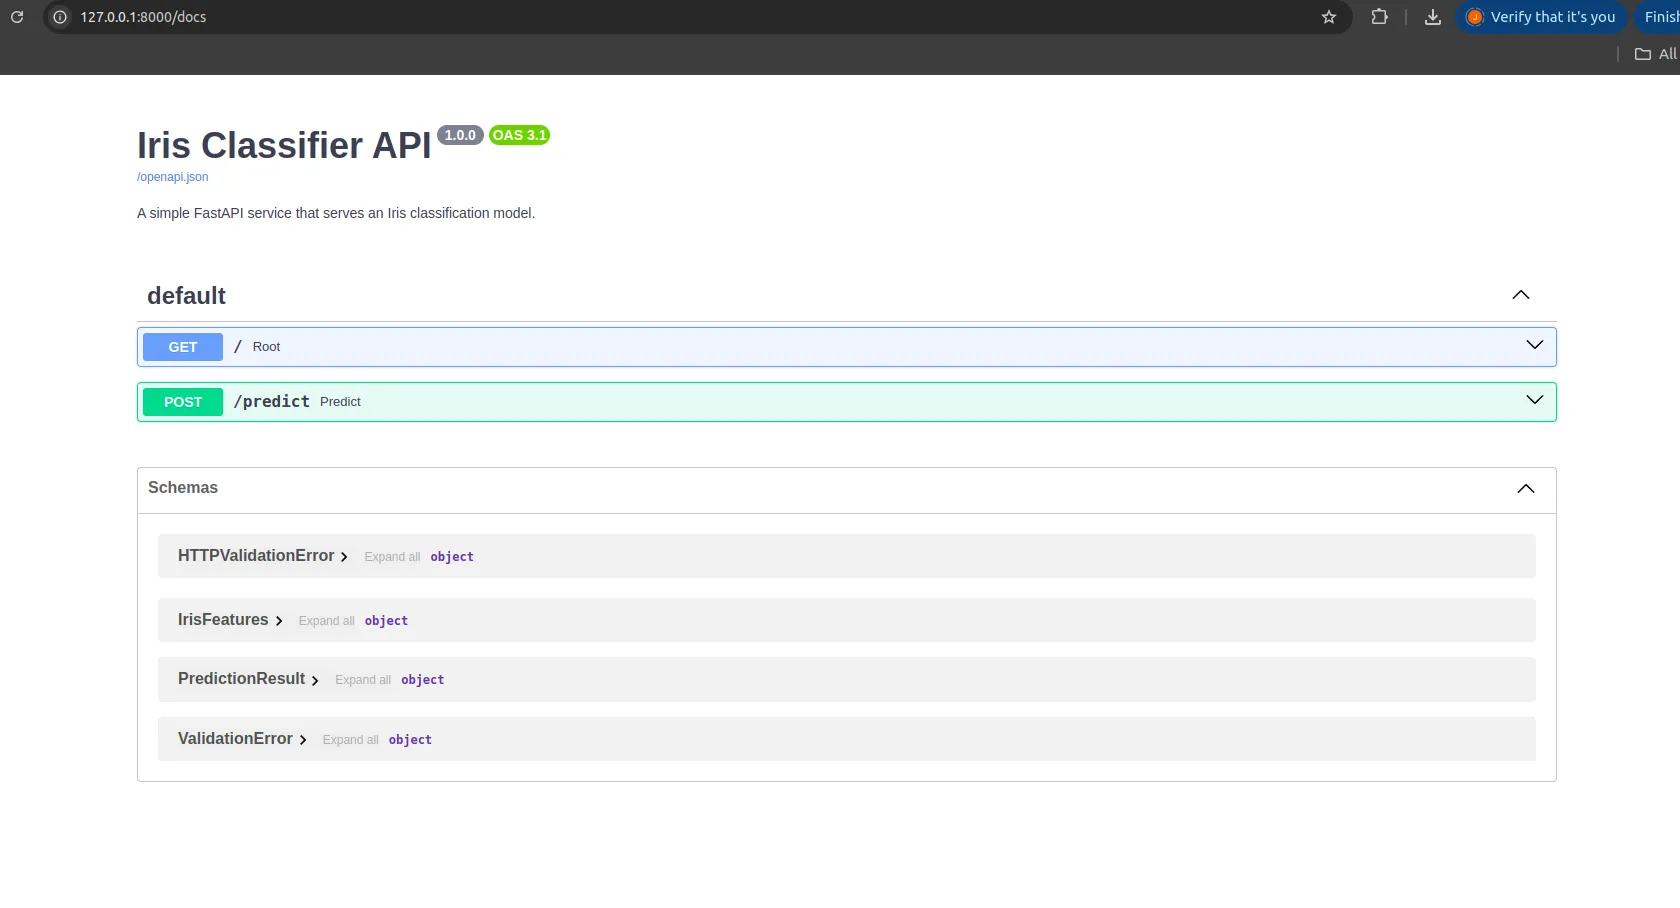
There you will find:
- A GET endpoint
/ - A POST endpoint
/predict
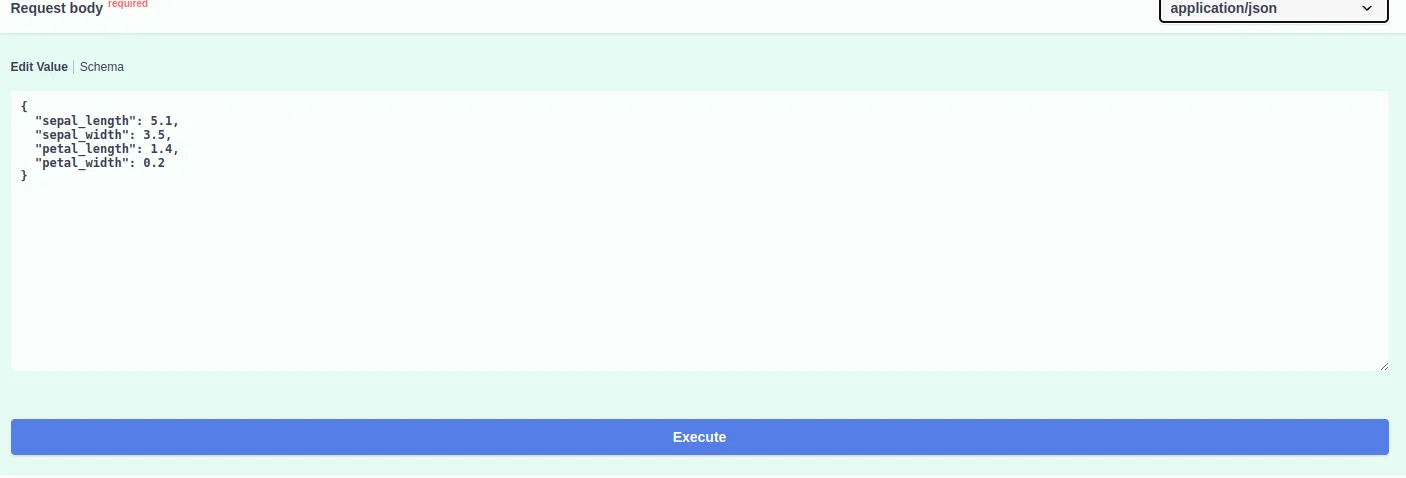
Try the /predict endpoint by clicking Try it out and entering:
{
  "sepal_length": 5.1,
  "sepal_width": 3.5,
  "petal_length": 1.4,
  "petal_width": 0.2
}
You will get a prediction like:
{
  "predicted_class": "setosa",
  "predicted_class_index": 0,
  "probabilities": [1, 0, 0]
} 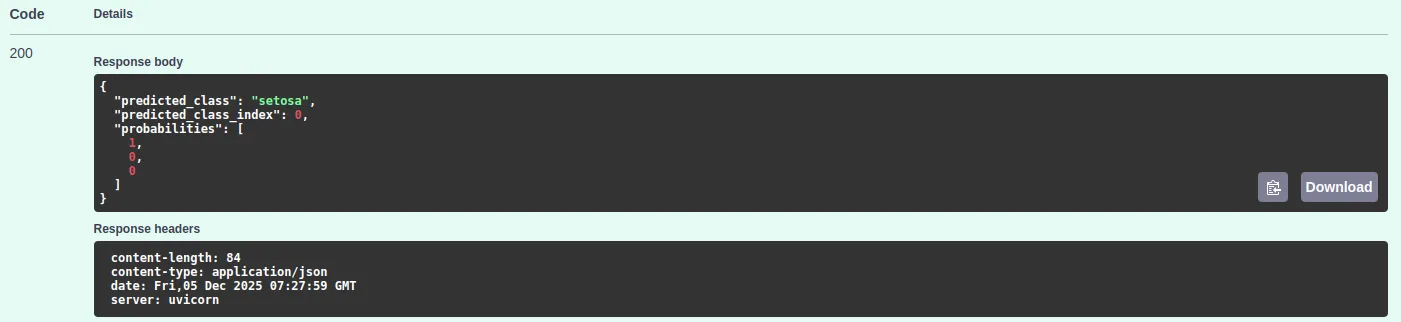
Your ML model is now fully deployed as an API.
Deploy to Cloud
Once you have your FastAPI application running on your local machine, you can deploy it on the cloud so that it is accessible from anywhere. You do not have to bother about any container setup for this. A few services make it pretty straightforward.
Deploy on Render
Render is one of the fastest ways to put a FastAPI app online.
- Push your project to GitHub.
- Create a new Web Service on Render.
- Set the build command:
pip install -r requirements.txt- Set the start command:
uvicorn main:app --host 0.0.0.0 --port 10000Render will install your packages, start your app, and give you a public link. Anyone can now send requests to your model.
Deploy to GitHub Codespaces
If you only want a simple online environment without the extra setup, Codespaces can run your FastAPI app.
- Open your repository in Codespaces.
- Install your dependencies.
- Launch the application:
uvicorn main:app --host 0.0.0.0 --port 8000Codespaces exposes the port, so you can directly open the link from your browser. This is good to test or to share a quick demo.
Deploy on AWS EC2
You can use an EC2 instance if you want to be in control of your own server.
- Launch a small EC2 machine.
- Install Python and pip.
- Clone your project.
- Install the requirements:
pip install -r requirements.txt- Start the API:
uvicorn main:app --host 0.0.0.0 --port 8000Make sure port 8000 is open in your EC2 security settings. Your API will be available at the machine’s public IP address.
Common Errors and Fixes
Here are a few issues you may run into while building or running the project, along with simple ways to fix them.
Model file not found
This usually means the training script was never run. Run:
python train_model.pyCheck that the model file appears inside the model’s folder.
Missing libraries
If you see messages about missing modules, make sure your virtual environment is active:
source .venv/bin/activateThen reinstall the required libraries:
pip install fastapi uvicorn scikit-learn pydantic joblibUvicorn reload issue
Some commands online use the wrong type of dash.
If this fails:
uvicorn main:app –reloadUse this instead:
uvicorn main:app --reloadBrowser cannot call the API
If you see CORS errors when a frontend calls the API, add this block to your FastAPI app:
from fastapi.middleware.cors import CORSMiddleware

app.add_middleware(
    CORSMiddleware,
    allow_origins=["*"],
    allow_methods=["*"],
    allow_headers=["*"],
)- Input shape errors
Scikit-learn expects the input as a list of lists. Make sure your data is shaped like this:
X = [[
    features.sepal_length,
    features.sepal_width,
    features.petal_length,
    features.petal_width,
]]
This avoids most shape related errors.
Conclusion
Machine Learning model Deployment needs to be simpl. However, using FastAPI you should be able to easily create an API that is easy to read and understand with only a few lines of code. FastAPI takes care of all the set up, validation and documentation for you and this leaves you free to concentrate on your model. This method helps people transition from testing and developing to full implementation in the real world. Whether you are making prototypes, demos or production services, using FastAPI you can now share your models and deploy them to production quickly and easily.
Frequently Asked Questions
Q1. What makes FastAPI a good fit for deploying machine learning models?
A. It loads your model at startup, validates inputs automatically, exposes clean prediction endpoints, and gives you built-in interactive docs. That keeps your deployment code simple while the framework handles most of the plumbing.
Q2. Why do I need to run the training script before starting the API?
A. The API loads a saved model file on startup.
Q3. How can I test the prediction endpoint without writing any client code?
A. FastAPI ships with Swagger docs at /docs. You can open it in a browser, fill in sample inputs for /predict, and submit a request to see real outputs from your model.
Hi, I am Janvi, a passionate data science enthusiast currently working at Analytics Vidhya. My journey into the world of data began with a deep curiosity about how we can extract meaningful insights from complex datasets.


